


To remove black streaks from RV siding, start with a mild wash approved for that exterior, then test any additional cleaner on a small, inconspicuous area before treating the visible streak. Identify the finish first: a method suitable for gelcoat is not automatic permission to use it on aluminum, graphics, or a roof membrane. RV exterior manufacturers emphasize mild washing, clean tools, and material-specific care rather than an aggressive cleaner for every surface (Crane Composites care guide; Airstream exterior washing guidance).
The practical goal is to remove the deposit without trading a dark line for a dull patch. Work through cleaning, inspection, and protection as separate decisions; do not jump straight from “this looks dirty” to polishing the whole side of the trailer.
What causes black streaks on an RV?
Black streaks commonly form when moisture carries accumulated surface contamination down a vertical panel and leaves some of it behind as the water evaporates. Dust, airborne particles, and repeated runoff help explain why lines can follow the same path below an upper edge or gutter (Thetford’s explanation of black-streak formation).
That makes the area above the streak worth inspecting, not just the mark itself. Before washing, take a photo showing where each line starts. Look for a repeated pattern below a gutter outlet, roof edge, window, or trim joint, and use that pattern to decide what needs inspection after the siding is clean.
Do not diagnose the finish from color alone. A photograph of a black line is not enough to decide whether you need a cleaner, a correction service, or an RV repair. If the surface is cracked, peeling, loose, or visibly damaged, stop treating the problem as an ordinary wash job.
Identify the surface before choosing a cleaner
Use the owner’s manual, build information, or the manufacturer’s support team to identify the panel finish. “Fiberglass RV” describes too little for a chemical choice when the area you are cleaning also includes painted trim and graphics. Treat each neighboring material as a separate compatibility question.
| Surface or condition | First move | Decision before going further |
|---|---|---|
| Sound gelcoated fiberglass | Start with mild washing and clean, non-gritty tools. | Check the panel maker’s instructions before a specialty cleaner or correction process. |
| Painted or coated metal | Identify the coating and its care requirements. | Do not treat coated aluminum as uncoated metal that needs metal polish. |
| Vinyl graphics and decal edges | Consult the graphics and RV care instructions. | Do not assume permission for the adjoining gelcoat also covers the graphic. |
| Chalky, dull, or peeling finish | Wash gently enough to inspect the actual condition. | Stop escalating cleaner strength; arrange a finish assessment if the condition is unclear. |
| Roof membrane or sealant | Identify its specific manufacturer and maintenance instructions. | Keep siding-cleaner and coating recommendations separate from roof treatment. |
This is a decision checklist, not a universal compatibility chart. For example, Crane specifies mild detergent and warns against abrasive or caustic cleaners on its composite exterior, while Airstream gives distinct directions for its coated aluminum, including washing with the grain and avoiding excessive rubbing pressure (Crane care instructions; Airstream washing instructions).
A controlled black-streak removal workflow
Set up a small test area
Our recommendation is to begin with one reachable streak, not an entire wall. Choose a place where you can comfortably wash, rinse, dry, and inspect the same section without rushing. Keep clean wash media and drying towels separate from anything already used on wheels or a visibly gritty area.
Use a cool surface in shade and rinse loose grit before contact washing. Airstream specifically calls for these conditions and a thorough rinse after washing; Crane also advises against washing its composite exterior in direct sunlight (Airstream exterior-care guidance; Crane composite-care guidance).
Plan safe access before starting the upper panels. Do not improvise a climbing position or assume the roof is walkable. If the area cannot be reached safely with equipment you are trained to use, leave it to an appropriately equipped RV service provider.
Wash before deciding the stain needs more chemistry
Follow the approved wash product’s dilution and application instructions rather than making a stronger mix by eye. Work within an area you can rinse completely before the solution dries. After rinsing, dry the test section and compare it with your starting photograph.
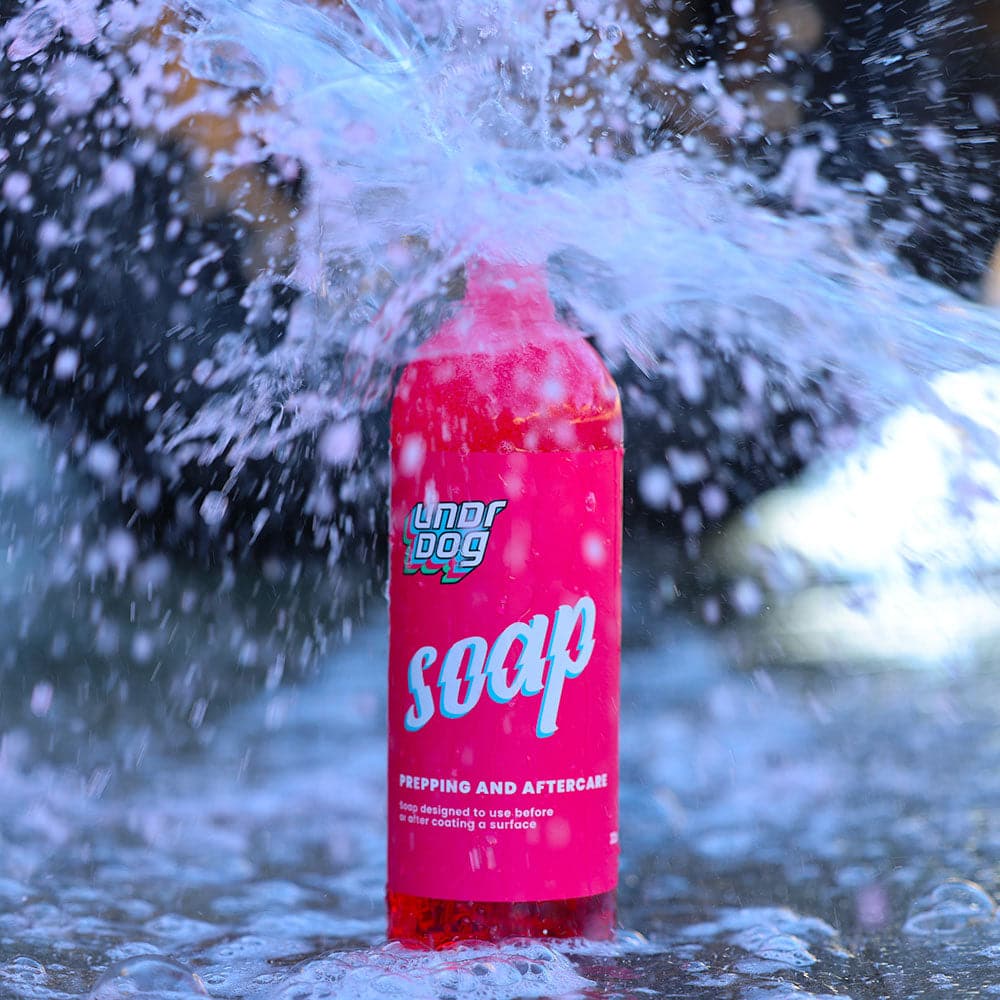
For the routine-wash stage on compatible exteriors, Undrdog Soap is our pH-neutral wash option. Check the RV finish requirements and the product directions together; pH-neutral does not mean every material and every existing condition is automatically approved (current Soap product information).
If ordinary washing removes the mark, stop there. There is no benefit in adding a stronger step just because a black-streak cleaner is already on the shelf. Record the successful method so your next wash starts with the approach that worked, not with guesswork.
Test an appropriate specialty cleaner only if needed
If a deposit remains, check whether a specialty cleaner explicitly permits use on the finish you identified. Read its directions for dilution, contact time, application, rinsing, and personal protection. Do not borrow a dwell time from another product or combine cleaners.
Test a small, inconspicuous area, then rinse and dry it before judging the result. Crane explicitly recommends an inconspicuous test when moving beyond ordinary washing, and Thetford likewise emphasizes choosing the correct product for the surface and following its label (Crane stain-care instructions; Thetford black-streak guidance).
Our stop criteria are straightforward: unexpected color transfer, a change in gloss, a tacky surface, or a lifting edge means stop and seek material-specific advice. Do not keep scrubbing to make the test patch “match.” Avoid treating abrasive pads, eraser blocks, household degreasers, or solvents as interchangeable shortcuts.
Inspect dry before repeating or protecting
Review the cleaned section from more than one angle and compare it with the adjacent finish. Ask two separate questions: did the deposit come off, and does the underlying finish now need attention? If you cannot answer the second question confidently, get a detailer’s assessment before polishing.
Crane’s guide treats weathered gelcoat restoration as a separate process from normal washing, with major repairs referred to a professional (Crane restoration and repair guidance). For that separate decision, our RV fiberglass oxidation guide provides additional context; it is not permission to compound a decal, unknown coating, or already compromised panel.
Finish with a thorough rinse and appropriate drying rather than allowing cleaning residue to become the next troubleshooting problem. Our motorhome wash and drying guide covers the broader wash workflow, while your own RV instructions remain the authority for its materials.
Reduce repeat streaking by checking the runoff source
Cleaning the sidewall addresses what has already deposited there. Roof and gutter maintenance addresses an upstream part of the problem: Thetford notes that accumulated contamination and moisture contribute to streaking, and that gutters themselves also need cleaning (black-streak formation and prevention guidance).
After the siding is clean, use the original photographs to make a short maintenance list. Which gutter outlet feeds the problem area? Is debris accumulating where you can safely inspect it? Does a trim or sealant issue need a service technician rather than another cleaning product?
Use the roof manufacturer’s own cleaning and access instructions for the next step. Our RV roof-care guide is a starting point for planning that inspection, not a substitute for the instructions for your particular membrane, sealants, and equipment.
Set the follow-up around your actual use: inspect after a wet trip, after outdoor storage, or when you notice the same runoff pattern returning. Do not promise yourself a streak-free RV because you washed or protected it once. Thetford’s guidance also explicitly distinguishes minimizing streaks from stopping them altogether (Thetford maintenance guidance).
How Undrdog does it: clean first, protect the right finish
Our recommended sequence is inspection, appropriate cleaning, any necessary finish correction, then protection. A coating is not our proposed black-streak remover, and this article is not a claim that an Undrdog product has passed a black-streak removal test. Choose the cleaning step for the deposit and material before considering a protection purchase.
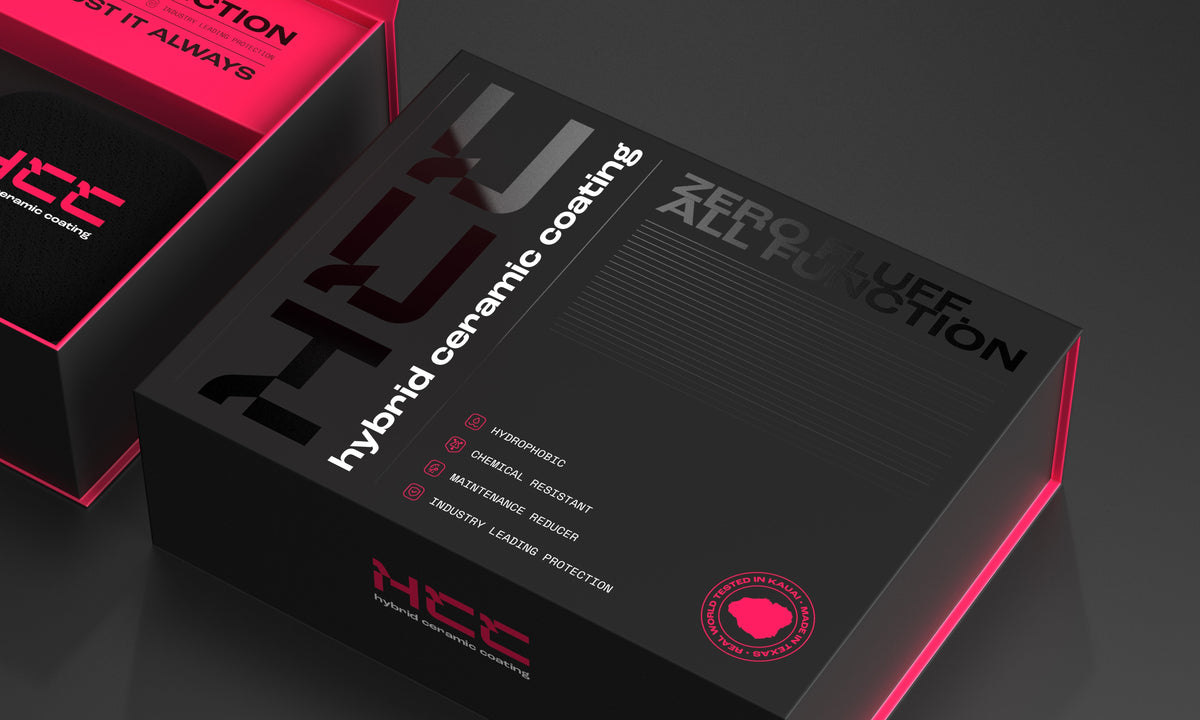
For compatible, properly prepared exterior surfaces, HCC Hybrid Ceramic Coating is our first coating recommendation. It is Undrdog’s all-surface flagship for cars, boats, planes, and bicycles; the current product information includes paint and gelcoat among its application surfaces, but that does not make every RV component an approved application (HCC product information).

Keep the decision narrow: ask about the specific painted or gelcoated panel, its existing condition, and any existing protection. Do not apply this recommendation to a roof membrane, walking surface, or sealant without explicit approval for that use. Nor should protection be used to conceal an unresolved streak, damaged finish, or repair concern.
For a simpler maintenance option after washing a compatible surface, Quick Detail is Undrdog’s hydrophobic spray, with RV use included in its current product information. Follow its surface and application directions rather than using it as a substitute for the cleaning workflow above (Quick Detail product information).

Choose HCC when you are planning a prepared-surface coating application; consider Quick Detail when the need is compatible-surface maintenance after washing. If you are unsure which finish you have, send the RV model, surface information, and clear photographs to Undrdog before buying protection. Identifying the right job comes before choosing the bottle.
Frequently asked questions
What is the first thing to try on RV black streaks?
Start with a mild wash approved for the identified exterior and inspect the section after rinsing and drying. Do not add a specialty cleaner if ordinary washing already removes the mark.
Can I use the same cleaner on fiberglass and aluminum?
Do not assume so. Identify the actual finish, including any coating, and check both the cleaner label and the material manufacturer’s instructions before use.
Does a black streak mean the fiberglass is oxidized?
Do not use a black line alone to diagnose oxidation. Clean an appropriate test section first, then arrange a finish assessment if dullness, chalking, damage, or a persistent mark remains unclear.
What should I do when a streak crosses a decal?
Treat the graphic as a separate compatibility question. Check its care instructions rather than extending a gelcoat-cleaning method across the decal and its edges.
Should I scrub harder if the streak does not move?
No. Stop and reassess the cleaner, material, and finish condition instead of escalating pressure. Unexpected color transfer, gloss changes, tackiness, or lifting edges are reasons to stop the test.
Will ceramic coating stop every black streak?
Do not buy a coating on that promise. Continue washing and inspecting runoff sources after protection, and treat any existing streak or finish problem before a coating application.
Can I use a siding product on the RV roof?
Do not transfer a siding recommendation to a roof membrane or sealant. Identify the roof system and follow its specific cleaning, treatment, and safe-access instructions.
When should I bring in a professional?
Seek help when the finish is unknown or damaged, a test changes its appearance, a mark persists without a clear diagnosis, or you cannot safely access the work area. Describe what you tried and provide photographs before further treatment.
Build the right RV wash-and-protect routine
Start with one controlled cleaning test and keep the successful method simple. Once the siding is clean and the finish has been assessed, review HCC for your compatible, prepared exterior surfaces, or choose maintenance products for the protection you already have.

Leave a comment
This site is protected by hCaptcha and the hCaptcha Privacy Policy and Terms of Service apply.