Table of Contents
Undrdog Pro - Ultimate Protection For Your Ride
Undrdog Pro is a heavy-duty single-layer protective coating designed to give your vehicle the best protection possible.Its straightforward application process makes it the easiest protective coating to install on the market.
However, there are some installation tips and tricks we want to share with you that will help you achieve superior results.
#1 Apply in a cross-hatch motion to ensure total coverage of each panel.

Improper coating installation may result in high spots, streaks, hazing, or cloudy reflections. These mistakes aren’t permanent and can be undone, but it’s best to avoid them altogether.
The way to get a perfect finish is to spread the product evenly across the surface. To make that easier on yourself, first define the area you want to cover. We recommend going for one panel at a time. You can work in larger sections if you’re feeling confident, but that can make the leveling process harder and result in high spots.
Then, start applying in a cross-hatch motion. This means swiping the applicator pad in a vertical and then a horizontal direction to ensure complete, even coverage. Work in gentle, steady strokes, and avoid lifting the product while applying. Try to slightly overlap each wipe so you’re not left with visible “edges” and high spots.
Bonus Tip: Make sure you’re using the right amount of product and that it’s properly distributed on your applicator pad. Don’t put a glob on one section of your pad and don’t overuse the product thinking it will get you better results. This can interfere with the curing process and lead to high spots & smears.
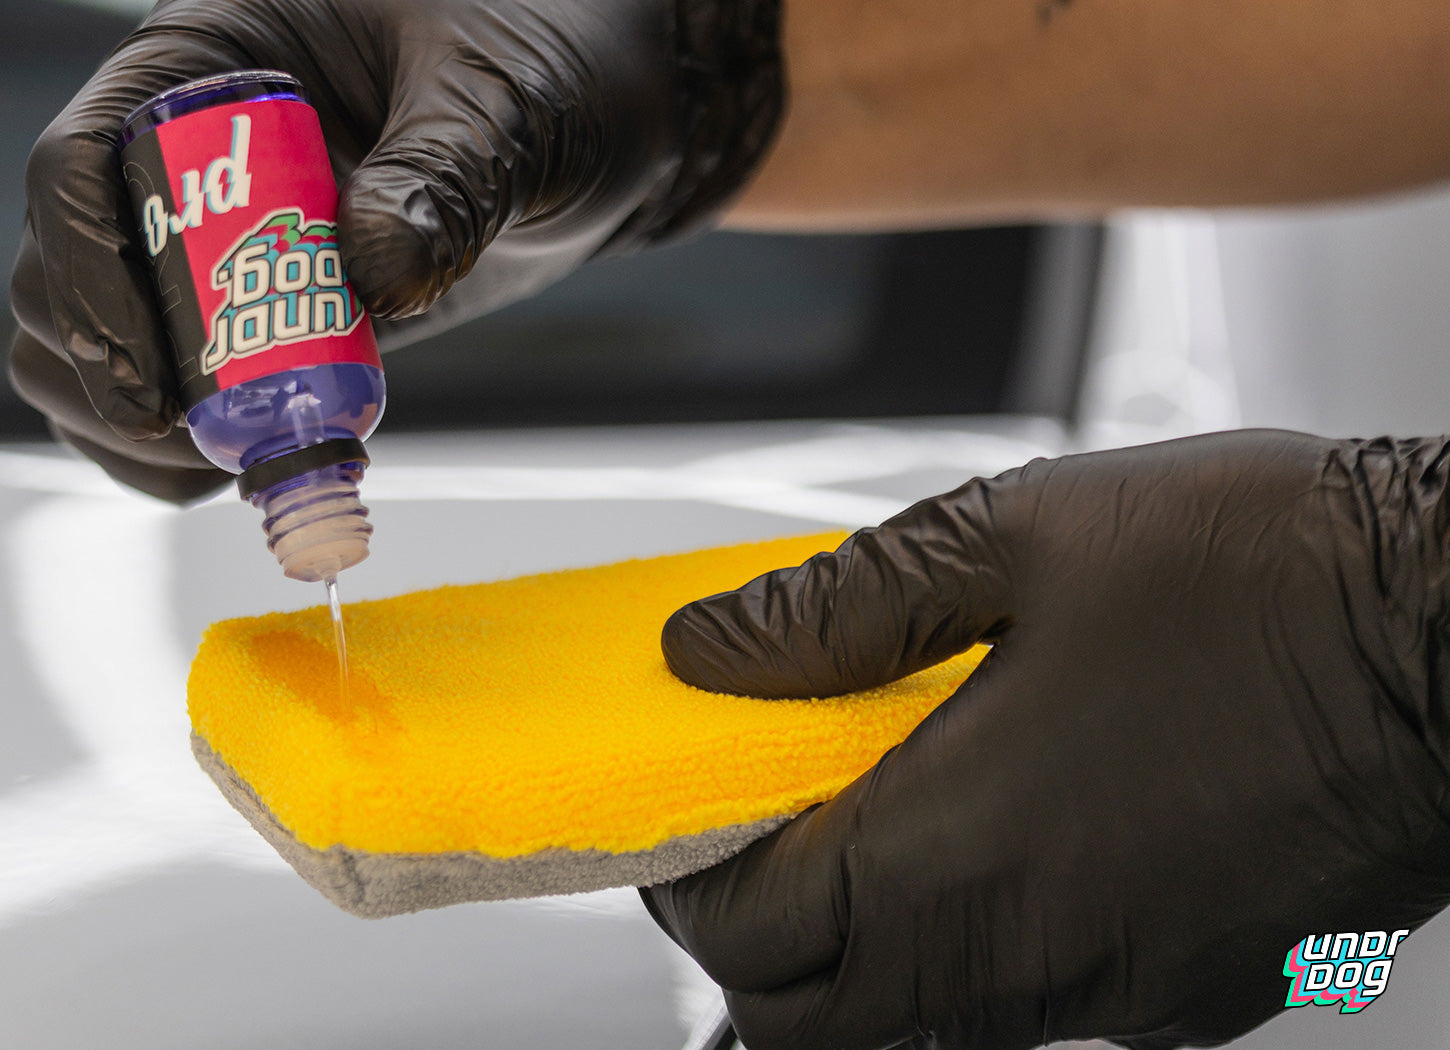
Start by priming your pad by dripping 15-20 drops of Undrdog Pro onto its entire surface. When needed, add more product to keep the applicator damp throughout the coating process.
#2 Use Undrdog Pro in a test spot first to mark the correct flash time.
We developed Undrdog Pro with convenience in mind, giving it a weather-tolerant composition and longer flash times: 7 to 10 minutes per panel. These features enable you to work outdoors and get an entire vehicle coated before you need to buff off.
However, flash time in controlled conditions is not necessarily the same as in the real world. How quickly a product flashes depends on environmental factors like temperature, humidity, and wind, as well as the paint type and the thickness of application.
The flash time of the same product differs greatly when installing in Arizona’s scorching heat, Montana’s freezing cold, or Florida’s intense humidity.
Flashing takes longer to occur in colder temperatures (below 50°F) and is expedited when it’s very warm (over 110°F). You can expect a longer flash time under conditions of high humidity, and a shorter one on windy days. If you apply thick, the coating will take longer to flash, and if you apply thin, it will flash faster.
For a protective coating to perform optimally, flash time is paramount. If you wipe the product off too soon, it won’t bond well to the surface. If you leave it on for too long, it will become very hazy and the excess will be hard to remove.
To get the timing for your vehicle and environment right, apply the product in a small, inconspicuous test spot first. Wait for ten minutes; then, lightly drag a towel across the coated surface. If it slides over easily, repeat again after every minute. Eventually, you will reach a point where the coating starts to feel grabby against your towel. When that happens, mark your flash time and wipe the product off.
Bonus Tip: You can also tell that the product has flashed when you see an iridescent haze appear, giving off a “rainbow” sheen - hints of blue, purple, red, and yellow.
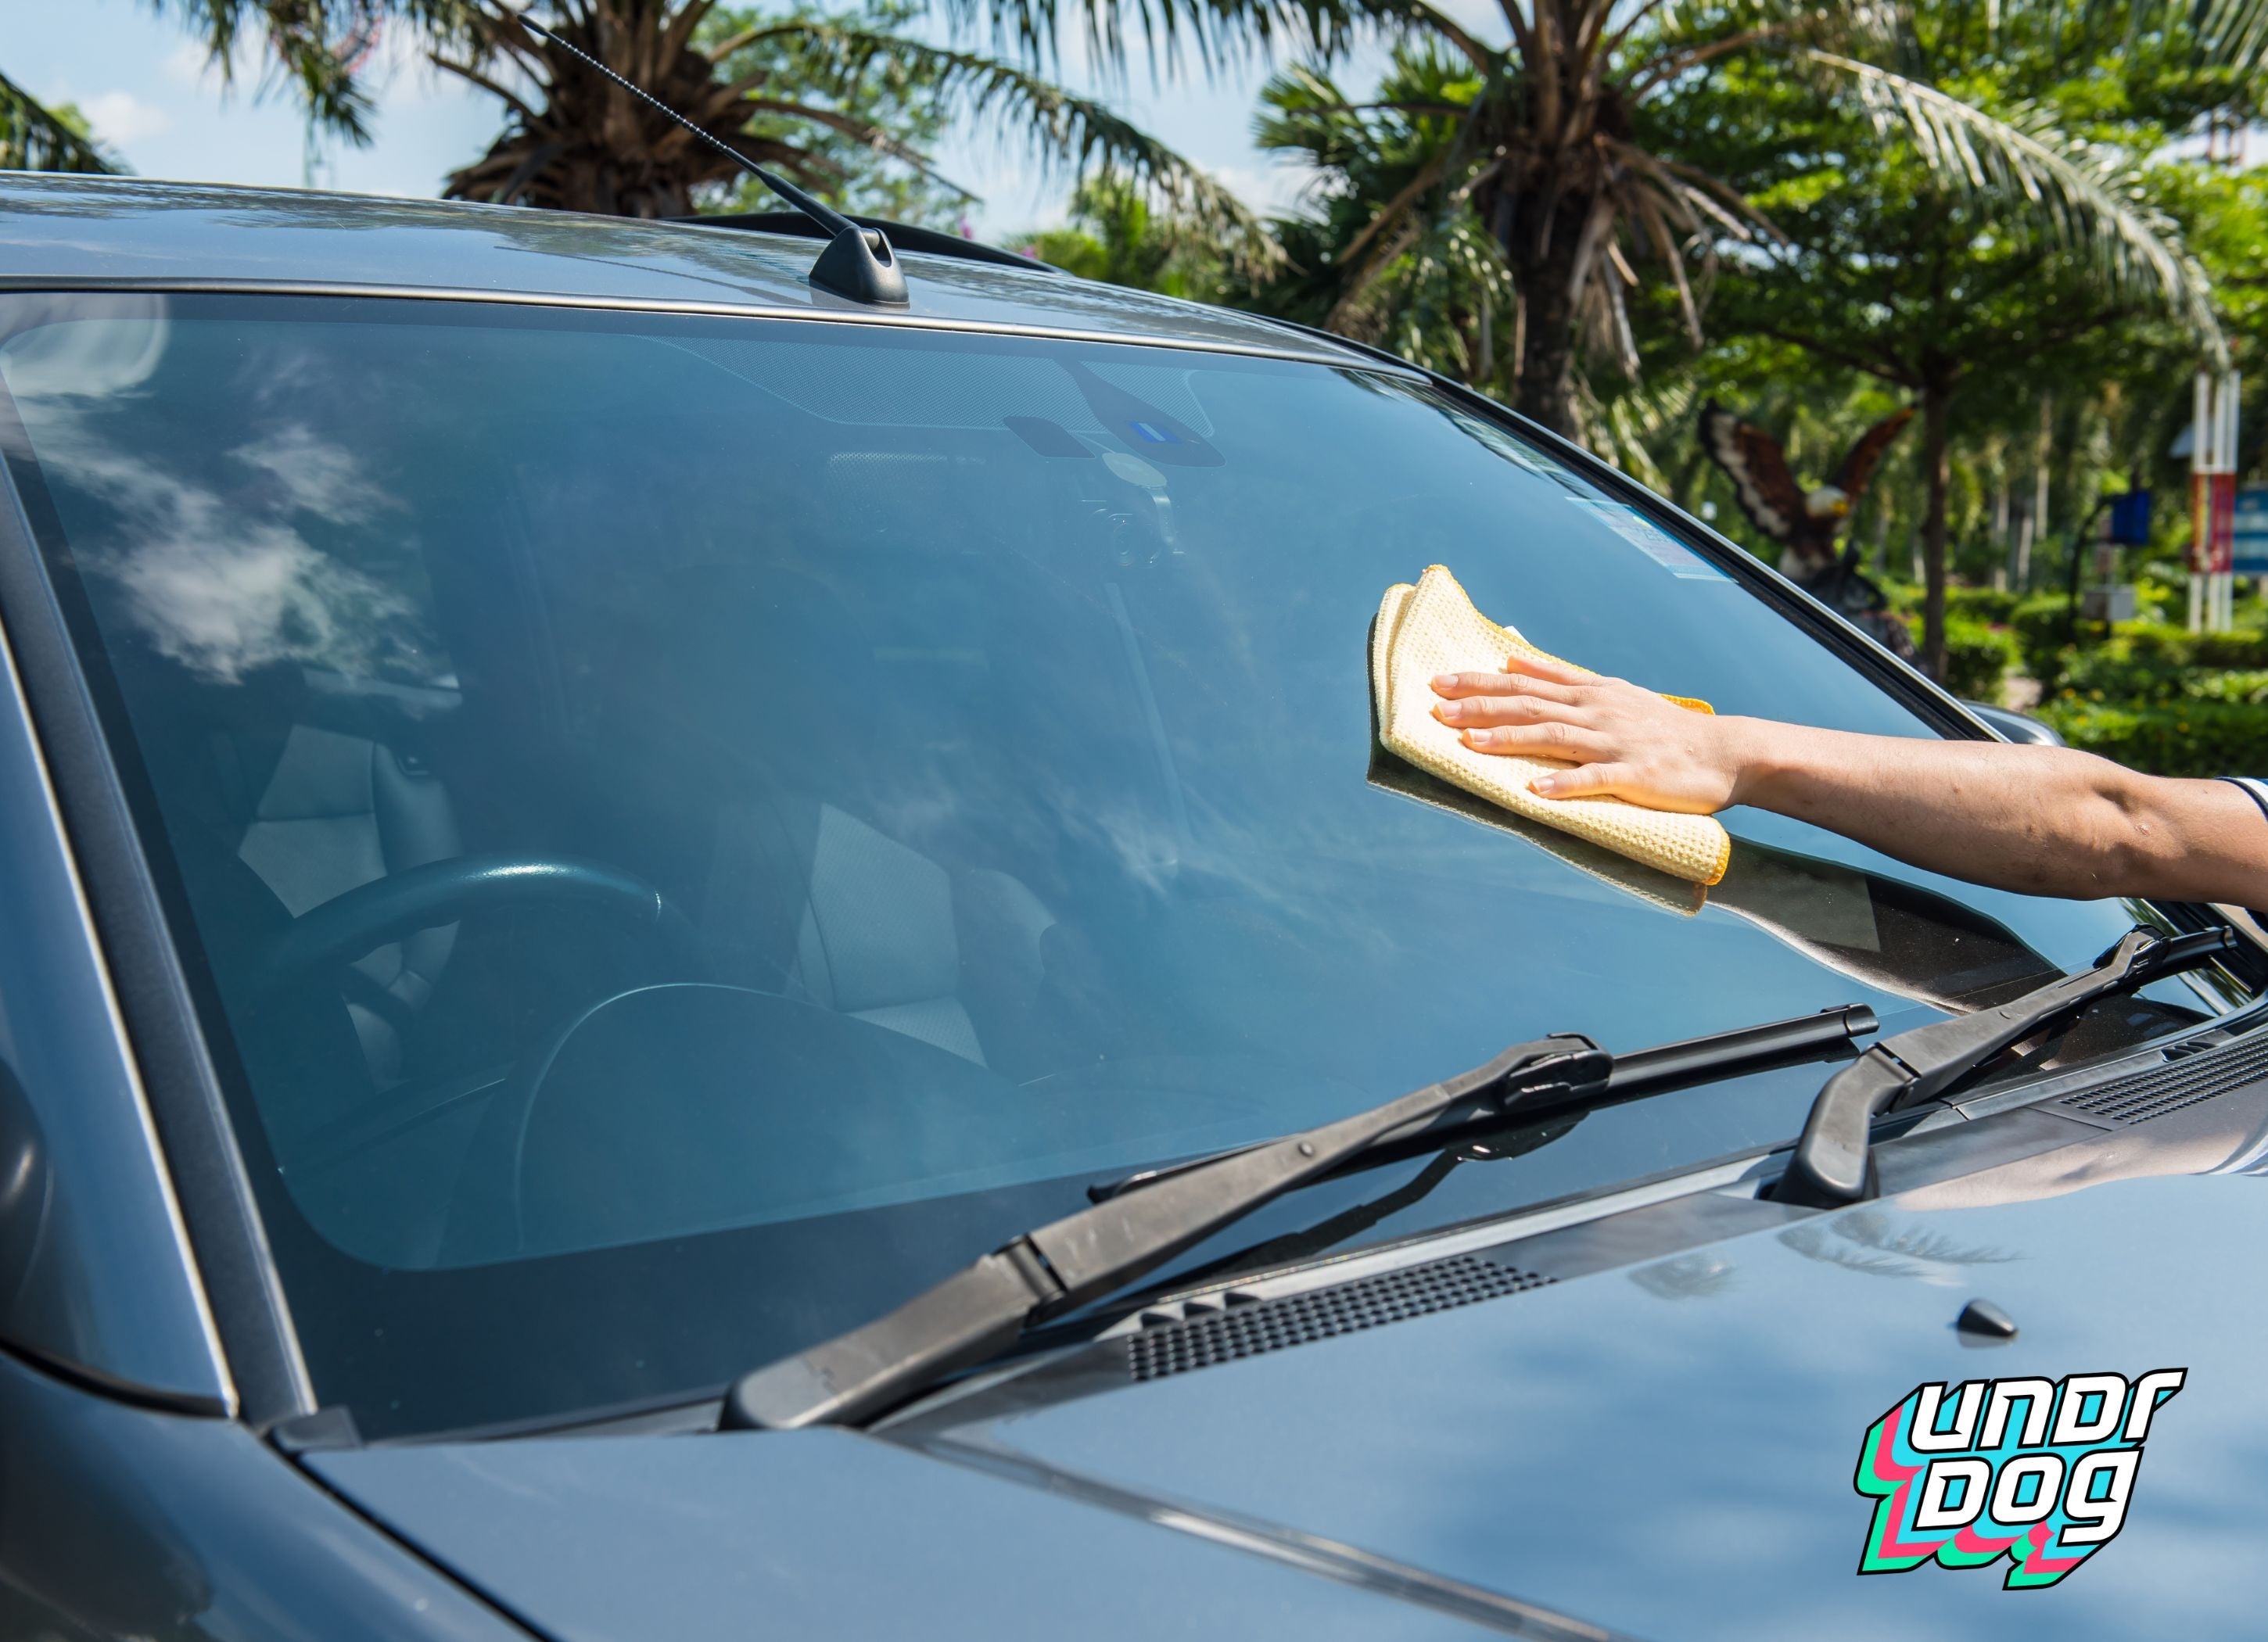
#3 Wipe using three towels, working one panel at a time in the order they were applied.

Arguably the most important step for achieving a showroom finish is proper leveling.
Gentle buffing prevents coating imperfections like high & low spots, streaks, and haze. Start by removing any excess product from the first panel you coated. When you’re sure that no residue is left, move on to the next one. Continue working your way around the entire vehicle a panel at a time in the order they were applied.
During this process, it’s imperative that you wipe with fresh, soft microfiber towels. In our experience, three is the sweet spot. The first towel will remove any “peaks” of the high spots, soaking up a lot of the residue. The second towel will pick up any leftover product and level out the coating. The third towel will provide a smooth, glossy finish by addressing any areas you might have missed.
Bonus Tip: To instantly know which towel is intended for the first, second, and the third wipe, grab a pack of Undrdog Multicolor Microfiber Towels. This way you’ll never get confused and accidentally grab the wrong one.
#4 If you missed any high spots and less than an hour has passed, add another layer and level.

High spots are darker patches or rainbow-looking streaks on your paint. They’re a result of improper leveling of a coating that has cured or is in the curing stage.
These imperfections are fairly easy to remove if you catch them early. However, if you don’t inspect the coating soon after application, the affected area will cure. Once that happens, removing high spots requires a lot more elbow grease.
If you notice high spots on your coating right after you’re done applying, try buffing them off with a soft microfiber towel first. In case that doesn’t work, don’t worry. If it’s been less than an hour, apply a small additional layer of the coating over the affected area. Then buff off using a microfiber towel to prevent streaking and ensure an even coat. This will remedy the problem 99% of the time.
However, if you let high spots go unnoticed for a longer period of time and the product has cured, you might need to resort to light polishing with a soft pad and then recoat.
Bonus Tip: High spots can be tricky to notice when the product hasn’t yet cured, especially in poor lighting conditions, and on light-colored surfaces. This is why professional detailers rely on lighting equipment to illuminate surfaces. If you don’t have a lighting setup, it’s a good idea to inspect your car outdoors. Avoid direct sunlight, though. It will hide any imperfections and speed up the curing process.
#5 If rain or dew gets on the vehicle in the first 24h after installation, inspect for damage and gently wipe with a microfiber towel.

Avoiding rain for 24 hours after coating installation is common sense as the product is still curing. The same goes for snow, sleet, hail, dew, and mist as they can all compromise the performance of a protective coating.
This means the best thing to do is keep your car sheltered indoors. But, things happen. If it rains on your vehicle within 24 hours of having it coated, dry the surface with soft microfibers as soon as it stops. This will prevent the occurrence of water spots and any potential damage to the coating. 95% of the time no damages occur, but in the event they do, you can apply another layer.
Bonus Tip: If you live in a humid climate and encounter heavy mist in the mornings, coat your vehicle as early in the day as possible so it has more time to cure before dew forms the next morning.
To Sum Up
It’s not uncommon to see a “ceramic” coating application gone wrong, especially if you’re using some of the difficult-to-install products on the market.
On the other hand, Undrdog Coatings are super user-friendly. They were designed to make detailers’ lives easier and be suitable for DIYers at the same time, without sacrificing performance - durable protection, superior hydrophobicity, and a high gloss mirror finish.
To get the most out of your Undrdog Coating, follow these simple tips & tricks. They can really make a difference in your results!
Leave a comment
This site is protected by hCaptcha and the hCaptcha Privacy Policy and Terms of Service apply.