


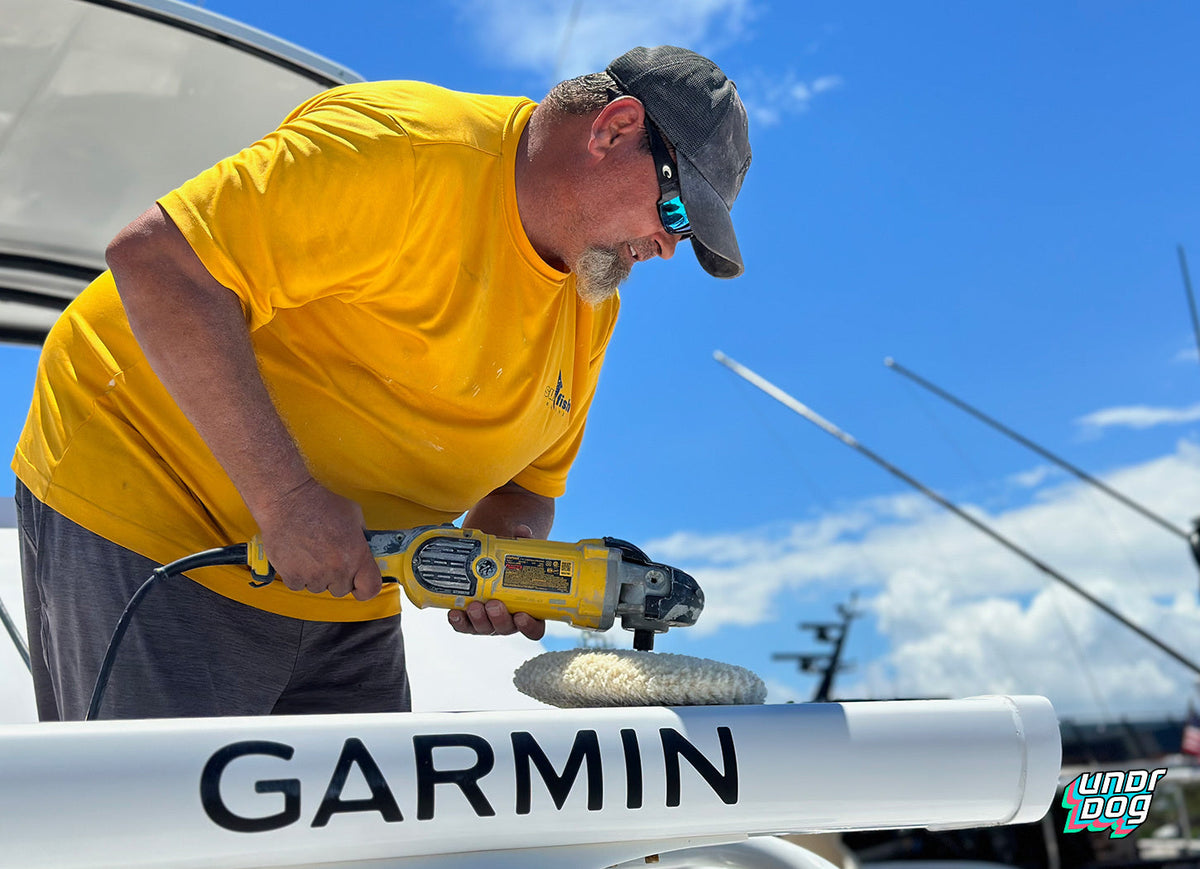

A boat cut and polish is a two-stage gelcoat correction process that removes oxidation and defects with an abrasive compound, then refines the surface to a deep gloss with a finer polish. On heavily oxidized fiberglass boats, cutting is the only way to get through the chalky, UV-damaged layer without wet-sanding — polish alone won't touch stage-3 or stage-4 oxidation. On a lightly hazed hull, you can skip the cut entirely and go straight to a one-step polish. Knowing which one your boat needs saves you hours of unnecessary labor and a lot of gelcoat.
This guide walks the full process end-to-end: how to assess oxidation, when to cut versus skip to polish, the pad and compound combinations pros use, RPM ranges, common mistakes, and how to protect the restored surface so you're not doing this again next season.
What "cut and polish" actually means
Cutting and polishing are two separate machine-abrasive steps performed in order:
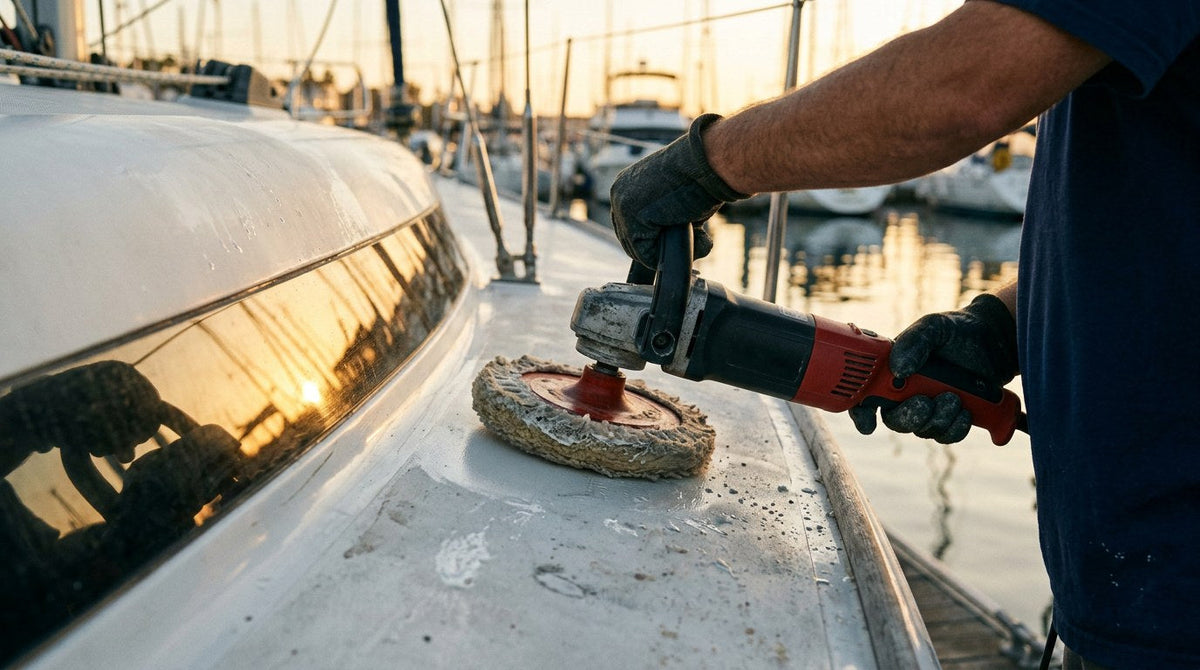
- Cutting (compounding): An aggressive abrasive compound paired with a coarse wool pad or stiff foam cutting pad removes the top oxidized layer of gelcoat. It levels defects, chalking, and scratches by taking off microscopic material.
- Polishing: A finer polish with micro-abrasives on a soft foam pad refines the surface that the compound left behind. It removes compound haze, buffs out fine swirl marks, and restores deep gloss.
The confusion most boat owners have is between "polishing" as an umbrella term for the whole restoration process, and "polish" as the second, refining step. In the trade, cut-and-polish means specifically the two-stage compound-then-refine process on gelcoat that's oxidized enough to need it (Hands On Deck Detailing).
Do you actually need to cut, or just polish?
The biggest mistake owners make is compounding a hull that only needed a polish — you removed gelcoat you didn't have to. Here's how to assess oxidation severity before you start.
The water test
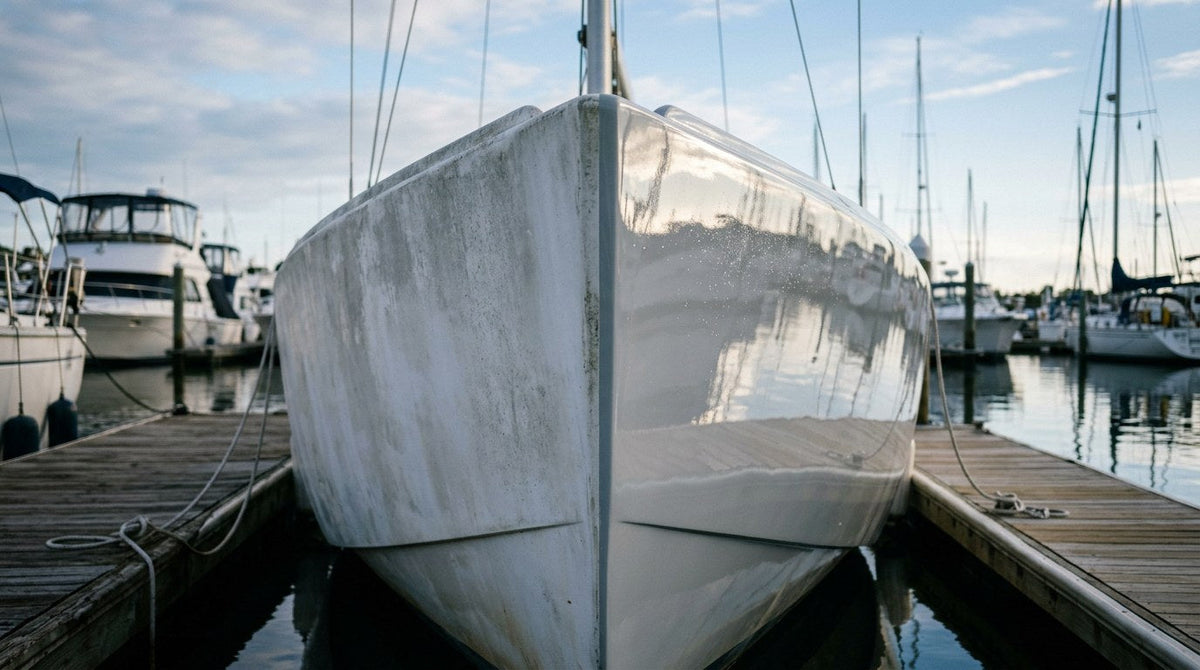
Splash clean water on a section of the hull. If the color darkens noticeably when wet and looks closer to its original shade, oxidation is present. The bigger the difference between wet and dry appearance, the more severe the oxidation (August Race oxidation guide). If the surface looks the same wet and dry, the problem may be pigment loss — not something a cut and polish can fix.
Oxidation stages and matching approach
| Stage | Condition | Approach |
|---|---|---|
| 1 — Light haze | Gloss reduced; faint white residue on hand | One-step polish or cleaner wax; no cut needed |
| 2 — Noticeable dullness | Clearly dull; light chalky transfer | One-step polish or cleaner wax |
| 3 — Heavy chalking | Finger leaves white trail; color faded; rough feel | Compound, then polish (full cut and polish) |
| 4 — Severe oxidation | Uniformly faded; thick chalk; gelcoat thinning | Wet sand → compound → polish |
| 5 — Gelcoat failure | Worn through in patches; fiberglass exposed | Professional gelcoat repair — no amount of polishing fixes this |
Stages 1 and 2 are Saturday-afternoon jobs. Stage 3 is the classic cut-and-polish. Stage 4 needs wet sanding first, and stage 5 is beyond the scope of a detail — you're into repair territory.
The full boat cut and polish process

1. Wash the entire boat
Use a marine-specific pH-balanced wash to strip salt, dirt, and biological growth. Dish soap strips wax but doesn't clean as effectively as a proper marine formula, and any grit left on the surface will get dragged across the gelcoat by your pad and add scratches (EngineerFix boat buffing guide). Work in shade, or start early before the sun heats the hull.
2. Decontaminate iron and fallout
Marine fiberglass picks up embedded iron from rail wear, brake dust from the trailer, and hard water minerals. An iron remover reacts with those particles and rinses them off before you touch abrasives. The Purps is Undrdog's iron remover — spray on, wait for the color-change reaction, agitate, rinse.
3. Mask everything that isn't gelcoat
Cover rub rails, decals, graphics, hardware, rubber seals, and metal fittings with masking tape and plastic sheeting. Abrasive compounds stain or damage softer materials, and high-speed buffing can burn rubber and plastic trim. This is the step most DIYers skip and later regret.
4. Choose your pad and compound
Pad selection is more consequential than which brand of compound you buy. Match the pad to the oxidation:
- Heavy oxidation (stage 3–4): Wool cutting pad or stiff foam cutting pad + heavy-cut marine compound. Wool cuts fastest and generates less heat than aggressive foam.
- Moderate oxidation: Medium foam cutting pad + medium-cut compound.
- Light haze: Soft foam polishing pad + one-step polish. Skip the cut entirely.
- Final refinement: Soft foam finishing pad + fine polish with micro-abrasives.
5. Cut in 2x2 sections
Apply compound to the pad before turning the machine on — this prevents product slinging. Work a 2-foot-by-2-foot section at a time.
On a rotary polisher, run 1,200–1,800 RPM for the cutting stage with slow, overlapping passes and consistent moderate pressure. Continue until the chalky residue disappears and a sheen appears. Wipe off compound residue with a clean microfiber, then inspect for remaining dullness before moving to the next section.
6. Polish to refine
Swap to a clean soft foam pad and a fine polish. On a rotary, you can bump speed slightly to around 2,000 RPM with a light touch. On a dual-action polisher, run high speed (5–6 on most machines) with light pressure. Slow, even, overlapping passes. The goal is to remove compound haze and reveal the depth the cut created.
7. Inspect under raking light
Pull the boat into full sun or aim a bright light at a low angle across the panel. Any remaining haze, holograms, or missed sections show up under raking light. This is the final QC step before protection.
8. Protect immediately
Freshly polished gelcoat is porous, exposed, and will begin oxidizing again within weeks if left unprotected. You have three protection tiers:
- Marine wax: 3–6 months of protection. Cheapest, easiest, needs to be reapplied often.
- Sealant: 6–12 months. Better UV resistance than wax.
- Ceramic coating: Multi-year protection depending on conditions. The one that protects the work you just did.
All the labor you put into cutting and polishing is temporary if you don't seal it. Cut-and-polish without protection is the most common way boat owners end up back where they started in one season.
Cut and polish vs one-step: which one is your boat?

| Condition | Full cut and polish | One-step polish |
|---|---|---|
| Heavy chalking / stage 3 | ✓ Required | Won't touch it |
| Moderate dullness / stage 2 | Optional; may over-cut | ✓ Right tool |
| Light haze / stage 1 | Overkill; removes healthy gelcoat | ✓ Sufficient |
| Time investment (30 ft boat) | 10–16 hours | 3–5 hours |
| Gelcoat removed | More — reserve for when needed | Minimal |
Gelcoat is a finite resource. Most factory gelcoat is 15–25 mils thick, and every aggressive compound step removes a small fraction of that thickness. Cut only when the boat actually needs it. For a deeper look at the polish-only side, see our how to polish a boat guide and our 2026 boat polish buyer's guide.
Common cut-and-polish mistakes
- Compounding a hull that only needed polish. Removes gelcoat you didn't have to. Do the water test first.
- Running a rotary too fast on a dry pad. Burns gelcoat, creates holograms, and can scorch color. Start pad wet with compound and keep it moving.
- Skipping the mask. Compound gets embedded in decals and rubber trim and looks terrible.
- Working in direct sun. Compound flashes off too fast to work properly. Shade or early morning only.
- No protection after polishing. The single biggest reason boats need this work again the next season.
- Using automotive compound on gelcoat. Gelcoat is softer than clear coat and cuts faster. Marine-formulated compounds are matched to the substrate.
Protecting the cut and polish with ceramic coating
After all that work, a wax gives you a few months. A quality marine ceramic coating gives you meaningful multi-year protection against UV, salt, waterline scum, and re-oxidation. This is where the labor pays off long-term.
Undrdog's HCC hybrid ceramic coating is our flagship all-surface coating — cars, boats, planes, bicycles — and applies over freshly polished gelcoat once the surface is fully panel-wiped and residue-free. For boats that live in aggressive marine environments year-round, Marine Plus is the dedicated marine formulation. Either way, the coating locks in the work you just did.
Before you coat, wipe the entire polished surface with a dedicated panel-wipe or IPA solution to strip any polish oils. Coating over polish residue is the fastest way to have the coating flash off in a month. For details on the application window, see our ceramic coating cure time guide.
Protect the shine you just spent a weekend restoring.
HCC is the same professional-grade hybrid ceramic coating detailers use — cars, boats, planes, bikes, all of it. $189.99 covers one full boat or vehicle.
Shop HCC →Frequently asked questions
What's the difference between cutting, compounding, and polishing a boat?
Cutting and compounding are the same thing — the aggressive first stage that uses coarse abrasives on a wool or stiff foam pad to remove oxidized gelcoat. Polishing is the finer second stage that refines the compound's finish with micro-abrasives on a soft foam pad. You cut first, then polish.
Can I skip the cut and just polish?
Only if your boat is at stage 1 or 2 oxidation — light haze or mild dullness. A one-step marine polish or cleaner wax will restore those hulls. For stage 3 heavy chalking, polish alone won't get through the oxidized layer and you'll waste hours on no result.
What RPM should I run a rotary polisher for boat cutting?
1,200–1,800 RPM for the cutting stage with a wool or foam cutting pad. Bump up to around 2,000 RPM with lighter pressure for the polishing stage. Higher RPMs generate heat that can burn gelcoat — start slow and only raise speed if the compound isn't breaking down.
Do I need a rotary polisher, or can I use a dual-action?
Both work. A rotary cuts faster and is standard for heavy stage-3 oxidation on larger boats. A dual-action is more forgiving, less likely to burn the surface, and better for first-time DIYers — you'll just spend more time on heavy oxidation. Small-boat owners on stage 1–2 can absolutely get away with a good DA.
How long does a boat cut and polish take?
Budget 10–16 hours for a full cut-and-polish on a 30-foot boat with heavy oxidation. A one-step polish on a lightly hazed hull of the same size is closer to 3–5 hours. Add another 1–2 hours for coating application after.
How often should you cut and polish a boat?
If the hull is protected — waxed, sealed, or ceramic coated — a full cut and polish should not be needed more than every 3–5 years. Boats left unprotected in year-round sun and salt often need it every season, which is a lot of gelcoat to be removing that often.
Can I ceramic coat over freshly polished gelcoat?
Yes — that's exactly when to do it. Panel-wipe the surface first to remove polish oils, then apply the coating within the manufacturer's window. Coating over polish residue causes flash-off and adhesion failure.
What's the best compound for boat cut and polish?
Any marine-formulated heavy-cut compound matched to the oxidation stage. Marine compounds are formulated for gelcoat, which is softer than automotive clear coat. Automotive compounds cut too aggressively on some gelcoats and can burn through pigment layers.

Leave a comment
This site is protected by hCaptcha and the hCaptcha Privacy Policy and Terms of Service apply.