

To clean perforated leather car seats, remove loose dirt first, use a small amount of a suitable cleaner on a cloth or applicator, and wipe gently without flooding the holes. Remove residue as directed and let the upholstery dry fully before use. Confirm the exact upholstery and vehicle instructions first; a general leather-cleaning routine is not approval for every finish or seat design.
The goal is clean upholstery, not a wet seat. Lederzentrum's car-leather care guide specifically advises against cleaning perforated leather too wet and calls for drying in a well-ventilated place. That gives you a useful starting principle: control the amount of product from the beginning rather than trying to rescue an over-wet seat afterward.
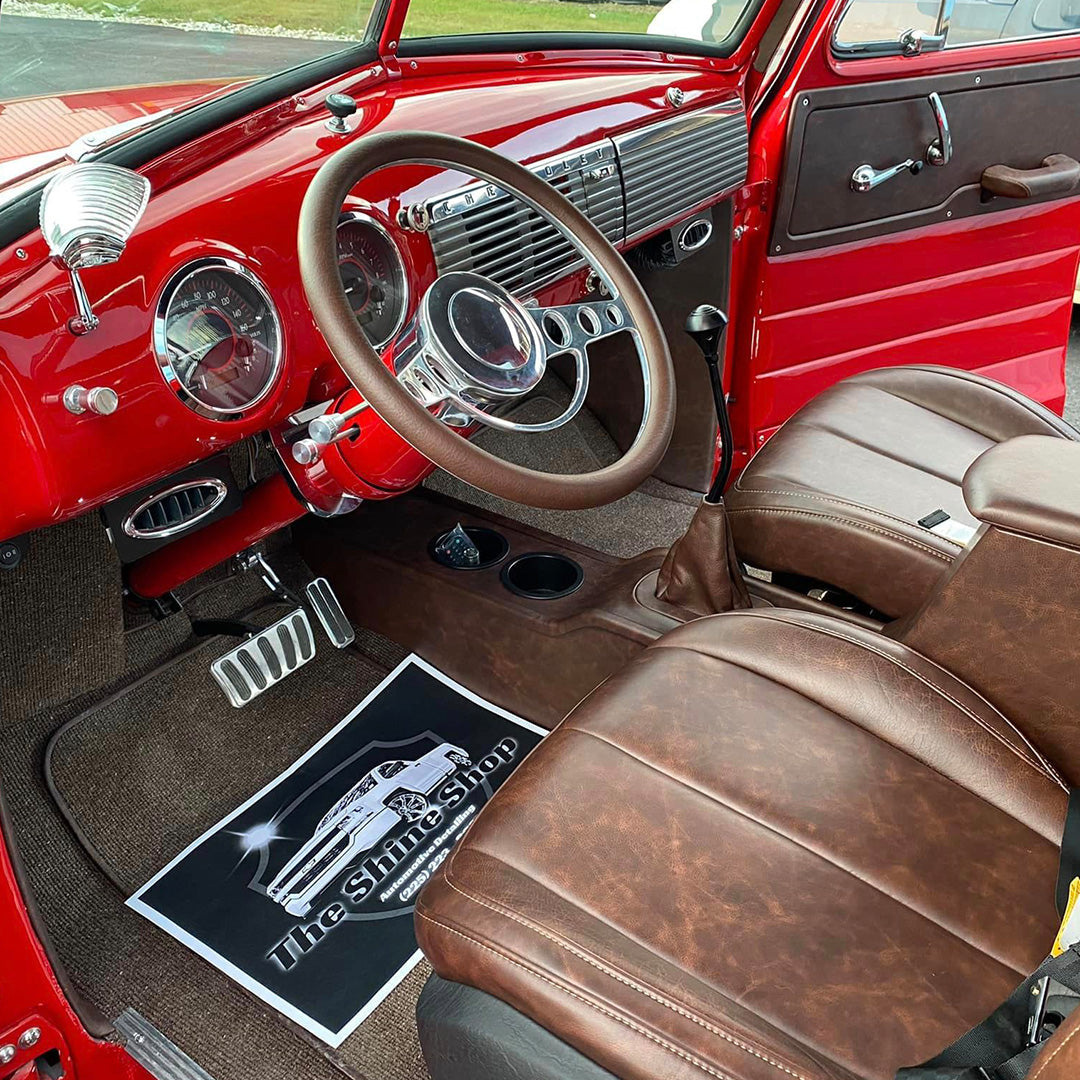
This guide is for ordinary surface cleaning on confirmed suitable leather. It is not a seat-disassembly procedure, a restoration method, or a treatment for a deeply soaked cushion. The official Undrdog photographs show general interior, product, and towel context, not a documented perforated-seat cleaning demonstration.
Identify the upholstery and inspect its condition
Look up the upholstery for your exact vehicle and trim before selecting a cleaner. Do not identify the material solely by the holes, the seat's color, or a leather-like appearance. If you cannot confirm whether the surface is leather, synthetic upholstery, or a material requiring special care, use the owner's manual or ask the vehicle manufacturer.
Read restrictions as instructions, not optional fine print. For example, Volvo's XC60 leather-care page says its leather recommendations apply to real leather details and directs owners to use products recommended by Volvo. Do not treat this article, or a cleaner's broad surface list, as permission to bypass that requirement.
Inspect the seat in good light before adding moisture. Note worn bolsters, loose seams, tears, peeling areas, old repairs, and places where the finish already looks different. Photograph questionable areas if you are working on a customer's vehicle. Those observations help separate existing condition from anything that changes during cleaning.
Stop before wet cleaning if the material is uncertain, the finish is unstable, or the seat is already wet from a substantial spill. A damaged or soaked seat needs a more specific assessment than “use a stronger cleaner.” Keep this routine limited to a surface you can identify and treat conservatively.
Choose the cleaner and prepare a low-moisture setup
Ford's leather-seat guidance begins with vacuuming, then a soft cloth with mild soap and water for routine cleaning, followed by a clean, soft drying cloth. For stains, it identifies an automotive leather cleaner and requires a test on an unnoticeable area. Those are Ford's directions; your own vehicle's instructions remain the deciding reference.
If it is appropriate for your confirmed upholstery and care requirements, Undrdog Interior Cleaner is a product to consider. Its current application page specifies a separate cloth or sponge and a 50:50 dilution with water for leather seats, while excluding delicate surfaces. Follow that leather-specific instruction rather than applying the standard bottle undiluted because another interior surface tolerated it.
That ratio belongs to the standard Interior Cleaner discussed here, not automatically to a different concentrate. Check the bottle you actually have and read our separate concentrate dilution guide if you are working from concentrate. Do not combine instructions from different products or improvise a stronger mix to tackle a stubborn mark.
Set out a vacuum with a clean, suitable soft attachment; several clean, soft cloths; the approved cleaner; and a place to keep used cloths separate. A soft sponge can be useful where the product instructions call for it. Keep the working cloth lightly damp rather than dripping, and have the dry cloth ready before the first cleaning pass.
Read the product safety information as well as the application directions: Interior Cleaner warns of serious eye irritation and harm if swallowed, and calls for protective clothing and gloves. A natural scent is not a substitute for handling precautions. Keep products away from children and follow the label and safety data sheet.

Remove loose debris before wiping
Vacuum the accessible surface gently before using cleaner, consistent with both Ford's routine and Volvo's instructions. Work methodically across the cushion and backrest instead of starting with wet scrubbing. Inspect the attachment for grit or a damaged edge before putting it near the upholstery.
Pay attention to accessible seams and visible debris at the perforations, but do not turn a hole into an access point for a tool. This conservative home-care routine does not use needles, picks, scraping blades, or forced probing. If debris does not lift with gentle surface cleaning, leave it for a more specific assessment rather than digging it out.
Move the seat only as described in the vehicle instructions and keep tools clear of its moving parts. There is no need to unbolt the seat, disconnect wiring, or remove upholstery for this routine. If the dirt or spill is underneath the upholstery rather than on it, that is a different job.
Test, clean a small section, and remove residue
Choose an inconspicuous area representative of the material you intend to clean. Apply the selected product according to its instructions, remove residue, and let the test area dry before judging it. Ford specifically requires a hidden-area test for cleaners and stain removers in its leather-care guidance; passing a test does not override a known material restriction.
- Apply to the cloth or applicator. Keep the amount small and controlled. Do not spray across the cushion as though it were an exterior panel being rinsed later.
- Work one manageable section. Use gentle contact, checking the surface as you go. Avoid repeatedly scrubbing one dot while ignoring a growing change in the surrounding finish.
- Turn to a clean cloth face. Lift the loosened soil rather than carrying it across the seat. Replace the cloth when it is no longer suitable for a clean pass.
- Remove residue as directed. Use the product's specified cleanup method with controlled moisture. For this workflow, do not pour water over the seat or flush the holes.
- Take up excess moisture. Use a separate clean, dry, soft cloth, then inspect before moving to the next section.
The amount-control principle is supported by Lederzentrum's perforated-leather advice, which describes a small amount of cleaning foam on a sponge for its cleaning approach. That is not an instruction to convert any cleaner into a foaming formula. Use the application method approved for the product and upholstery you selected.
Do not flood a hole to chase a remaining speck. If your cloth leaves visible liquid gathering at perforations or seams, stop adding product and remove the excess gently. Reassess the amount on the applicator before continuing; more liquid is not the next step simply because the first pass did not remove everything.
Protect seat sides and avoid aggressive shortcuts
Seat-side precautions deserve their own check. Volvo specifically warns not to spray cleaner directly onto the sides of seats with side airbags; it calls for a cloth lightly dampened with a suitable cleaner instead. Find the corresponding directions for your vehicle rather than assuming the center cushion and seat sides are interchangeable working areas.
Volvo's same instructions prohibit steam cleaning leather and warn against sharp objects and abrasive materials. This guide therefore stays with a gentle cloth-based routine, not steam, powered scrubbing, abrasive pads, or an improvised pressure-air procedure. Do not copy a dramatic cleaning demonstration without first confirming that its process is appropriate for your upholstery.
Ford also lists products to avoid in its leather-seat advice, including household cleaners, alcohol solutions, certain conditioners, and cleaners intended specifically for rubber, vinyl, and plastics. Keep those restrictions within their vehicle-specific scope, and do not assume a product is suitable for leather just because it cleaned the adjacent trim.
| What you see | Conservative next step | Do not escalate to |
|---|---|---|
| Loose dust or crumbs | Gentle vacuuming with a clean, suitable attachment | Wet scrubbing before removing loose material |
| Light surface grime | Hidden-area test, then controlled wiping with an appropriate cleaner | A soaked cloth or blanket direct spraying |
| Material stuck in perforations | Stop if gentle surface work does not lift it; seek upholstery advice | Picks, needles, forceful air, or flushing liquid through holes |
| Peeling, color change, or a tacky finish | Stop and have the surface assessed | Stronger chemicals or repeated abrasion |
| A substantial spill or persistent dampness | Blot accessible liquid and arrange an appropriate assessment | Seat disassembly or improvised forced drying |
Let the seat dry before judging the result
Volvo directs owners to let upholstery dry fully before further use or treatment, while Lederzentrum recommends a well-ventilated drying location for perforated leather. Arrange protected, secure ventilation appropriate to your circumstances. Do not leave an open vehicle exposed to rain or unattended where it is unsafe to do so.
This guide does not prescribe a fixed drying time or tell you to use the seat heater as a dryer. Avoid adding another product while you are still trying to determine whether the upholstery is dry. If the seat seems persistently damp after a spill, a dry-looking surface is not enough reason to declare the job finished.
Inspect the dry result for remaining residue and changes in color, sheen, texture, or feel. Do not automatically identify color on a cloth as harmless dirt; pause if it accompanies a change in the seat finish. If a mark remains but the surrounding material is beginning to change, stop chasing the mark.

Handle stubborn marks without turning cleaning into repair
Identify the mark before changing methods. Sunscreen residue, color transfer, a spill, and an already worn finish are not one problem with one stronger-cleaner solution. For suspected sunscreen residue, our interior sunscreen-cleaning guide provides a separate decision path without treating every pale mark as removable contamination.
Ask a qualified upholstery specialist or the vehicle manufacturer for help when the finish is damaged, holes remain blocked, the material cannot be identified, or controlled cleaning causes an unwanted change. Bring photographs, the product name, any dilution used, and a description of what happened. That is more useful than continuing with several unrecorded products.
Do not automatically add conditioner, dressing, or an exterior coating to complete the job. Follow the exact upholstery-care instructions if a treatment is called for, and wait until the seat is properly dry. The product recommendation here concerns appropriate cleaning, not a blanket approval for protective treatments on perforated upholstery.
For the next maintenance session, keep the routine simple: check the surface, remove loose debris, and address new visible soil before it becomes a larger cleaning project. Use the care schedule appropriate to the vehicle and its actual use rather than an invented universal deep-cleaning interval.
Frequently asked questions
Can I spray cleaner directly onto perforated leather seats?
For this controlled-moisture routine, apply the appropriate cleaner to a cloth or applicator rather than flooding the perforations. Follow the exact vehicle and product directions; Volvo specifically prohibits direct spraying on seat sides with side airbags.
How should I dilute Undrdog Interior Cleaner for leather seats?
The current standard Interior Cleaner instructions specify 50:50 with water and a separate cloth or sponge for leather seats. Confirm suitability and test first; do not transfer that ratio automatically to a different concentrate or override the vehicle's restrictions.
Can I use steam to clear dirt from the holes?
This guide does not recommend steam as a shortcut. Volvo's leather-care instructions prohibit steam cleaning leather; follow your vehicle's requirements and seek specialist advice when gentle cleaning does not resolve the problem.
What if dirt remains inside a perforation?
Do not dig with a needle, force an object into the hole, or pour cleaner through it. If gentle surface cleaning and careful removal of loose debris are insufficient, stop and ask an upholstery specialist to assess the remaining material.
How long should I wait before sitting on the seat?
Wait until the upholstery is fully dry, consistent with Volvo's care guidance. This article gives no fixed drying time; persistent dampness after a spill calls for assessment rather than guessing from the surface appearance.
Does every perforated seat use the same cleaning method?
No universal method is established here. Identify the exact upholstery and follow its vehicle-specific instructions before choosing a cleaner or treatment; the presence of holes does not identify the material or establish compatibility.
Should I condition the seat immediately after cleaning?
Not automatically. Follow the upholstery manufacturer's treatment requirements, allow full drying first, and check product suitability rather than applying a dressing simply because cleaning is complete.
When should I stop and call a professional?
Stop when the finish changes, peeling or damage is present, the seat remains damp after a substantial spill, holes stay blocked, or the material is uncertain. Save the cleaner name, dilution, and photographs so the next person can assess the situation without guessing.
Match the cleaner to the seat, then control the moisture
Review Interior Cleaner's current directions and confirm upholstery suitability before your next careful cleaning session.
Shop Interior Cleaner

Leave a comment
This site is protected by hCaptcha and the hCaptcha Privacy Policy and Terms of Service apply.