


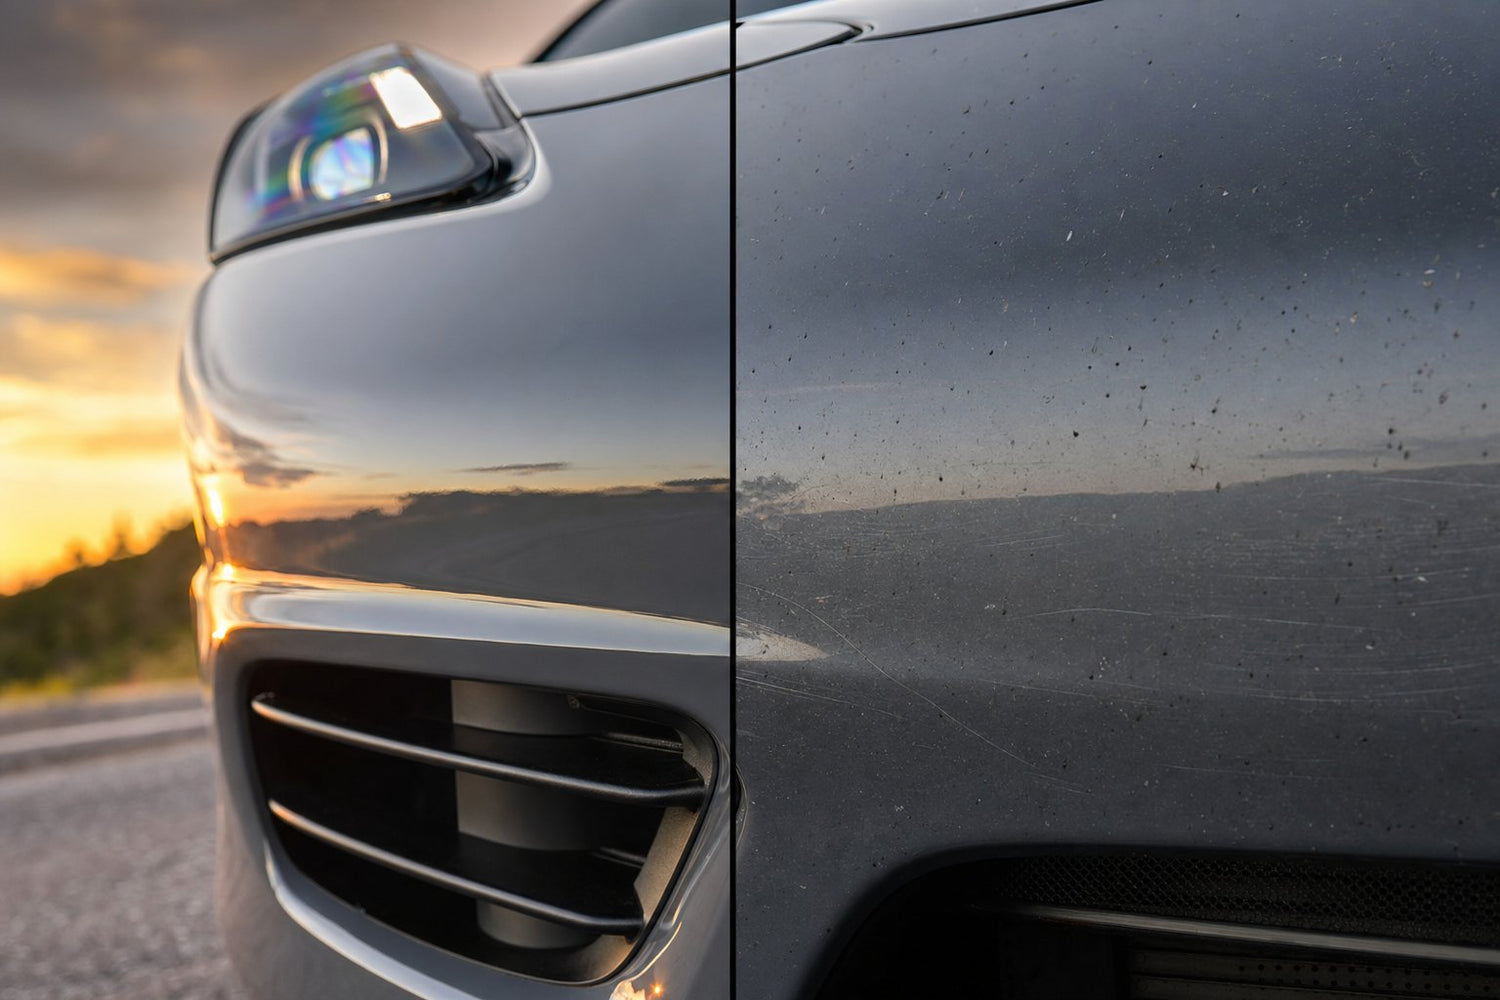
DIY ceramic coating costs $50–$300 in product and 4–15 hours of your time, delivering 1–3 years of protection when you nail the prep. Professional ceramic coating costs $800–$3,500 installed and lasts 3–9 years because a certified installer corrects the paint first and applies a higher-SiO₂ product in a controlled environment. For a new or well-maintained car with a hands-on owner, DIY delivers 80% of the result for 15% of the cost — for beat-up paint or a "set-it-and-forget-it" long-term coating, professional wins outright.

What DIY and Professional Ceramic Coating Actually Are
Both approaches produce the same category of product on the paint — a thin, cross-linked silicon-based layer that bonds to the clear coat and adds gloss, UV protection, chemical resistance, and hydrophobic beading. The differences are in three areas: the product grade, the prep quality, and the application environment.
According to FEYNLAB's 2025 industry breakdown, consumer DIY coatings typically contain 20–50% SiO₂ concentration, while professional-grade coatings run 70–90%+. Higher SiO₂ generally correlates with more durability, harder cure, and better chemical resistance — but only if the coating is applied to properly prepped paint. A pro coating applied over swirled paint and locked-in bonded contamination performs worse than a DIY coating applied over correctly decontaminated paint. Prep matters more than product.
Consumer-grade DIY kits like Undrdog HCC are engineered specifically for owner application — forgiving flash times, longer working windows, and instructions written for people without pro-shop lighting. HCC is our flagship hybrid ceramic — the all-surface product that works on cars, boats, planes, and bicycle frames — and it's designed to give DIY applicators pro-grade durability when the surface is prepped correctly.
Cost: The Numbers Are Not As Simple As They Look
Sticker prices on both sides of this comparison hide most of the actual cost. Here's a realistic breakdown for a first-time DIY applicator versus a professional install in the U.S. market in 2026.

DIY total cost breakdown
| Item | Cost Range | Notes |
|---|---|---|
| Ceramic coating product | $60–$200 | 1–3 year consumer, 3–5 year prosumer |
| Iron/fallout remover | $20–$40 | Skip only if paint is truly new |
| Clay bar or clay mitt | $15–$35 | Non-negotiable for bonded contamination |
| Isopropyl alcohol wipe-down solution | $15–$25 | Strips oils before coating |
| pH-neutral car wash + two-bucket setup | $40–$70 | Grit guards prevent wash marring |
| Microfiber towels (pack of 12+) | $40–$80 | Separate towels for wash, dry, coat leveling |
| Dual-action polisher (if paint correction needed) | $150–$400 | Skip only on truly new paint |
| Polishing pads and compounds | $50–$100 | Cutting + finishing pads and liquids |
| Total (skipping polisher) | $190–$450 | Realistic for new-paint DIY |
| Total (with polisher) | $390–$950 | Realistic for older-paint DIY |
Time investment: 4–8 hours for a coating-only application on new paint, 15–30+ hours if you're doing a proper multi-stage paint correction first. That's a Saturday you're spending on your car instead of anything else.
Professional install cost breakdown
According to South Shore Detail's 2026 pricing guide, professional ceramic coating for most vehicles runs $900 to $2,500, with larger SUVs, trucks, and luxury vehicles exceeding $3,000. Paint correction typically adds $300 to $1,000+ depending on defect severity.
| Package Tier | Cost Range | Lifespan | Typical Inclusions |
|---|---|---|---|
| Entry-level pro | $600–$1,000 | 1–3 years | Wash, decon, light polish, single layer |
| Mid-tier pro | $1,000–$2,000 | 3–5 years | Two-stage paint correction, multi-layer coating, wheel faces |
| Premium pro | $2,000–$3,500 | 5–7+ years | Full multi-stage correction, premium coating, wheels, trim, glass |
| Ultra-premium | $3,500–$7,000+ | 7–10+ years | Multi-layer premium systems, exotic paint, full detail |
Paint correction is usually 40–50% of a mid-tier pro job's total cost. If your paint is already in great shape, the correction premium mostly evaporates and the price gap narrows dramatically.
Where DIY Actually Beats Professional
DIY isn't just a budget compromise. There are specific scenarios where DIY produces a better outcome than the average professional install:
- You own multiple vehicles. Buying a bottle of prosumer coating and applying it to your daily driver, your spouse's car, and your project car spreads product cost across three applications while still fitting in one weekend.
- You have a project car or older vehicle. Sinking $2,000 into a pro coating on a 15-year-old daily driver rarely makes financial sense. DIY provides real protection for a fraction of the cost.
- You enjoy the process. Detailing is a hobby for a lot of owners. If you get satisfaction from the work, DIY wins on the intangibles.
- Your paint is already in excellent shape. DIY on new paint (a certified pre-owned dealer sale, a newly purchased car, a fresh respray) skips the biggest professional cost driver — paint correction — and produces results very close to a mid-tier pro install.
- You have marine, RV, or non-automotive surfaces. Boat gel-coat, RV roofs, and bicycle frames are usually DIY territory because pro coating shops focused on cars often don't accept them. Products like Undrdog Marine are engineered for exactly these applications.
Where Professional Beats DIY Every Time
- Paint that needs serious correction. Removing three years of swirl marks and wash scratches with a random-orbital polisher requires practice most first-timers don't have. Burning through clear coat on an edge is common. Pros have finished thousands of correction jobs and know exactly how much cut a specific paint hardness needs.
- New luxury or exotic vehicles. If the paint is factory-perfect and worth $3,000+ per panel to respray, a DIY mistake is far more expensive than the pro premium.
- You want a documented warranty. Manufacturer-backed warranties for 5-10+ year professional coatings require certified installer application. DIY has no warranty.
- You don't want to spend a weekend on it. Time has value. If your weekend is worth more to you than $1,500, a pro install is a rational tradeoff.
- You don't have controlled indoor space. Wind, dust, direct sun, humidity, and temperature all affect coating cure. A garage helps; a filtered pro bay helps more.
Side-by-Side Comparison Table
| Factor | DIY Ceramic Coating | Professional Ceramic Coating |
|---|---|---|
| Upfront cost (first-timer) | $190–$950 | $600–$3,500 |
| Product SiO₂ concentration | 20–50% (consumer) to 70%+ (prosumer) | 70–95%+ (pro-only formulations) |
| Durability | 1–3 years typical; 3–5 with prosumer product | 3–9 years, up to 10+ on multi-layer premium |
| Time investment | 4–30+ hours of your time | 1 hour drop-off, 1 hour pickup |
| Paint correction included | Only if you do it yourself | Standard on mid-tier and above |
| Application environment | Your garage or driveway | Climate-controlled bay with proper lighting |
| Warranty | None | 1–10 years, manufacturer or shop-backed |
| Risk of application error | High streaks, high spots, uneven coverage | Low — trained applicator, controlled conditions |
| Gloss result | Very high with proper prep, variable otherwise | Consistently mirror-like |
| Best for | New paint, budget owners, hobbyists, multi-vehicle households | Luxury paint, heavy correction needs, no-time owners |
The Five-Year Cost Reality
Sticker price isn't the true cost because DIY and pro coatings have very different lifespans. Here's how the math plays out over five years on a mid-size daily driver in normal use:
| Approach | Year 1 | Reapplications | 5-Year Total | Hours Invested |
|---|---|---|---|---|
| Consumer DIY spray (6–18mo) | $100 | 3–5 reapplications @ $50 each | $250–$350 | 10–25 |
| Prosumer DIY coating (2–3yr) | $300 | 1–2 reapplications @ $200 | $500–$700 | 15–40 |
| Entry-level pro (1–3yr) | $800 | 1–2 reapplications | $1,500–$2,400 | 2 |
| Mid-tier pro (3–5yr) | $1,500 | 0–1 top-up | $1,500–$2,000 | 2 |
| Premium pro (5–7yr) | $2,500 | None | $2,500 | 2 |
Prosumer DIY is the strongest value play — roughly one-third the cost of mid-tier pro over five years, and if you enjoy the work the hours cost is essentially zero. Mid-tier pro is the sweet spot for owners who don't want to touch the car.
How To Actually Get Pro-Grade Results With DIY

The gap between an "okay" DIY coating and one that rivals a pro install is almost entirely prep. Follow this workflow:
- Two-bucket contact wash with pH-neutral soap. This alone eliminates most first-timer wash marring.
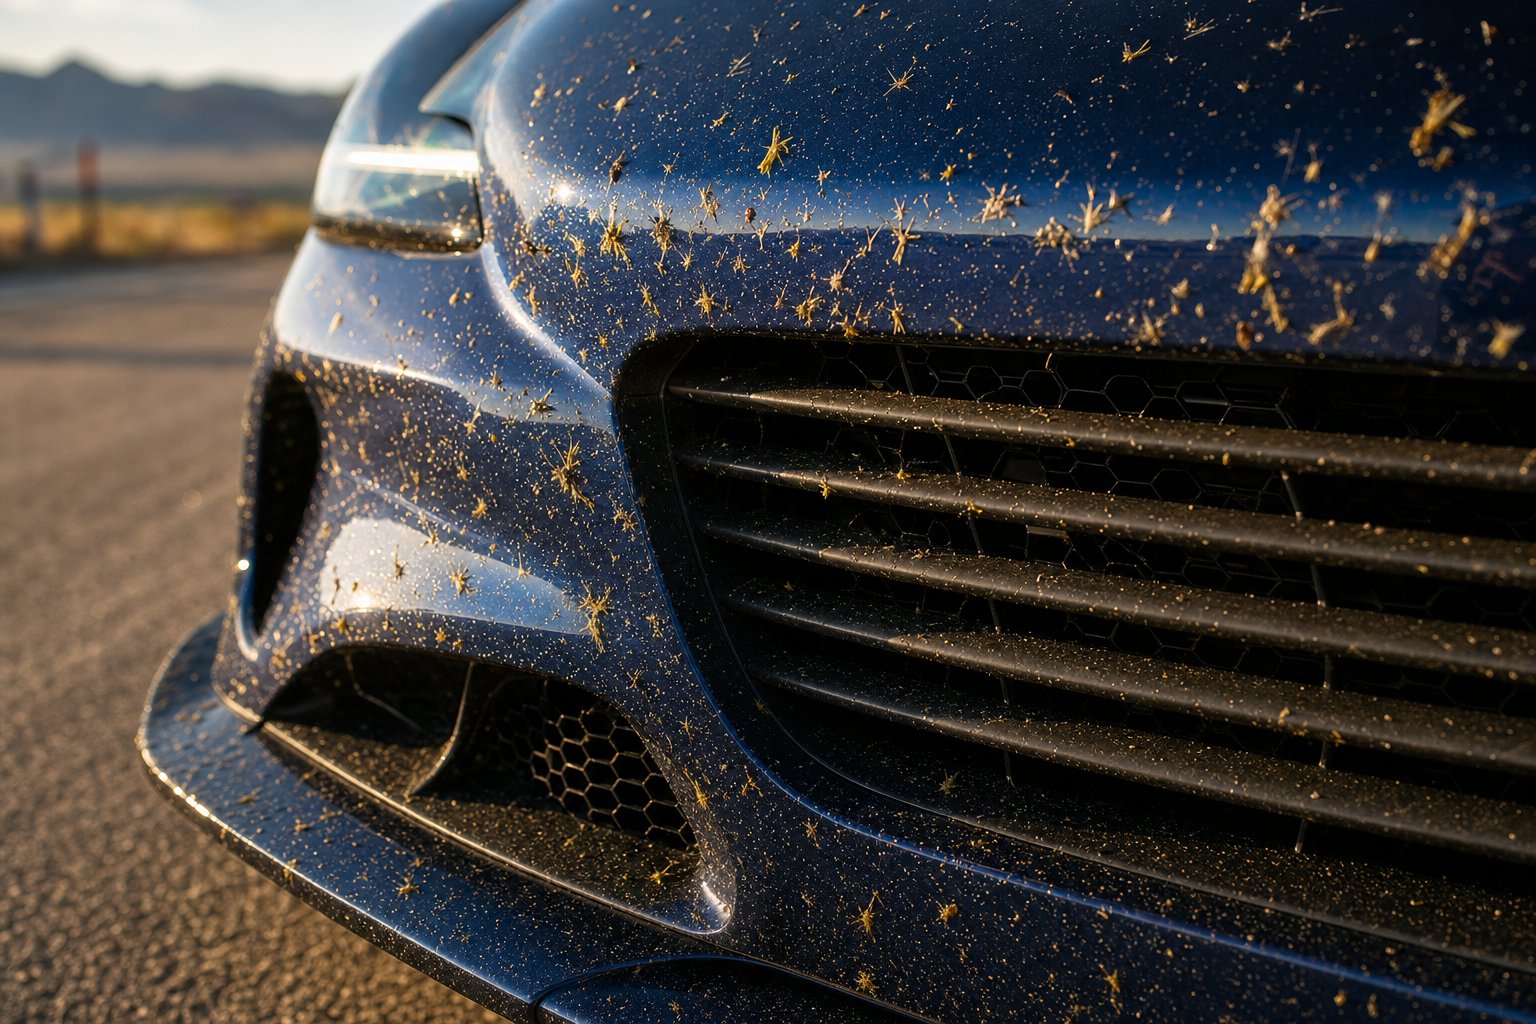
- Chemical decontamination with an iron remover. The Purps dissolves bonded iron particles and brake dust that a wash won't touch. Skipping this step is the #1 reason coatings fail early. For the correct order of decon steps, see our guide on the correct paint decon order before coating.
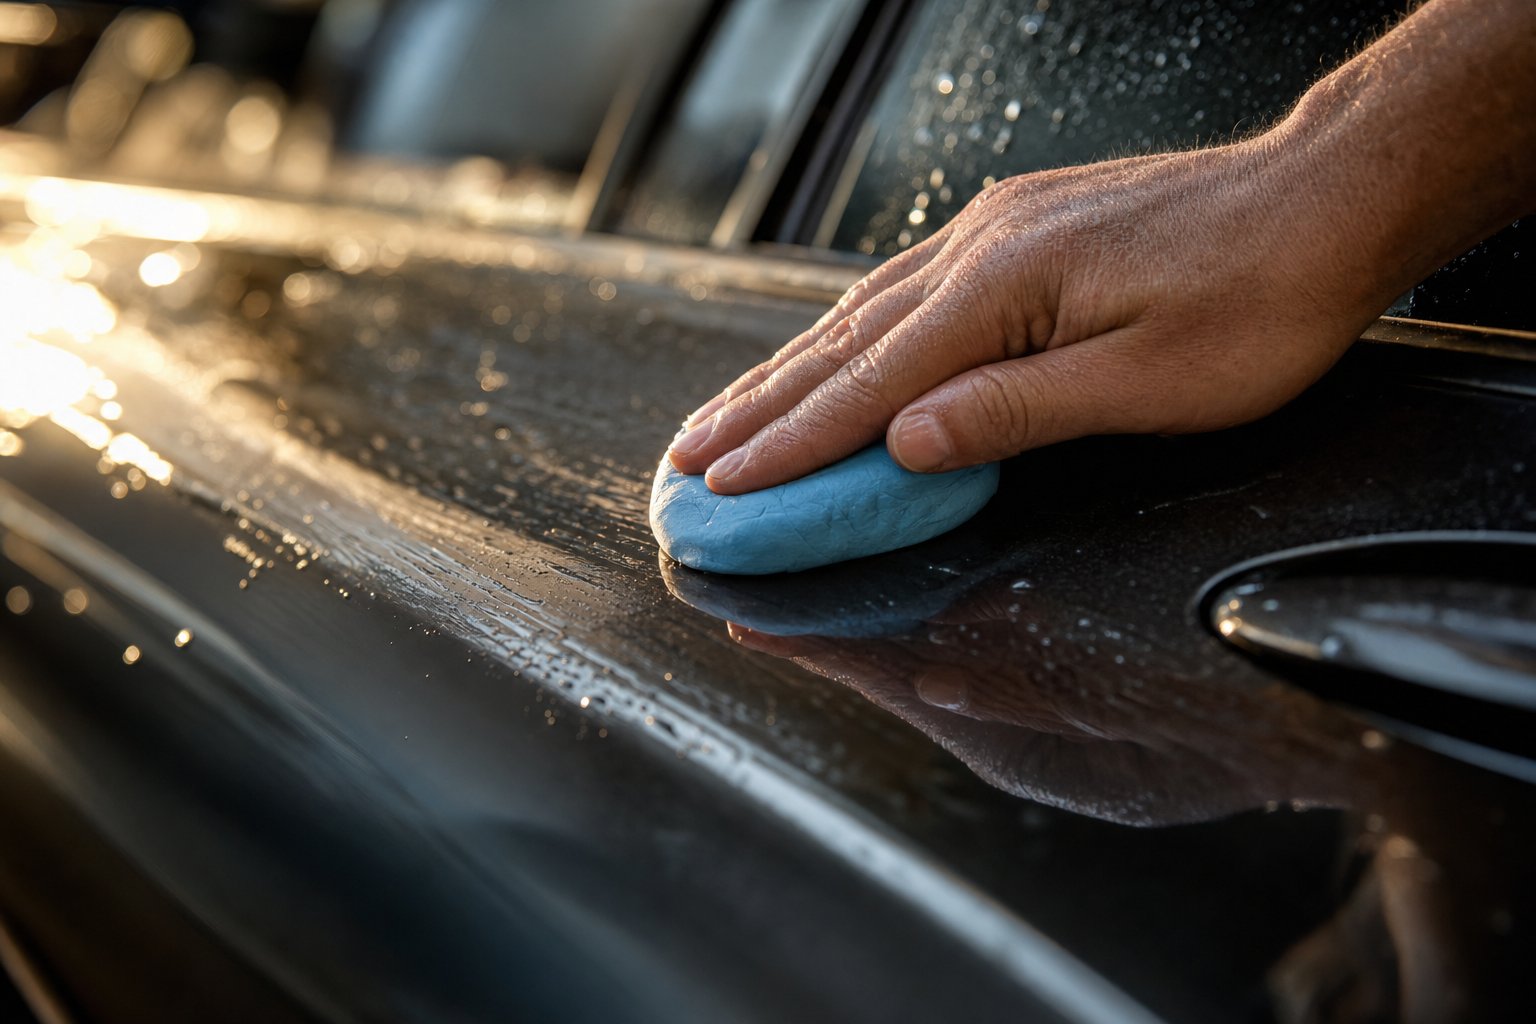
- Clay bar or clay mitt. Mechanical decontamination removes anything the iron remover didn't dissolve. Follow the sequence in our detailed clay bar walkthrough.
- Paint correction if needed. Look at the paint under a 3000K LED at low angle. If you see swirls, they will be locked in under the coating for years. Correct with a DA polisher and appropriate compound and pad.
- IPA wipe-down before coating. A 15–20% IPA/water solution strips residual polishing oils. Skip this and the coating will not bond properly.
- Apply in the right conditions. Out of direct sun, 60–80°F, low humidity if possible. Cross-hatch application pattern in small sections.
- Level before flash time expires. Watch the "rainbow" appear on the surface — that's your cue to level with a plush microfiber. Waiting too long is the second most common DIY failure. For the specifics on avoiding streaks, see our guide to streak-free ceramic application.
- Let it cure. No water, no driving in wet weather for 24–48 hours minimum. Full cure takes 1–3 weeks — treat it gently during that window.
Frequently Asked Questions About DIY vs Professional Ceramic Coating
Can DIY ceramic coating actually last as long as professional?
With top-tier prosumer product and excellent prep, DIY can reach 3–5 years — approaching mid-tier pro durability. Under-$100 consumer sprays typically last 6–18 months. The gap is real but has closed considerably in the last five years.
What is the biggest mistake DIY applicators make?
Skipping the IPA wipe-down before coating. Residual polishing oils prevent proper bonding, and the coating fails within months. The second biggest is not leveling the coating quickly enough — high spots and streaking result.
Do I need to polish before applying ceramic coating?
If your paint has any visible swirls or scratches, yes. The coating locks in whatever is under it. If paint is new or truly in excellent shape, skip to decon and IPA.
Is it worth paying for a professional if my car is new?
Rarely, unless the paint value is very high. New paint doesn't need correction, which eliminates 40–50% of the pro premium. A prosumer DIY coating produces excellent results on new paint at a fraction of the cost.
How long does DIY ceramic coating take to apply?
On new paint with no correction needed, 4–8 hours from a clean wash through final leveling. With paint correction added, 15–30+ hours spread across two days. Curing adds 24–48 hours before the car is water-safe.
What's the difference between a ceramic spray and a real DIY ceramic coating?
Ceramic sprays are quick-application products that add hydrophobic beading and a light protective layer lasting 3–6 months. True DIY ceramic coatings cross-link into a durable film lasting 1–5 years. Sprays are maintenance products; coatings are protection products. For a deeper look at the spray category, see our quick detailer spray guide.
Will a professional coating protect against rock chips?
No. Neither DIY nor professional ceramic coatings meaningfully protect against rock chips. Rock chip protection requires paint protection film (PPF), a separate physical product. See our ceramic coating vs PPF guide for the full breakdown.
How do I know if a pro installer is legitimate?
Ask for their coating brand and certification, look at their portfolio for prior work on your specific vehicle type, ask exactly what paint correction is included in the quoted price, and read the warranty document before paying. Any legitimate shop welcomes these questions.
Can I coat my wheels and glass myself?
Yes to both, and DIY is common here even when the paint is done professionally. Wheel-specific and glass-specific coatings from the same brand as your paint coating are widely available for DIY use.
What happens if I mess up a DIY ceramic coating?
High spots and streaks require polishing to remove — the coating cannot be wiped off after cure. A DA polisher, cutting compound, and a couple hours will remove a failed coating so you can start fresh. This is the single biggest financial risk of DIY.

Leave a comment
This site is protected by hCaptcha and the hCaptcha Privacy Policy and Terms of Service apply.