


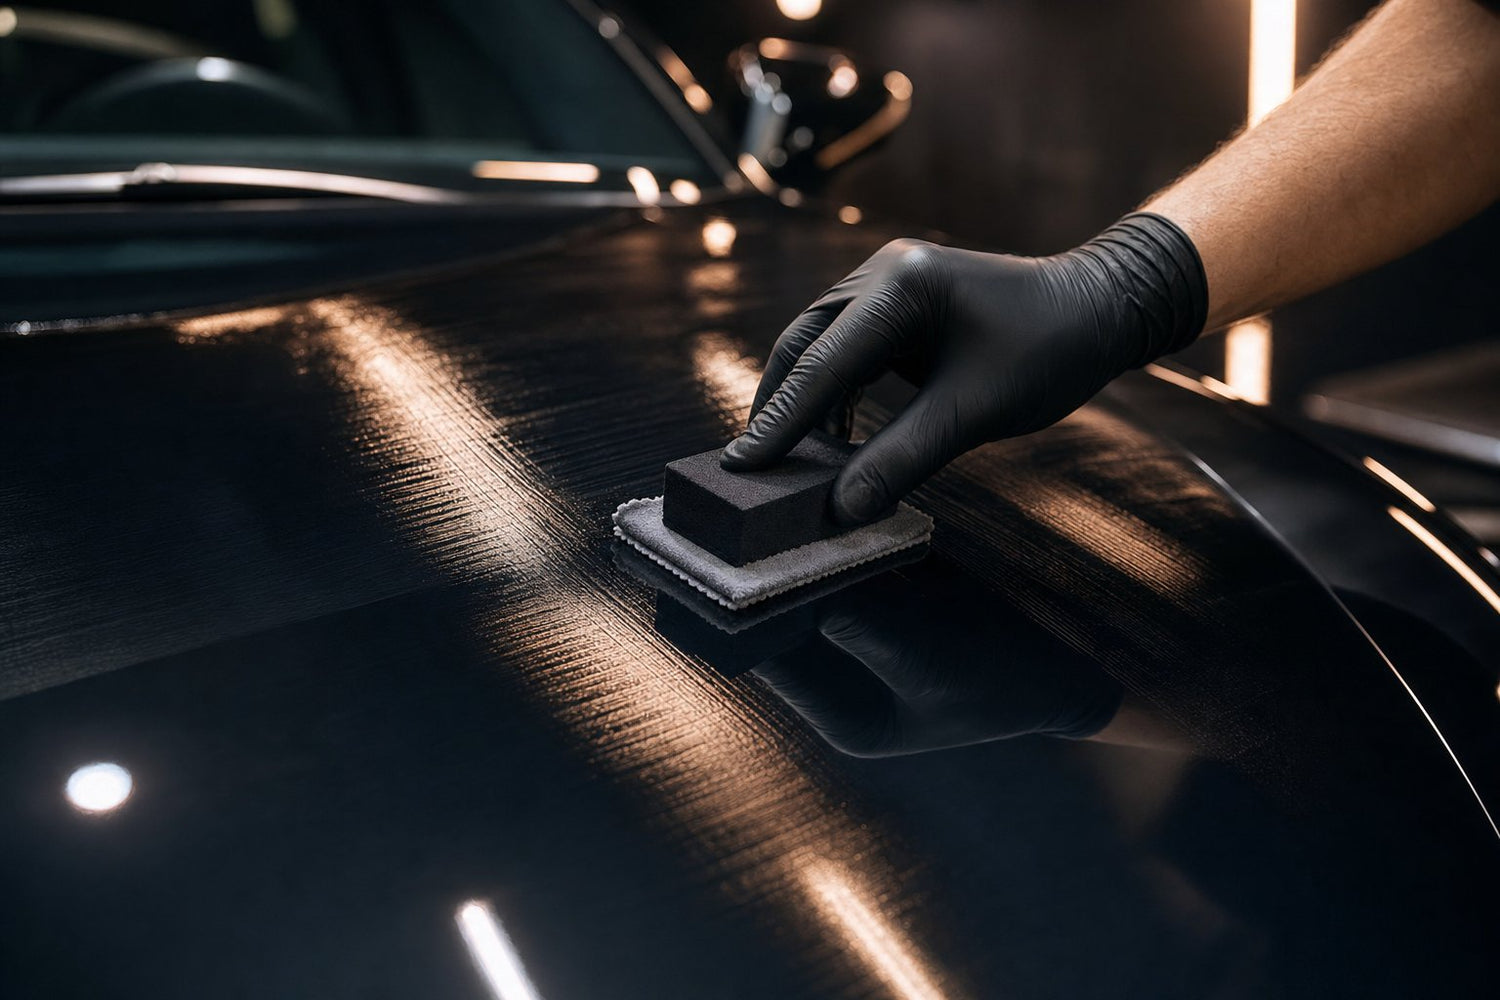
To apply a DIY ceramic coating without streaks or high spots, work in small 2×2 ft sections at 60–75°F with humidity under 60%, lay down a tight crosshatch pattern with an applicator, wait for the coating to flash (usually 30–90 seconds), then level with a plush microfiber towel followed by a clean second towel. Missing the flash window or skipping the second towel is what causes 90% of DIY streaks and high spots.

What Actually Causes Streaks and High Spots
A "high spot" is a raised, hazy patch where the coating cured before you leveled it. A streak is the same problem in linear form — usually a towel edge or applicator line that dried into the paint. Both come from the same three mistakes:
- Applying too much product. Ceramic coatings are meant to lay down in a microscopically thin layer. More product does not mean more protection — it means longer flash time, longer cure, and a much higher chance of a stubborn high spot you can only remove with polish.
- Missing the flash window. Once the coating starts to "rainbow" or haze, you have a narrow window to wipe it off cleanly. Wipe too early and you smear uncured resin. Wipe too late and you're trying to remove cured silica.
- Using the wrong towel or a dirty one. Short-nap plush microfiber is what levels a coating cleanly. Waffle-weave, glass, or contaminated towels drag product and leave streaks.
According to EPA VOC guidance, most ceramic coating solvents (isoparaffins, ethyl acetate, and similar carriers) evaporate faster in warm, dry, ventilated conditions — which is exactly why environment is the first thing to get right.
The Environment You Need Before You Open the Bottle
Ceramic coating chemistry is unforgiving about temperature and humidity. Get these dialed in before anything else:
- Temperature: 60–75°F (16–24°C). Below 60°F, solvents evaporate too slowly and the coating won't flash on time. Above 75°F, flash time collapses and you'll be chasing high spots.
- Humidity: under 60%. High humidity makes leveling trickier and can trap water into the curing layer. Hawaii, the Gulf Coast, and Florida detailers usually need a dehumidified indoor bay for coating work.
- Indoor, out of direct sun. UV light kicks off curing early. Applying in the sun almost guarantees high spots on the panel you started on.
- Clean, dust-free air. A single piece of lint can create a permanent inclusion in the coating. Blow the panel with filtered compressed air right before application.
- Bright side lighting. You have to be able to see the flash haze. A shop light held at a low angle across the panel is non-negotiable.

Prep the Paint Correctly (This Is 80% of the Job)
A ceramic coating only bonds to what's directly underneath it. If you skip decon or leave polishing oils on the surface, you're bonding the coating to contamination — which is why it fails in a few months instead of years. The correct sequence:
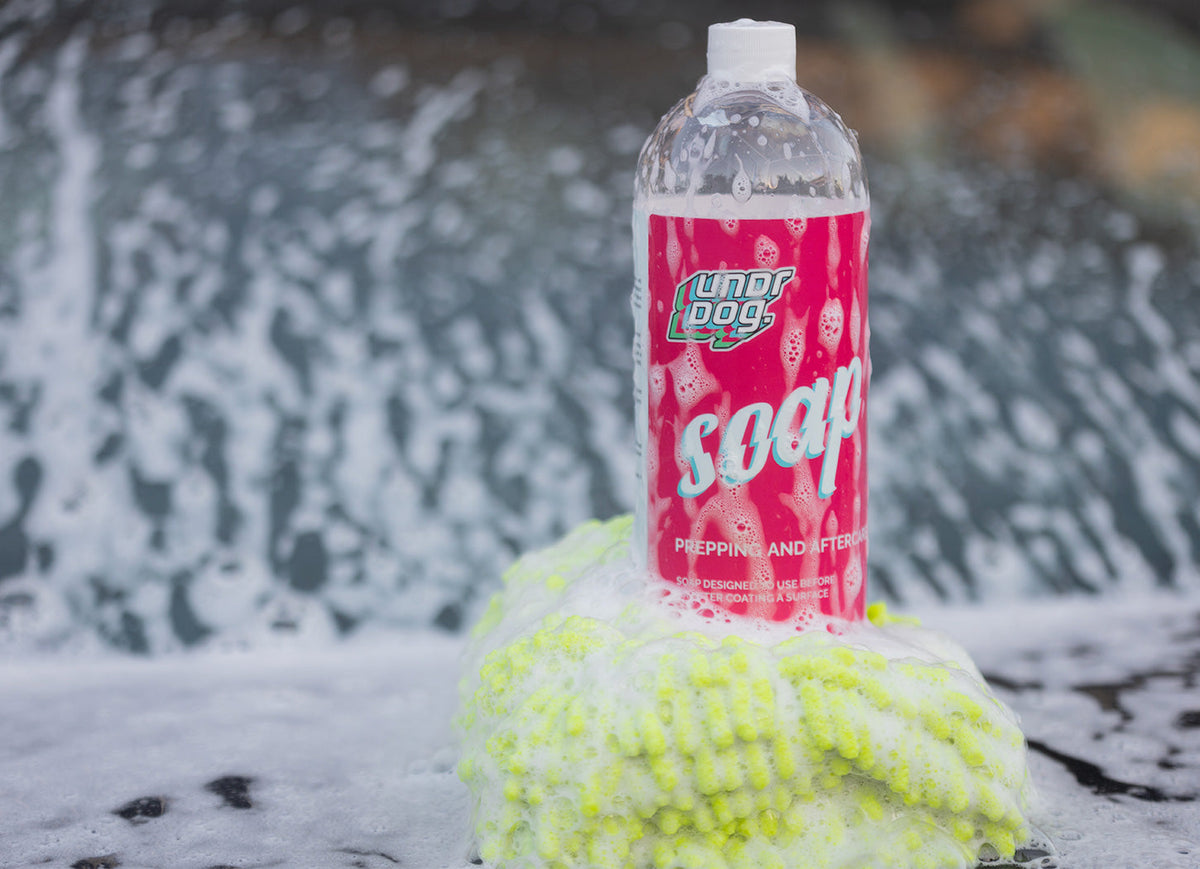
- Wash with a pH-neutral, wax-safe shampoo like Undrdog Soap using the two-bucket method.
- Iron decontamination with The Purps. Iron fallout from brake dust and rail dust embeds into the clear coat and blocks coating adhesion.
- Clay bar or clay mitt to pull out any remaining bonded contaminants. The paint should feel like glass, not sandpaper.
- Machine polish if the paint has swirls, water spots, or oxidation. Whatever defects are in the paint will be locked in permanently under the coating.
- Panel wipe with a 15–25% IPA solution or a dedicated pre-coating prep spray. This strips polishing oils that would otherwise prevent bonding.
- Tape off rubber trim, plastic trim, badges, glass edges, and headlights. Ceramic coating on porous plastic trim can leave a permanent white residue that only wet-sanding will remove.
For the full decontamination sequence with dwell times and product order, see our complete paint decon guide.
The Application Technique — Section by Section
Once the car is prepped, taped, and the environment is right, here's the exact motion that avoids streaks:
- Work in 2×2 ft sections. Half a hood, one door, or one fender at a time. Never do a whole hood in one shot.
- Load the applicator sparingly. 3–5 drops on a fresh applicator pad. If product is dripping off the block, you're wasting it and setting yourself up for high spots.
- Lay down a crosshatch. Straight lines left-to-right across the section, then straight lines top-to-bottom. This guarantees even coverage without missing gaps.
- Watch for the flash. Under your side light, the coating will shift from wet-and-oily to a rainbow or hazy sheen. Depending on temp and humidity, this happens in 30 seconds to 3 minutes.
- Level with towel #1. Fold a plush short-nap microfiber into quarters, glide across the section in straight lines with light pressure, wiping the flash haze off. Do not scrub.
- Buff with towel #2. Rotate to a clean plush microfiber and buff the section again with almost no pressure. This second pass catches any resin the first towel smeared.
- Inspect at a low angle. Move the side light around and look for streaks, hazy patches, or lint. If you find a high spot, address it immediately (see the next section).
- Move to the next section. Slightly overlap the previous section so you don't leave a dry line.
HCC Hybrid Ceramic Coating — our flagship all-surface hybrid ceramic that also works on boats, planes, and bicycles — flashes in roughly 60–90 seconds at 70°F and 50% humidity. Adjust your timing if your shop is hotter, colder, or more humid.
Ceramic Application Conditions — Quick Reference
| Variable | Ideal | Workable | Avoid |
|---|---|---|---|
| Ambient temperature | 65–72°F | 60–80°F | Under 55°F or over 85°F |
| Relative humidity | 40–55% | Up to 65% | Over 70% or condensing surfaces |
| Panel temperature | Cool to warm touch | Ambient | Hot to the touch or under direct sun |
| Lighting | Bright LED side light | Overhead LED | Dim garage, only overhead fluorescent |
| Section size | 2×2 ft | Half a panel | Whole hood at once |
| Towels per panel | 2 plush microfiber | 1 plush + inspection | Waffle weave or reused shop towels |
How to Fix a High Spot That's Already Cured
You will get at least one high spot on your first DIY coating. Here's the escalation order — try each step before moving to the next:
- Fresh coating on top. If the high spot is under 60 minutes old, apply a small amount of the same coating directly onto it, wait 15–30 seconds, and level with a clean plush microfiber. The fresh solvent will re-dissolve the high spot.
- Coating remover / prep polish. If it's been more than an hour, use a dedicated coating remover or a mild polish (like a 3000-grit finishing polish) on a soft foam pad by hand. Work only the affected spot.
- Machine polish. For stubborn or larger high spots that are fully cured, spot-polish with a DA polisher and a light finishing pad. This will remove the coating on that spot — you'll need to re-coat afterward.

The First 24 Hours After Application
The coating is dry-to-touch quickly but nowhere near fully cured. Full crosslinked cure takes 24 hours to 7 days depending on the product. During that window:
- No water contact — no rain, sprinklers, hose, or wash. If a stray drop lands, gently blot with a plush microfiber; do not rub.
- No detail sprays, quick detailers, or IPA. The Undrdog Quick Detail topper waits until at least 24 hours after application.
- Keep the car garaged if possible. Dust and pollen embed in soft coating and become permanent.
- No aggressive chemicals — no wheel cleaner overspray, no APC, no glass cleaner that could migrate onto coated paint.
- Avoid the car sitting under trees (sap, bird droppings) or in a workshop with airborne contaminants (welding, sanding, sawdust).
According to ISO 11507-based accelerated weathering studies referenced across the coatings industry, silica-based coatings reach roughly 60–70% of final hardness within the first 24 hours and continue to crosslink for up to a week. That's why the first week matters more than any single wash after it.
Tools You Actually Need for a Clean DIY Application
- Nitrile gloves (2 pairs — swap when the outer layer gets tacky)
- Applicator blocks with fresh suede microfiber wraps (one wrap per panel)
- 4–6 plush short-nap microfiber towels — clean, laundered without fabric softener
- A bright LED side light or headlamp
- Panel-wipe / prep spray in a labeled bottle
- 3M or equivalent painter's tape for trim, badges, and glass edges
- Filtered compressed air or a battery blower to knock lint off the panel
- A hygrometer and thermometer — you need to actually know your bay conditions
Common DIY Mistakes to Avoid
These are the errors that show up most often in first-timer coating jobs:
- Applying outdoors "just for good light" — you'll get high spots on the first panel
- Skipping the panel wipe because the car "looks clean"
- Coating an entire hood as one section — flash window closes long before you can level it
- Using the same microfiber towel for wipe-off and buffing — cross-contamination from cured coating
- Doing a second layer on top of an uncured first layer — this rarely improves durability and usually multiplies streaks
- Washing the car within the first 24 hours because it looks streaky — that's normal cure haze that resolves on its own
When to Skip DIY and Call a Pro
DIY ceramic coating is realistic for most enthusiasts on a car with good paint. Consider a professional installer if:
- Your paint has heavy swirls, water spots, or oxidation that requires multi-step polishing before coating
- You don't have access to a climate-controlled indoor space
- The vehicle is a fresh repaint (needs 30–90 days of cure before coating anyway — read the paint shop's instructions)
- The vehicle is a high-value collector or exotic where a single high spot is unacceptable
For a deeper breakdown of the cost and effort tradeoff, see our 12-month coated vs. uncoated cost comparison.
Frequently Asked Questions
How long should I wait between the crosshatch application and wiping the coating off?
Follow the flash cue, not a fixed timer. Watch under a side light and wipe when the coating shifts from wet-and-shiny to a rainbow or hazy sheen — typically 30–90 seconds at 65–75°F and 40–60% humidity. Warmer or drier conditions shorten that window; cooler or more humid conditions extend it.
What temperature and humidity are best for applying ceramic coating?
65–72°F and 40–55% relative humidity, indoors, out of direct sun. You can work at 60–80°F and up to 65% humidity, but conditions outside that range dramatically increase the risk of streaks and high spots.
Can I apply ceramic coating in direct sunlight?
No. UV light triggers the coating to flash and cure almost immediately, which almost guarantees high spots. Move the vehicle into a shaded, ventilated indoor space before opening the bottle.
How many layers of ceramic coating should I apply?
One properly applied layer is usually enough for most DIY products. A second layer, if the product allows it, should be applied only after the first has flashed and been leveled cleanly. Layering wet-on-wet rarely improves durability and typically multiplies streaks.
How do I remove a ceramic coating high spot that's already cured?
Try fresh coating on top first — apply a small amount over the high spot, let it flash, and level. If cured longer than an hour, use a coating remover or a mild finishing polish by hand. For stubborn high spots, spot-polish with a DA polisher and a finishing pad, then re-coat that area.
What microfiber towel should I use to level ceramic coating?
A plush, short-nap microfiber towel (roughly 400–500 GSM) laundered without fabric softener. Waffle-weave and glass towels are too thin. Use two towels per panel — one to wipe off the flash haze, one to buff clean.
Can I wash the car right after applying ceramic coating?
No. Skip water contact for at least 24 hours. Full crosslinked cure takes anywhere from 24 hours to 7 days depending on the product, and any water contact during that window can cause water spots that are locked into the coating.
Do I need to polish before applying ceramic coating?
If your paint has swirls, water spots, or oxidation, yes — the coating locks those defects in permanently. If the paint is already in excellent condition (new car, corrected paint, or freshly polished), a simple panel wipe is enough.
Can I use one ceramic coating on my car, boat, and bicycle?
Yes — HCC Hybrid Ceramic Coating is formulated as an all-surface flagship for cars, boats, planes, and bicycles. That said, dedicated Marine and Marine Plus products exist for boats that live in the water full-time and need saltwater-specific chemistry.

Leave a comment
This site is protected by hCaptcha and the hCaptcha Privacy Policy and Terms of Service apply.