


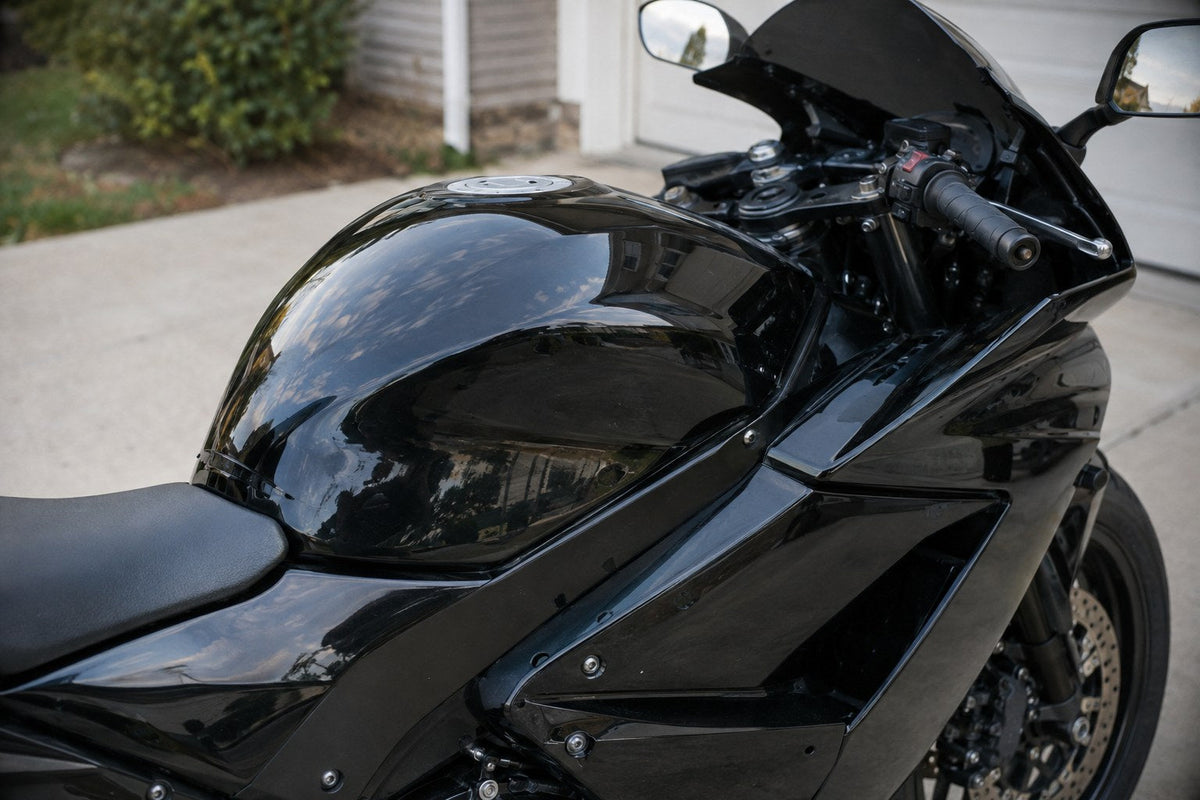
Ceramic coating a motorcycle is one of the highest-return protection moves you can make — bikes have thinner paint, more exposed surfaces, and more contact damage than cars, and a properly prepped and coated bike is dramatically easier to keep clean between rides. The right approach is to coat the fuel tank, fairings, fenders, and wheels with a proven ceramic like HCC Hybrid Ceramic Coating, and then back it up with PPF on high-abrasion zones like the tank sides and fairing leading edges. This guide walks you through what to coat, what not to coat, how to prep, and how to keep the finish looking sharp for years.

Why Motorcycles Need More Protection Than Cars
A motorcycle's paint takes a beating that a car's paint never does. As EuroLuxe Detailing points out, motorcycles have thinner paint, more exposed panels, and more direct contact with the rider — belt buckles, jacket zippers, boot straps, and knees all touch painted surfaces every time you ride. There's no bodywork in front of the fairing to catch road debris. And the fuel tank sits right where rider gear rubs constantly.
Add UV exposure (every ride is a top-down sun bath), fuel spills at the pump, chain lube fling, brake dust from unshielded wheels, and bug guts at highway speed, and you have a surface that ages faster than any car finish. Ceramic coating alone doesn't stop rock chips or belt-buckle gouges — nothing short of paint protection film does — but it prevents the constant lower-grade damage that turns a two-year-old bike into something that looks five.
What Ceramic Coating Actually Does on a Motorcycle
Modern ceramic coatings cure into a hard, hydrophobic top layer chemically bonded to the clearcoat. On a motorcycle, that means five specific benefits:
- UV resistance. Sun fade is the number-one killer of paint gloss on parked bikes. A ceramic layer absorbs UV before it reaches the clearcoat.
- Chemical resistance. Fuel spills at the pump, bug guts, and bird droppings can etch bare clearcoat in hot weather. A coated surface gives you time to wipe them off before damage sets in.
- Hydrophobic self-cleaning. Water beads up and sheets off, taking dirt with it. Chain lube fling wipes off with a damp microfiber instead of needing degreaser.
- Gloss enhancement. A properly applied coating adds visible depth and wetness to the paint that survives wash cycles.
- Easier cleaning. Every wash takes less time and less product. On a bike you're washing weekly during riding season, that adds up fast.
What ceramic coating does not do: stop scratches, prevent rock chips, or eliminate the need for tank pads and PPF on high-abrasion zones. It's a chemical barrier, not a physical armor layer.
What Parts of the Bike Should You Coat?
Not every surface benefits equally. Here's the practical breakdown:
Fuel Tank — Yes, Absolutely
The tank is the most-touched, most-abused painted surface on the bike. It sits right between the rider's legs and takes zipper drag, knee rub, key drops, tank bag contact, and fuel spills every ride. Coating the tank gives you chemical resistance against ethanol fuel spills and easy cleanup for the daily contamination. Stack a tank pad and tank-side PPF on top for physical protection where zippers and buckles hit.
Fairings and Bodywork — Yes
Painted fairings, tail sections, and side panels all take UV and bug-strike damage. Coating them is one of the highest-return moves you can make. The Mrfairing motorcycle paint protection guide notes that fairing leading edges also take rock-chip damage at highway speed, so pair ceramic with PPF on the nose cone and fairing edges of a sport bike.
Fenders — Yes
Front and rear fenders are close to the tires and eat road spray, water spots, and chain lube fling on the rear. Coating them makes weekly cleanup dramatically faster.
Wheels — Yes (Different Prep)
Painted or powder-coated wheels benefit enormously from ceramic coating. Brake dust bonds to bare wheel finishes in hours and etches within days on hot rides. A coated wheel wipes clean with soap and water even after long trips. Wheels need extra decon prep (iron remover, degrease) before coating because they carry embedded brake particles most owners never see.
Chrome and Polished Aluminum — Sometimes
Ceramic can go on chrome and polished aluminum to slow tarnishing and make cleanup easier, but the visual bond is less dramatic because these surfaces are already highly reflective. Do it if you have leftover product; skip if you're on a budget.
What NOT to Coat
- Seat, grips, and rubber pads. These need friction. Coating makes them slippery.
- Tires. Never coat a tire's contact patch. Tire dressing on sidewalls only.
- Brake rotors and calipers (rotor face). Braking generates heat and friction you don't want to change. Caliper bodies are fine to coat; rotor faces are not.
- Exhaust headers and hot engine parts. Standard automotive ceramic coatings aren't rated for the temperatures headers hit. Use a dedicated high-temp header coating instead.
- Windshield / screen. Use a dedicated glass coating rather than automotive paint ceramic — the formulations behave differently on transparent polycarbonate.
Prep: The Step That Makes or Breaks Coating Life

Ceramic coating is only as good as the surface underneath. Applying coating over swirls, contamination, or old sealant traps them under a semi-permanent layer. Follow this prep sequence:
1. Two-Bucket Wash
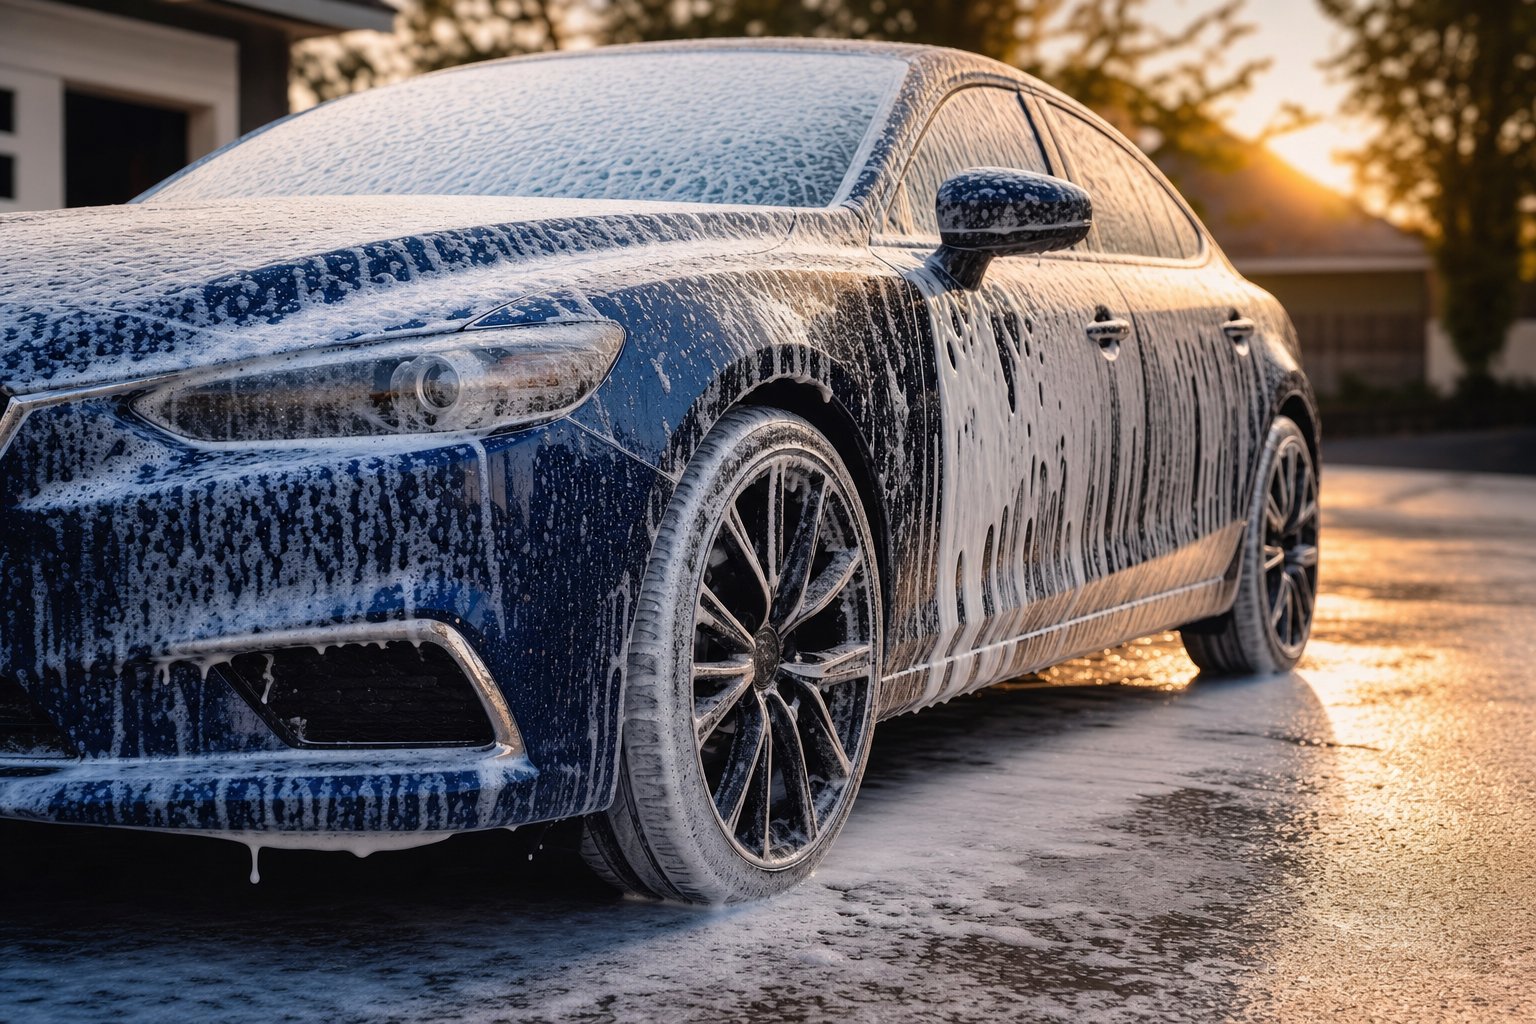
Use a dedicated ceramic-safe soap like Undrdog Soap with two buckets — one soap, one rinse. Never one-bucket wash a bike; you'll drag grit across paint and add swirls. Cool the bike first and work in shade. See our full two-bucket wash technique guide for details that apply directly to bike washing.
2. Iron Decon
Spray an iron remover like The Purps onto wheels, fenders, and any painted surface within 3 feet of the wheels. Watch the purple bleed as embedded brake dust and rail dust dissolve. Rinse thoroughly. This step is more important on bikes than on cars because wheels are fully exposed with no fender well to trap and hide contamination.
3. Clay Bar
Clay bar every painted surface to lift bonded contamination the wash and iron decon couldn't get. Use plenty of clay lubricant. Fold the clay to a clean face when it grays. This step is what makes ceramic bond flat to clearcoat instead of over a rough surface. See our clay bar guide for technique.
4. Polish or Correction (Optional but Recommended)
If the paint has visible swirls or oxidation, machine-polish now. A ceramic coating over swirls locks them in for the life of the coating. On a new bike, one pass with a light finishing polish is usually enough. On a used bike, cutting compound followed by finishing polish may be needed.
5. IPA Wipe-Down
Wipe every painted surface with a 15–20% isopropyl alcohol / water mix to strip polish residue and any oils. This is the last step before coating. Skip it and you'll have adhesion issues.
6. Apply Coating in a Clean, Cool, Dry Space
Work indoors, out of direct sun, at 60–75°F. Apply HCC panel by panel with the included applicator, following the crosshatch pattern in the product instructions. Level with a plush microfiber before flash time ends. See our streak-free ceramic application guide for the exact rhythm.
HCC vs Pro vs Pro Plus for Motorcycles
Undrdog offers three ceramic tiers for painted surfaces. Here's how they compare for motorcycle use:
| Product | Best For | Difficulty | Notes |
|---|---|---|---|
| HCC Hybrid Ceramic | All-around bike coating for most owners | Beginner-friendly | Flagship all-surface: tank, fairings, wheels, chrome, plastics. Forgiving flash time. |
| Undrdog Pro | Owners who want a harder, longer-lasting layer on tank and fairings | Intermediate | Higher hardness rating and gloss. Requires stricter prep and faster level times. |
| Pro Plus | Top-tier protection for collector or show bikes | Advanced | Highest durability and gloss. Best over machine-polished paint. Two-step Pro + Pro Plus stack is best-in-class. |
For most riders, HCC on the entire bike is the right answer — one product, one workflow, all surfaces. Owners of collector bikes or those doing a full paint correction should consider Pro or Pro Plus on the tank and fairings, with HCC on wheels and secondary surfaces.
Chain Lube Fling: The Problem Ceramic Solves for Bikes

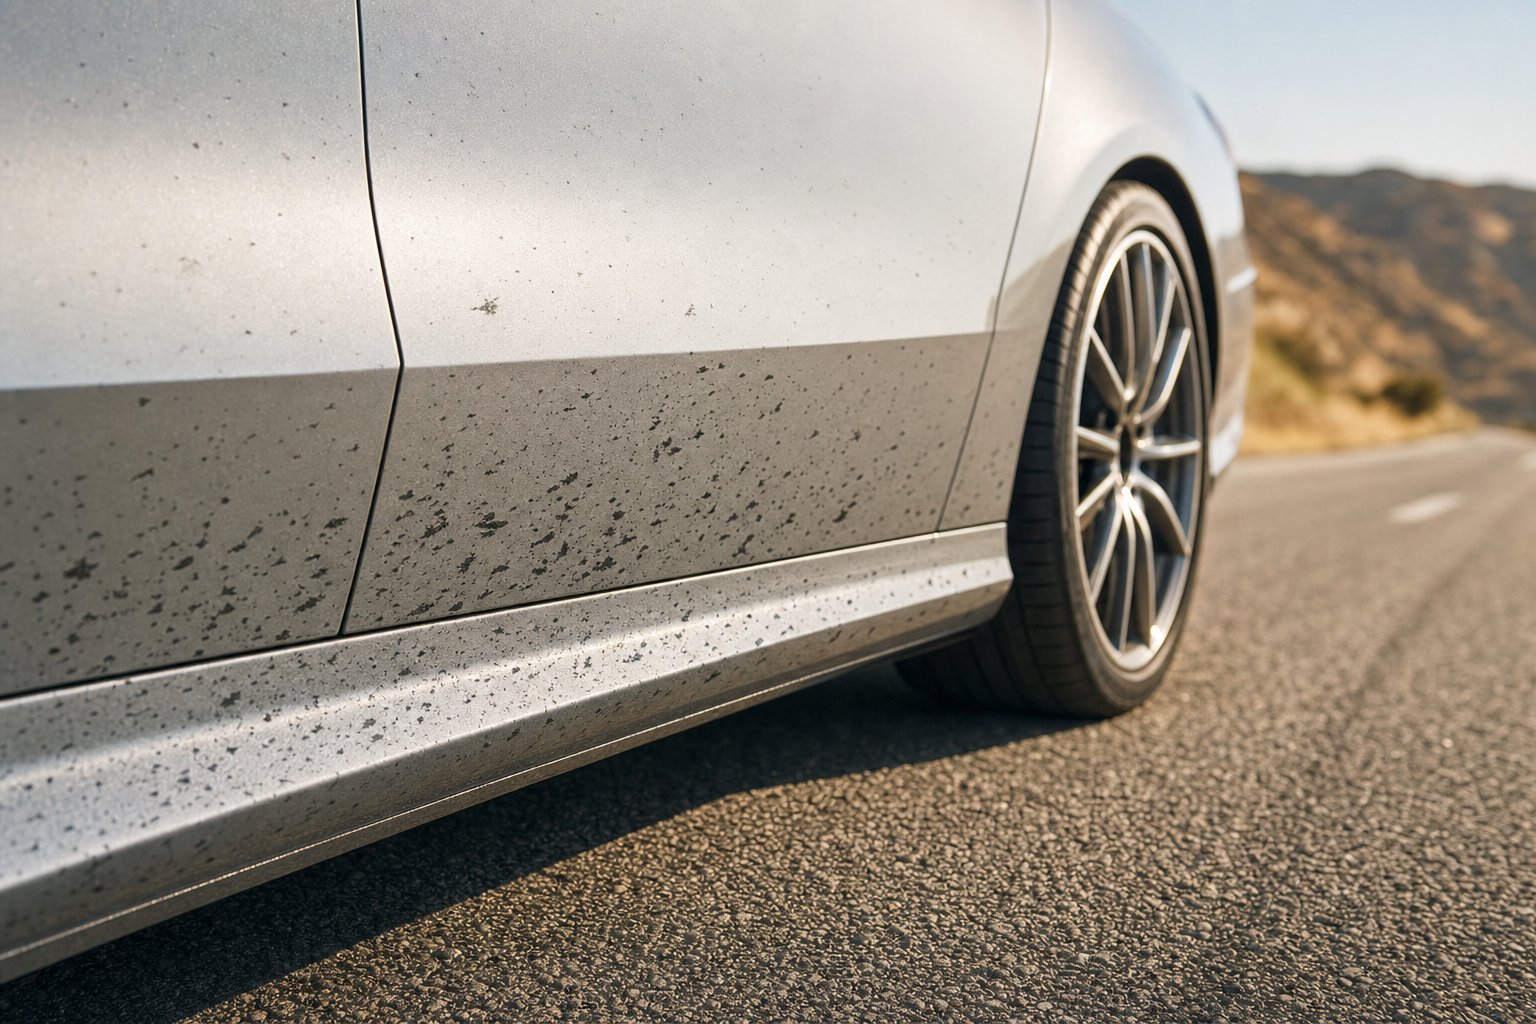
Chain lube fling is the most bike-specific paint problem, and ceramic coating helps a lot. As the Ride or Die Motorcycles chain lube analysis explains, chain lube itself doesn't chemically damage automotive clearcoat, but it lands as sticky dark spots on the swingarm, rear fender, and lower bodywork. On bare clearcoat, those spots bond and require degreaser or brake cleaner to remove — both of which strip whatever wax or sealant you had on the panel.
On a coated bike, chain lube spots wipe off with soap and water or a quick detail spray. That single benefit — going from "need brake cleaner" to "need a damp microfiber" — is what most bike owners describe as the biggest quality-of-life win from ceramic coating.
Best practice on any bike: wipe fling off the swingarm and rear fender within a day of application. Fresh fling comes off effortlessly on a coated surface. Fling that bakes in the sun for a week on bare paint may take multiple degrease passes.
Common Mistakes That Kill Motorcycle Coating Longevity
- Coating over swirls. Every scratch under the coating is now locked in until the coating is removed. Correct first.
- Skipping IPA wipe. Polish oils prevent proper adhesion, leading to spot failure within weeks.
- Applying in direct sun or on a hot tank. Coating flashes too fast to level. High spots and streaks result. Work indoors, cool bike.
- Using dish soap for wash prep. Dawn strips wax but leaves residue that interferes with coating bond. Use a ceramic-safe soap.
- No topper or maintenance coat. Ceramic coatings benefit from a periodic booster spray or quick detailer to refresh hydrophobics. See our ceramic maintenance guide.
- Pressure washing coated edges too soon. Wait at least 7 days after coating before pressure washing. Fresh coating is still cross-linking.
- Ignoring the tank filler ring. Fuel spills at the pump concentrate at the filler and can etch through weakened coating. Wipe fuel drips immediately, every fill-up.
Winter Storage and Long-Term Care
If you park the bike for winter, ceramic coating stays fully functional through storage — it doesn't degrade sitting still. Follow standard winter storage practice: fill the tank, add fuel stabilizer, and cover the bike with a breathable cloth cover. The American Motorcyclist Association winter storage guide covers the mechanical side; on the paint side, a clean coated bike under a breathable cover comes out of storage looking exactly how it went in.
Do a light wash and a quick detail spray refresh at the start of every riding season. A properly maintained ceramic coating on a garage-kept bike will hold its beading and gloss for 2–5 years depending on the tier of product used.
Cost vs Value on a Motorcycle
DIY ceramic coating on a motorcycle takes about 4–6 hours including prep, uses one bottle of product for the whole bike, and gives you multi-year protection. Compare that to a professional detail shop coating a bike for $500–$1,200, and the DIY math is compelling for anyone comfortable with careful prep. Bikes are actually easier than cars to coat DIY because there's less surface area — you can do a complete bike in one afternoon with no ladder or awkward reaches.
Frequently Asked Questions
Can you ceramic coat a motorcycle at home?
Yes. Motorcycles are actually a great DIY ceramic coating project because the total painted surface area is small compared to a car, and every panel is easily accessible without a ladder. Plan 4–6 hours including prep, work indoors in shade, and follow the wash-decon-clay-polish-IPA-coat sequence.
How long does ceramic coating last on a motorcycle?
A properly applied and maintained ceramic coating on a motorcycle typically lasts 2–5 years, depending on product tier, storage conditions, and mileage. Garage-kept bikes with periodic booster spray refresh hit the top end of that range. Daily riders parked outside see the shorter end.
Do I need ceramic coating if I already have PPF on my bike?
Yes — layering ceramic on top of PPF adds hydrophobic performance and makes both surfaces easier to clean. PPF protects against rock chips and abrasion; ceramic protects against chemical staining and UV. They solve different problems and work well together.
Will ceramic coating protect my tank from fuel spills?
Ceramic coating gives you significant chemical resistance against gasoline and ethanol-blend fuels, so a spill at the pump wipes off cleanly instead of etching the clearcoat. Still wipe fuel drips immediately — coating buys you time, not indefinite immunity.
Can I ceramic coat matte or satin motorcycle paint?
Only with a coating formulated for matte finishes. Standard gloss ceramics will add sheen to matte paint and make it look uneven. Check the product's matte compatibility before applying, or use a dedicated matte-safe coating.
Does ceramic coating help with chain lube fling?
Yes — this is one of the biggest wins for bike owners. On a coated swingarm and rear fender, chain lube spots wipe off with a damp microfiber or quick detail spray. On bare clearcoat, the same spots often need degreaser or brake cleaner to fully remove.
Should I coat my motorcycle wheels?
Yes. Motorcycle wheels take heavy brake dust exposure with no fender well to hide contamination. A coated wheel wipes clean with soap and water even after long rides. Extra prep is required — iron decon is critical because embedded brake particles will otherwise sit under the coating.
Can I use car ceramic coating on a motorcycle?
Yes — automotive ceramic coatings are safe on motorcycle painted surfaces, plastics, and metal. Skip areas that need friction (grips, seats) and skip surfaces that reach exhaust-header temperatures. HCC is a good all-surface pick for the entire bike.
What about ceramic coating on chrome pipes?
Ceramic can slow chrome tarnishing and make cleanup easier at temperatures under about 300°F. Header pipes get much hotter than that — use a dedicated high-temperature exhaust coating for anything near the engine. Rear muffler covers and heat shields are usually fine for automotive ceramic.
How soon can I ride after ceramic coating my bike?
Wait 24 hours before riding and at least 7 days before the first wash. Coating is technically dry to touch within a few hours but keeps cross-linking for several days. Keep the bike garaged and out of rain during that window.

Leave a comment
This site is protected by hCaptcha and the hCaptcha Privacy Policy and Terms of Service apply.