


Proper paint prep before ceramic coating means washing, chemical iron decontamination, tar removal, clay bar treatment, optional paint correction, and a final isopropyl alcohol (IPA) wipe-down at 15–20% dilution. Skip any of these steps and the coating either fails to bond, cures with high spots, or protects trapped contamination rather than clean clearcoat. This 4–6 hour prep is the single biggest factor separating a two-year DIY coating from a five-year one — the coating itself is only about 20% of the outcome.

Why Prep Matters More Than the Coating Itself
Ceramic coatings bond mechanically and chemically to whatever is on the paint at the moment of application. If that surface has iron particles embedded in the clearcoat, invisible polish oils from a shop wash, silica fallout, or trace tar, the coating cures over those contaminants — locking them in for the life of the coating and creating microscopic weak points where water, UV, and chemicals attack the coating from underneath.
A properly-prepped panel has been washed to remove loose grime, chemically decontaminated to dissolve embedded ferrous metals, clayed to lift the last physical contaminants, corrected if needed, and IPA-wiped to strip any oils. Only then does the coating make contact with truly bare clearcoat, which is what modern silica and graphene chemistry needs to bond correctly and deliver 3–7 years of hydrophobic protection.
Whether you're applying HCC Hybrid Ceramic Coating as an all-surface flagship, Undrdog Pro for a pro-tier auto finish, or a two-stage Pro Plus system, the prep steps are identical. Coating chemistry differs; surface preparation does not. For the full application step after prep, see our DIY ceramic application guide.
Step 1: Foam Pre-Wash and Two-Bucket Contact Wash
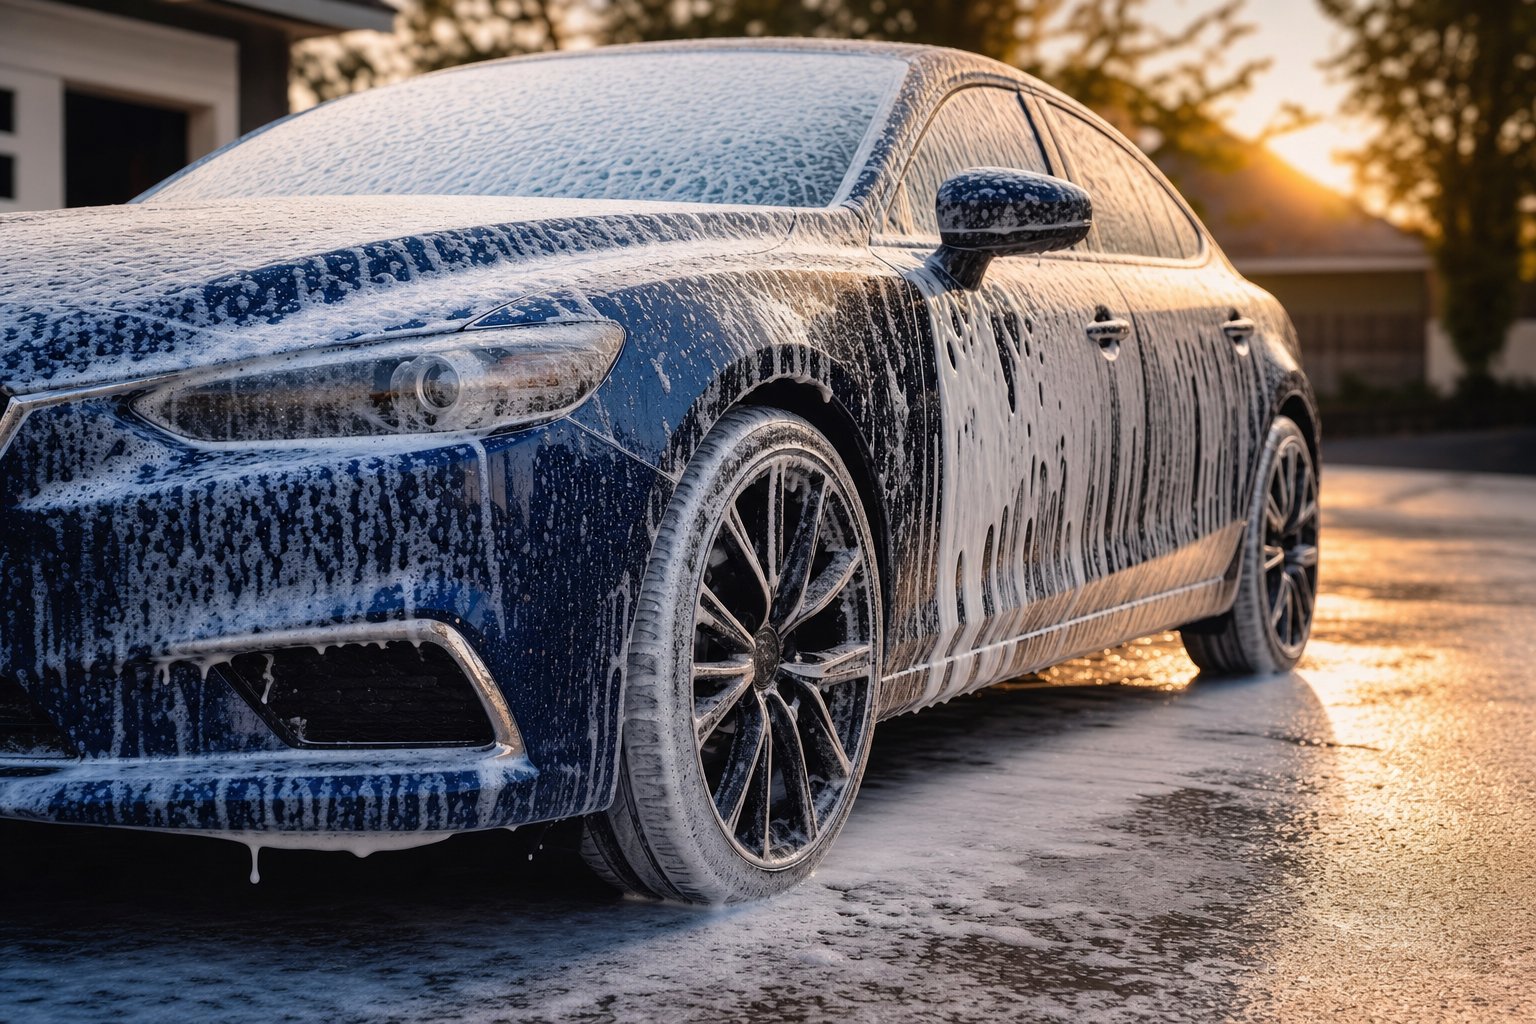
Start with a low-pressure rinse to knock off loose grit and dust, then apply a pH-neutral car soap through a foam cannon or pump sprayer for 3–5 minutes of dwell time. This softens road film and lifts light contamination before the mitt ever touches the paint. Rinse thoroughly.
Follow with a proper two-bucket contact wash using a dedicated foam-cannon shampoo without wax or gloss additives. As the Car Supplies Warehouse decontamination guide notes, you want a pure cleaning shampoo at this stage — anything with sealant or wax additives creates a barrier that later steps have to strip. Try Undrdog Soap, which is pH-neutral and additive-free.
Rinse the entire vehicle fully and dry with a plush microfiber before moving on. Any residual soap film will interfere with the iron remover in Step 2. See our full foam cannon vs pump sprayer comparison if you're still choosing between tools.
Step 2: Iron Fallout Decontamination

Iron contamination is the step most DIY detailers skip — and it's the one that separates a good coating job from a great one. Brake dust particles and industrial fallout embed into the clearcoat at high temperatures. They can't be washed off, and clay bar alone doesn't fully dissolve them. They have to be chemically converted.
Apply an iron fallout remover to a cool, wet panel out of direct sunlight. The product will react with ferrous particles and bleed distinctive purple or red streaks down the paint — that color change is the chemical reaction converting bonded iron into a water-soluble compound. Heavier contamination produces more color. Panels that look totally clean often bleed heavily around wheel arches, rockers, and the front bumper.
Dwell 3–5 minutes. Don't let it dry. On heavily contaminated cars, a second application is worth the extra 10 minutes. Rinse thoroughly. Undrdog's The Purps is a purpose-built iron remover with a gel-adjacent viscosity that clings to vertical panels rather than running straight off.
Step 3: Tar and Adhesive Removal
After iron decon, inspect the lower rocker panels, quarter panels behind the wheels, and the front bumper for black tar spots — pin-head-sized dots from softened road asphalt, especially common in summer and after highway driving. Iron remover doesn't touch these. Tar is a hydrocarbon, iron remover is an ionic reaction chemistry.
Apply a dedicated tar remover to a microfiber, work in small sections, dwell briefly, and wipe off. Follow with a soapy rinse to neutralize the solvent. Heavy tar zones may need a second pass. Skipping this step forces the clay bar in Step 4 to fight tar, which loads up the clay quickly and often marrs the paint.
Step 4: Clay Bar or Decontamination Pad

Chemical decon dissolves iron; clay physically extracts what's left — silica fallout, industrial overspray, paint transfer, and mineral bonded to the clearcoat. Run your fingers across a freshly washed and iron-decontaminated panel. Any roughness you feel is what clay is going to pick up. Truly clean paint feels glass-smooth.
Use a fine-grade clay bar or a synthetic clay mitt or pad. Generously lubricate with a dedicated clay lube — never dry clay, never clay with just water. Work in small sections in overlapping straight-line motions. Every few panels, knead the clay to a clean face. If you drop the clay bar, throw it away — grit from the ground will scratch paint immediately.
Some pros combine steps 2 and 4 by claying while iron remover dwells, using the iron remover as the lubricant. This works when the iron remover has enough surfactant to lubricate the clay glide — check the product label. If you're new to claying, do steps 2 and 4 separately. For a full clay walkthrough see our clay bar step-by-step.
Step 5: Paint Correction (Optional but Consequential)
A ceramic coating locks in whatever the paint looks like at application time. Every swirl, hologram, water spot, and micro-scratch you can see today will still be there in three years — just under a shiny hydrophobic layer. If you want a mirror finish under the coating, machine polish now.
For most daily drivers with light swirls, a one-step polish with a dual-action polisher and a light cutting pad removes 70% of visible defects. Deeper scratches or heavy oxidation may need a compound-and-polish two-step. If the paint is already in good shape, skip this step and move to the IPA wipe.
Correcting after the coating means chemically stripping the coating (a full re-prep) and starting over. Do it right the first time or accept the current finish permanently for the coating's lifespan. See our paint decon order guide for how polish fits into the full prep sequence.
Step 6: IPA Wipe-Down (The Final Prep)
The IPA wipe-down removes polish oils, clay-lube residue, silicone contamination, and any hand oils from prior steps. Do it immediately before coating — ideally within 15 minutes of application.
IPA Dilution: 15–20%, Not 50/50
The older detailing advice of 50/50 IPA is outdated for modern paints and coatings. Higher concentrations can dry paint, leave streaks, and increase haze risk. According to the Jimbo's Detailing IPA dilution guide, most professional installers stay between 15–20% IPA for standard ceramic prep, going up to 20–25% only when heavier polish oils are present.
How to Mix Working-Strength IPA
Store-bought IPA usually comes in 70% or 91% concentrations. To make 32 oz of 20% working-strength solution from 70% IPA:
- Mix 9.1 oz of 70% IPA with 22.9 oz of distilled water.
- From 91% IPA: 7 oz with 25 oz distilled water.
- Always use distilled water — tap water leaves mineral spots that ruin the finish.
Wipe Technique
Spray directly onto a plush edgeless microfiber (not the panel). Work one small section at a time — hood halves, door panels, quarter sections — with two towels: one to apply, one to buff off before evaporation. Fold each towel to a clean face frequently. On a hot panel, IPA flashes off in seconds and leaves streaks. Work in shade under 75°F if possible.
The Six-Step Prep at a Glance
| Step | Purpose | Time | Critical Rule |
|---|---|---|---|
| 1. Foam + two-bucket wash | Remove loose grime, no wax additives | 30 min | Rinse fully — no soap film |
| 2. Iron fallout removal | Dissolve embedded ferrous metals | 15 min | Cool wet panel, dwell 3–5 min, don't dry |
| 3. Tar removal | Break down asphalt and adhesive | 10–30 min | Only lower panels — skip if clean |
| 4. Clay bar or synthetic clay | Physically extract remaining contaminants | 45–90 min | Lots of lube, drop = discard |
| 5. Paint correction (optional) | Remove swirls before locking in the finish | 2–5 hrs | Correct now or accept it for 3+ years |
| 6. IPA wipe-down | Strip polish oils for clean bare paint | 20 min | 15–20% dilution, distilled water |
What Skipping Steps Actually Costs You
- Skip iron decon and embedded metals continue to oxidize under the coating, creating microscopic rust points that expand and lift the coating from the inside. Coating lifespan drops from ~4 years to ~18 months.
- Skip clay and physical contamination gets locked into the coating layer. The finish feels slightly rough after cure, water beading is inconsistent, and dirt binds to the coating instead of releasing.
- Skip IPA and residual polish oils prevent the coating from bonding to paint. High spots, streaking during cure, and immediate hydrophobic failure are all classic symptoms of skipped IPA.
- Skip the final wash rinse and residual soap surfactants interfere with the iron remover chemistry — you'll see less color change and think the paint was clean when it wasn't.
- Prep in direct sun on hot paint and every product flashes off before it can work. Iron remover dries into streaks, clay lube evaporates and marrs, IPA leaves visible ghosts.
Time and Cost of a Real Prep Session
A thorough single-vehicle prep is a full day. Budget 4–6 hours for a clean daily driver (skipping paint correction) or 8–10 hours if you're one-step polishing. Product-wise, expect to use:
- 2–4 oz of pH-neutral shampoo
- 4–8 oz of iron fallout remover
- 1–2 oz of tar remover
- 1 clay bar or 1 clay mitt (reusable for 2–3 more vehicles)
- 32 oz of working-strength IPA (about 6 oz of concentrate)
- 15–20 clean plush microfibers
Total consumables for the prep alone run $60–$150 depending on brand tier. That's before coating cost. Understanding this is why professional ceramic coatings cost what they do — a shop invests 8–15 hours in prep alone on a full paint correction.
Working Conditions That Make or Break the Job
- Shade, always. Every product in this workflow performs worse or fails in direct sun. Garage, carport, or dawn/dusk if outdoors.
- Panel temperature under 75°F. Above this, dwell times shrink to zero and residues flash and streak.
- Low wind. Wind carries dust, tree debris, and pollen onto freshly clayed panels. If it's breezy, work inside.
- No ambient sunlight direct hits. Even reflected sunlight off a garage floor or white wall can flash IPA. Diffuse light is best.
- Humidity 30–70%. Extreme dry conditions accelerate flash-off; extreme humidity extends coating cure time unpredictably.
- Clean floor. Dropped tools and clay pick up whatever's on the ground. Sweep the work area before starting.
Frequently Asked Questions
How long does proper pre-ceramic prep take?
4–6 hours for a clean daily driver without correction, 8–10 hours with a one-step polish, 12+ hours with a full two-step correction. Rushing prep is the single most common reason DIY ceramic coatings underperform their expected 3–5 year lifespan.
Do I really need iron remover if I clay bar the car?
Yes. Clay physically lifts contaminants sitting on the paint surface; iron remover chemically dissolves particles embedded in the clearcoat that clay can't reach. Skipping iron decon leaves ferrous contamination trapped under the coating where it continues to oxidize.
What IPA concentration should I use before ceramic coating?
15–20% IPA mixed with distilled water. Higher concentrations dry the paint, streak, and increase the risk of coating haze. Older 50/50 advice is outdated for modern paints and coatings.
Can I use tap water to dilute IPA?
No. Tap water contains dissolved minerals — calcium, magnesium, iron — that leave water spots as the IPA flashes off. Always use distilled water for the final wipe-down mix.
Should I polish before ceramic coating?
Only if the paint has visible swirls, oxidation, water spots, or scratches you want removed. Coating locks in the finish, so polish now or accept the current finish for the coating's full 3–5 year life. If the paint is already in good shape, skip polish and go straight to IPA wipe.
How do I know if the paint is clean enough to coat?
The "baggie test": pull a plastic sandwich bag over your fingertips and glide across a washed and decontaminated panel. Bagged fingers amplify texture. If you feel any roughness, more decontamination is needed. Truly clean paint feels glass-smooth in the baggie test.
Can I use a strip wash instead of separate decon steps?
A strip wash — a stronger detergent designed to strip existing wax and sealant — replaces Step 1 for cars with old protection. It does not replace iron remover or clay. All the decon steps still apply after a strip wash.
Do I need to IPA wipe if I used a rinseless wash right before coating?
Yes. Rinseless washes contain surfactants and often light polymers. Even if the car looks clean, those residues prevent coating adhesion. Always finish with an IPA wipe within 15 minutes of coating application.
What if the panel dries during iron remover dwell?
Re-mist immediately with product to re-wet the surface. Iron remover that dries onto paint can leave a haze and reduces the chemical reaction efficiency. Work smaller sections in warm weather.
Can I coat over a car I just clay-barred but didn't iron-decon?
You can, but you shouldn't. The coating will bond initially but iron contamination continues to react under the coating layer, shortening lifespan and creating premature failure points. If you're investing hours in coating application, invest 15 more minutes in iron decon.

Leave a comment
This site is protected by hCaptcha and the hCaptcha Privacy Policy and Terms of Service apply.