


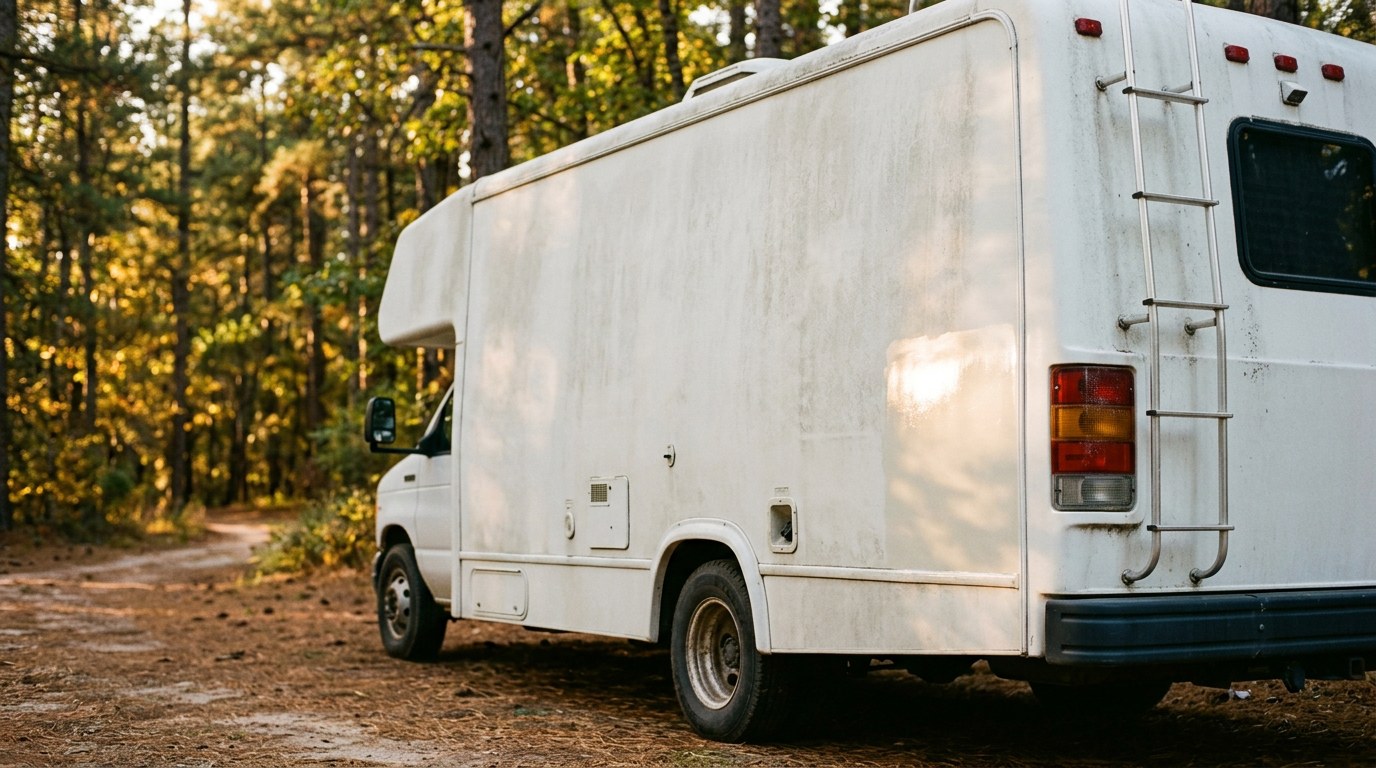
RV fiberglass oxidation is the chalky white haze that appears on gel-coated sidewalls after a season of UV exposure — and by mid-August it's at its worst. The fix is a three-step process: wash and decontaminate, compound and polish the oxidation out with a wool or foam pad, then seal the fresh gel coat with a hydrophobic ceramic coating like HCC so the sun can't strip it bare again. Do it now, before fall storage, and you'll pull the rig out next spring still glossy.

What RV Fiberglass Oxidation Actually Is
Your RV's exterior isn't paint. It's a layer of pigmented gel coat over a fiberglass laminate — the same construction used on boats. Gel coat is a polyester resin loaded with pigment, and it's designed to be a durable, waterproof outer shell. But it has one weakness: ultraviolet light.
UV radiation breaks down the resin's polymer chains at the surface. As the resin degrades, the pigment particles that were bonded into the gel coat lose their grip and become loose powder sitting on top of the surface. That powder is what you see as "chalking" — the dull, dusty white haze that comes off on your finger when you wipe a bad panel. Industry guides describe it as "a natural process that happens when the top layer of the fiberglass breaks down due to UV rays" (Roamly).
Left alone, oxidation is progressive. First the shine drops. Then the surface goes chalky. Then, if you let it go for years, the gel coat itself thins out and cracks start forming — at which point you're looking at gel-coat repair or a full respray instead of a weekend polish.
The Chalk Test: Is Your RV Actually Oxidized?
Diagnosing oxidation takes 10 seconds. Press a clean fingertip firmly against a sunny sidewall panel — usually the driver-side wall or the front cap gets hit hardest — and drag it a couple of inches. Pull the finger away and look at it.

- Clean fingertip, no residue: Gel coat is still healthy. A wash and a wax or ceramic coating is all you need.
- Light white dust: Early-stage oxidation. Fixable with a one-step compound and a polisher.
- Heavy chalky residue that coats your fingertip: Advanced oxidation. Multi-step compound and polish, then coat.
- Yellow tinge in the residue or visible cracking: Gel coat has thinned. Get a professional to assess before compounding — you may not have enough material left to correct safely.
Do this test in three or four spots around the rig. Roofs, front caps, and driver-side walls almost always oxidize first because they take the most sun.
Why End of Summer Is the Right Time to Fix It
By mid-August, your RV has absorbed a full peak-UV season — May through August in most of North America. The oxidation you have right now is the worst it's going to be until next August. If you correct and coat before fall storage, three things happen:
- You lock in a fresh, glossy surface before it sits under a cover or in a lot for months.
- A properly-cured ceramic layer protects through winter moisture, road salt splashes if you travel, and the cold-weather freeze-thaw cycles that stress gel coat.
- Next spring's de-winterizing wash is 10 minutes instead of a weekend of buffing.
Try to compound in early spring and you're fighting fresh damage over old damage. Do it now and next year starts from a clean baseline.
Tools and Products You Need
Wash Stage
- Foam cannon or a bucket with grit guard
- pH-neutral wash soap — Undrdog Soap works on fiberglass gel coat the same way it does on paint
- Plush microfiber wash mitt (extension handle for high walls)
- Two-bucket or single-bucket rinseless setup
Decontamination Stage
- Iron and fallout remover — The Purps for embedded rust from brake dust, well water, and rail dust
- Clay mitt or clay bar with clay lube (rinseless works)
Correction Stage
- Variable-speed dual-action or rotary polisher (7-inch pad size is typical for RV panels)
- Wool cutting pad for heavy oxidation, foam cutting pad for light
- Marine/RV rated compound (heavy) and a finishing polish
- Painter's tape to mask decals, rubber trim, and lights
- Cotton or microfiber towels for compound removal
Protection Stage
- HCC Hybrid Ceramic Coating — the default choice, bonds to gel coat, glass, plastic trim, and metal in one product
- Or Undrdog Marine if you want a marine-specific formula (RVs and boats share gel-coat chemistry, so both work)
- Suede or microfiber applicator
- Two-sided leveling and buff towels
The Full Restoration Workflow
Step 1: Deep Wash
Park in the shade. Rinse top-down with a garden hose. Foam-cannon the entire rig with pH-neutral soap and let it dwell 3–5 minutes. Two-bucket wash top-down, panel by panel, using a plush mitt. Rinse clean. Dry with a plush drying towel or a filtered blower. Never let it air-dry — mineral water spots on oxidized gel coat make correction harder.
Step 2: Iron Decon
Spray The Purps on a cool, dry panel. Watch it turn purple as it reacts with iron particles from brake dust, industrial fallout, and well water. Agitate lightly with a soft brush on stubborn spots. Rinse thoroughly. This step matters more on RVs than on cars — rail dust and iron in well water at campgrounds embed all season long.
Step 3: Clay
Clay every painted or gel-coated surface with a clay mitt and rinseless wash spray as lube. You're removing bonded contaminants the wash couldn't touch — tree sap, bug residue, road tar, industrial fallout. Fold the mitt or clay bar as it loads up.
Step 4: Test Spot
Tape off a 2×2-foot test area on a flat panel. Apply four to five pea-sized dots of compound to a wool cutting pad. Set your polisher to 3–4 (on a scale of 6) and work in overlapping cross-hatch passes for 60–90 seconds. Wipe residue clean with a plush microfiber and inspect under bright light. If oxidation is gone and gloss is back, you have your process. If not, step up to heavier compound or a slightly higher speed. If micro-marring shows, plan a polish step after compounding.

Step 5: Compound the Whole Rig
Work in 2×2-foot sections. Stay off decals — the pad heat and abrasive will strip printed graphics fast (the DOT weight and tire-info decals are a common casualty). Keep the pad flat, use moderate pressure, and don't dwell in one spot. Move top-down: roof line, upper sidewall, mid, lower rocker. Wipe each section clean before compound flashes off.
Step 6: Polish (If Needed)
If compounding left any hazing or holograms, follow with a finishing polish on a foam polishing pad. Same section-by-section approach, lighter pressure, higher speed.
Step 7: Panel Wipe
Wipe every corrected panel with a dedicated panel prep or IPA-based wipedown before coating. Compound and polish oils will block ceramic bonding if you skip this.
Step 8: Apply HCC
Work in 2×2-foot sections in the shade. Two or three drops of HCC on a suede applicator per section. Apply in a cross-hatch pattern. Let it flash 2–5 minutes until it rainbows, then level with a plush microfiber and buff with a second dry microfiber. Move panel by panel. Full walk-around, then let the coating cure 24 hours before any water contact. Our streak-free application guide has the timing and pad-flip technique in detail.
Compound Grade vs. Oxidation Severity
| Oxidation Level | Chalk Test Result | Correction Approach | Time Estimate (30ft RV) |
|---|---|---|---|
| None | Clean finger | Wash, decon, coat | 4–6 hours |
| Light | Faint dust | One-step polish + coat | 6–8 hours |
| Moderate | Visible chalk | Heavy compound + polish + coat | 10–14 hours |
| Heavy | Fingertip coated white | Wet-sand or aggressive wool compound + polish + coat | 16–24 hours |
| Severe (yellowing/cracking) | Yellow residue, visible micro-cracks | Professional gel-coat assessment | N/A — pro job |
Real-world jobs usually take longer than estimates. Break the work into two or three sessions if you're going solo. A cordless polisher with two batteries and a shade tarp thrown between the rig and the sun make the difference between "manageable weekend" and "brutal marathon."
Common RV Fiberglass Restoration Mistakes
Skipping the Test Spot
Every RV is different. Age of gel coat, thickness of the pigment layer, and how many times it's been buffed before all change how aggressive your process needs to be. A 30-second test spot saves hours of trial and error across the whole rig.
Compounding Over Decals
DOT weight tags, tire info stickers, and manufacturer graphics fade or lift with even one pass of a wool pad and compound. Mask them with painter's tape before you start.
Working in Direct Sun
Compound flashes off before the pad can do its job. Panels get hot, gel coat softens, and you can burn through. Work in early morning shade or use a portable shade tarp for large flat panels.
Coating Without Panel Prep
Compound and polish leave silicone-based oils that hide swirls during correction but block coating bond. A dedicated panel-prep wipedown before coating is non-negotiable.
Waxing Instead of Coating
Traditional carnauba wax burns off gel coat in six to eight weeks of full sun. A modern hybrid ceramic like HCC forms a much more UV-resistant layer and generally outlasts wax by a season or more on RV walls.
Prevention: Making the Fix Last
Wash Every 4–6 Weeks in Use, Once Before Storage
Regular pH-neutral washes are the biggest maintenance factor. Standing pollen, tree sap, and bird waste all accelerate oxidation if they bake on. Our Undrdog Soap deep dive covers why pH-neutral matters on coated surfaces.
Test Beading Monthly
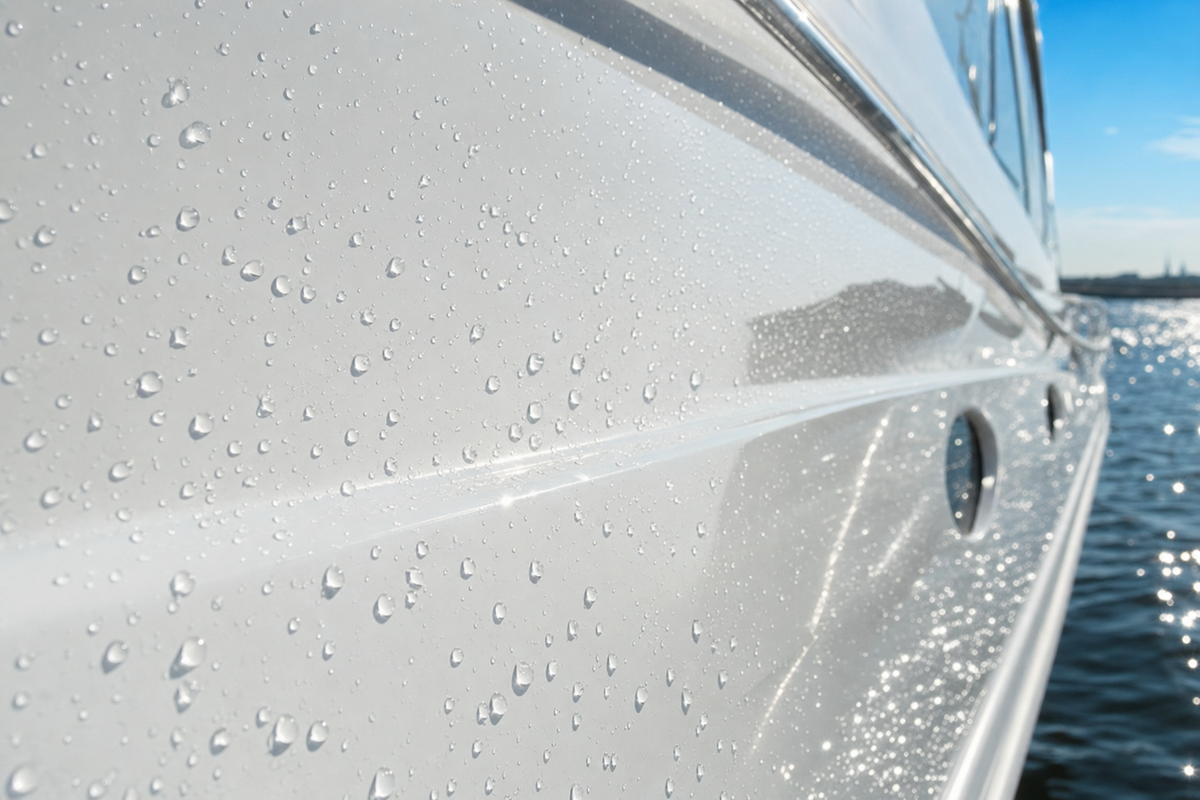
Spray water on a sidewall and watch what happens. Tight, distinct beads or clean sheeting = coating still working. Water flattening out into puddles = time to top with a ceramic booster or reapply HCC to that panel.
Cover If You Can
A breathable RV cover during long storage cuts UV exposure dramatically. Wet or windy covers on dirty rigs cause more marring than they prevent — only cover clean, dry gel coat.
Reapply Coating Yearly
RV walls take way more sun than a car parked in a garage. Plan on a fresh HCC application every year to two years, always after a fresh polish if there's any hazing.
What About the Roof?
Most RV roofs aren't fiberglass — they're EPDM rubber, TPO thermoplastic, or fiberglass. Rubber and TPO roofs need dedicated roof cleaners and UV protectants, not fiberglass compounds. Fiberglass roofs follow the same wash-compound-coat workflow as the sidewalls, just with extra fall-protection safety and a smaller pad because you're kneeling. Whatever your roof material is, clean and inspect it seams first — a coating job means nothing if you have a water leak developing behind a rooftop A/C shroud.
Marine vs. RV Gel Coat: Are They the Same?
Chemically yes — both are pigmented polyester gel coat over fiberglass laminate. The workflow is identical. Marine gel coat tends to be thicker and takes more aggressive correction, while RV gel coat is often thinner and needs a gentler touch. If you're comfortable detailing a boat, you can handle an RV. Our wakeboard boat ceramic coating guide covers the same principles for marine gel coat and is worth reading if you own both.
Lock In That Fresh Gloss Before Fall Storage.
HCC bonds to gel coat, glass, plastic trim, and metal in one product — the fastest way to protect a freshly-polished RV all winter and roll into next season still glossy.
Shop HCC Hybrid Ceramic Coating →Frequently Asked Questions
How do I know if my RV has oxidation or just dirt?
Wash the panel with pH-neutral soap and rinse. If the dull, chalky look is still there after the panel dries, that's oxidation, not dirt. The finger-drag chalk test confirms it — powdery white residue on your fingertip means the gel coat is degrading.
Can I remove RV oxidation by hand?
Light oxidation on small panels can be corrected by hand with a good compound and elbow grease, but a variable-speed polisher is far faster and gives more consistent results on the large flat panels of an RV sidewall. For anything beyond mild chalking, a machine is the practical choice.
Will compound damage my RV decals?
Yes. Any abrasive compound and a rotating pad will fade printed graphics, DOT weight decals, and tire info stickers. Mask everything with painter's tape before you start, and stay off the tape edges when polishing adjacent panels.
How long does an RV oxidation restoration take?
A 30-foot Class A with moderate oxidation typically takes 10–14 hours of solo work spread over one long day or a full weekend. Add time for a second polish step and coating application. Heavy oxidation with wet-sanding can push the job to 20+ hours.
Do I need a rotary polisher or is a dual-action enough?
Modern long-throw dual-action polishers with a strong wool cutting pad can correct most moderate RV oxidation. Rotary polishers cut faster on heavy oxidation but come with higher burn-through risk, especially on thin gel coat. A DA is safer for most owners.
Can I skip compounding and just wax it?
No. Wax on top of chalky oxidized gel coat is like paint over rust — it hides the problem briefly but doesn't stop degradation. Compound removes the failed surface layer so protection can bond to fresh gel coat.
Is a ceramic coating worth it on an RV?
For a rig that lives outside most of the year, yes. Ceramic coatings resist UV, chemical staining, and water spotting far better than wax, and one application typically lasts a season or more on gel coat. HCC in particular bonds to gel coat, glass, and plastic trim so the whole rig gets covered in one product.
What's the difference between compounding and polishing on gel coat?
Compounding uses a more aggressive abrasive to remove failed surface material and heavy defects. Polishing uses a finer abrasive to remove haze and micro-marring left by compounding, delivering the final gloss. Heavy oxidation usually needs both steps.
Can wet sanding help with severe oxidation?
Wet sanding with 2000–3000 grit paper on a soft block can cut through severe oxidation faster than compounding alone, but it demands practice and takes gel coat off quickly. If you haven't done it before, test on a hidden panel first or hire a pro.
How often should I coat my RV after restoration?
Plan on a fresh ceramic application every 12 to 24 months, always after a light polish if any hazing is starting to develop. Test water beading monthly — when beads flatten or sheeting slows down, the coating is telling you it's time.

Leave a comment
This site is protected by hCaptcha and the hCaptcha Privacy Policy and Terms of Service apply.