Your car's paint might look clean — but run your hand across the hood or rear panel after a long drive and feel how rough it actually is. Those tiny sharp particles embedded in your clear coat are iron fallout, and they're one of the most overlooked forms of paint contamination. Left alone, they oxidize beneath the surface, create micro-pockets of rust, and accelerate paint degradation from the inside out. Here's exactly how to remove them safely — and how to keep them from embedding in the first place.
What Is Iron Fallout and Where Does It Come From?
Iron fallout refers to microscopic metallic particles that embed themselves into your clear coat and oxidize. They come from three main sources: brake dust (hot metallic particles released every time brake pads grind against rotors), rail dust (metal particles shed during train wheel and track contact, which is why new cars often arrive from the factory with embedded fallout), and industrial emissions from refineries, factories, and construction zones.
Because the particles are microscopic, you rarely see them individually. Instead, you notice orange or rust-colored speckling on light-colored vehicles, a rough "sandpaper" texture when you glide your hand across otherwise clean paint, and on white or silver cars, an overall dull or gritty appearance that won't wash off. EuroLuxe Detailing's breakdown of iron fallout explains that these particles embed into the clear coat and then react with oxygen and moisture — rusting below the surface and creating corrosion from the inside out.
Why You Can't Skip Chemical Decontamination
The mistake most people make is going straight to clay bar or polishing to address surface contamination. Iron particles are sharp. Claying or polishing over embedded iron grinds the particles deeper and causes micro-scratches you'll spend far more time correcting afterward. Chemical decontamination first is not optional — it's the only way to safely dissolve the bond between iron and clear coat before any physical treatment.
You need a dedicated iron remover — a pH-reactive product that chemically dissolves the iron-to-clearcoat bond. Brilliatech's paint contamination guide walks through the full sequence: wash first to remove loose contamination, then apply iron remover, then clay if needed, then protect.
Step-by-Step: Safe Iron Fallout Removal
Step 1: Wash the vehicle thoroughly. A full wash removes loose dirt, road grime, and surface debris. You want the iron remover working directly on the embedded particles — not fighting through a layer of surface contamination first. Dry the car completely.
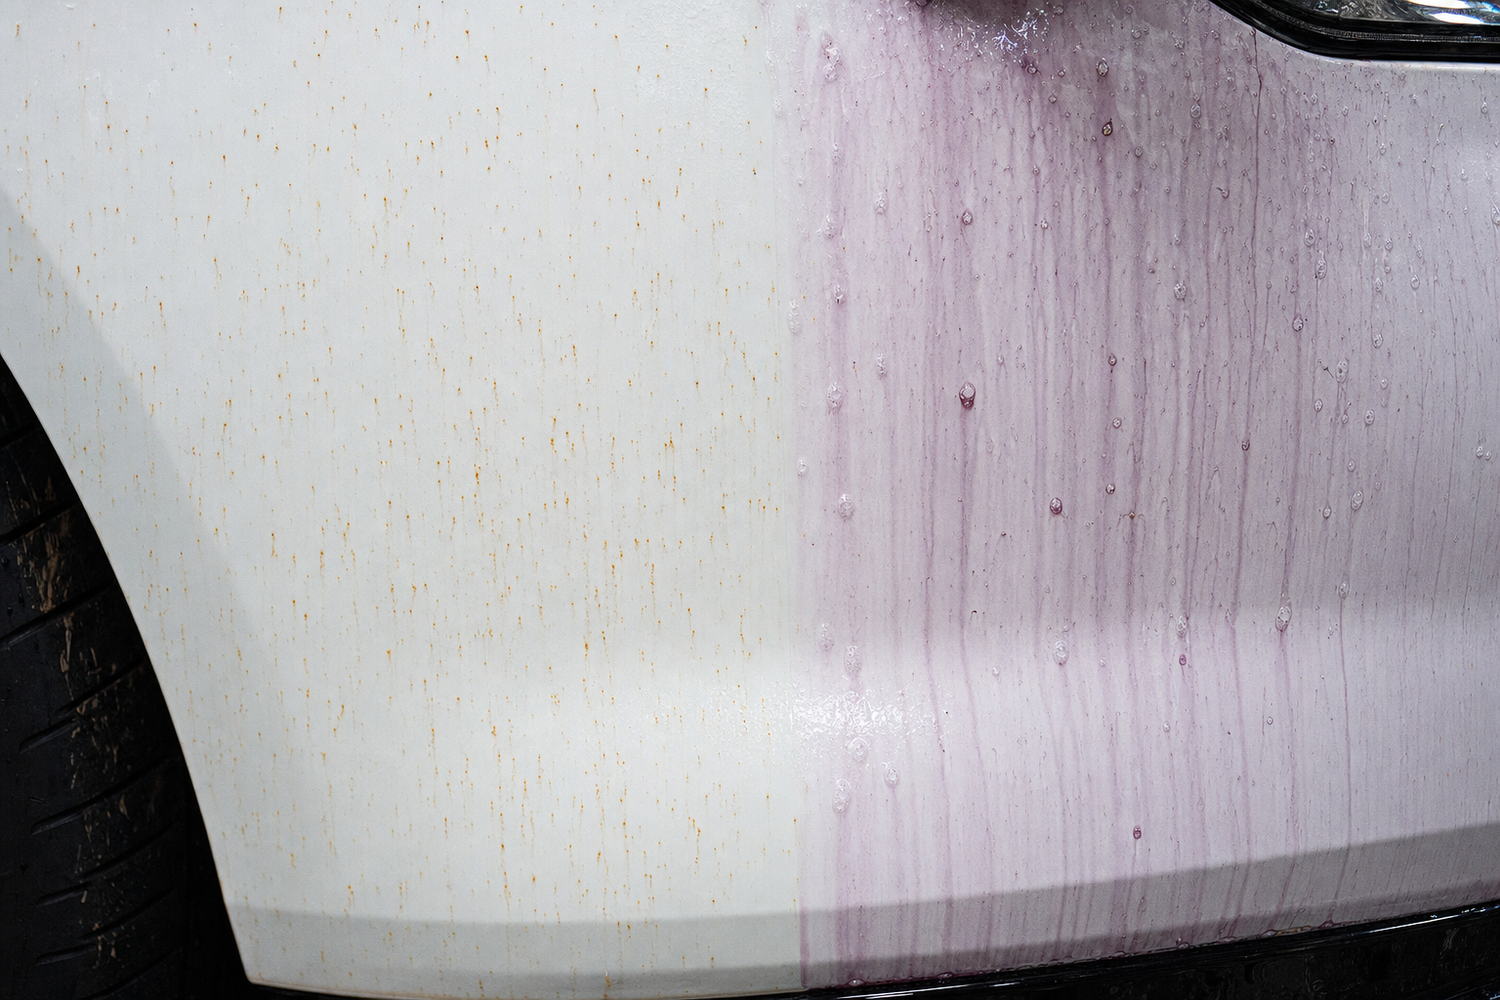
Step 2: Apply iron remover generously across all panels. Don't skip the lower panels — rockers, bumpers, and rear fenders carry the heaviest concentration of fallout. Work one or two panels at a time. Let the product dwell for 3 to 5 minutes. Within 30 seconds you'll start to see the telltale purple or dark red bleeding as the remover reacts with the iron particles. Heavy contamination will turn deep purple or nearly black. This is the reaction working correctly.
Critical: Do not let the product dry. Work in shade, and if it starts to dry, mist the panel with water or reapply.
Step 3: Agitate gently and rinse. After dwell time, agitate with a soft wash mitt using minimal pressure. The iron particles should be chemically loosened at this point — you're not scrubbing, you're just ensuring full contact. Rinse thoroughly with clean water. If the surface still feels rough after rinsing, repeat the application.

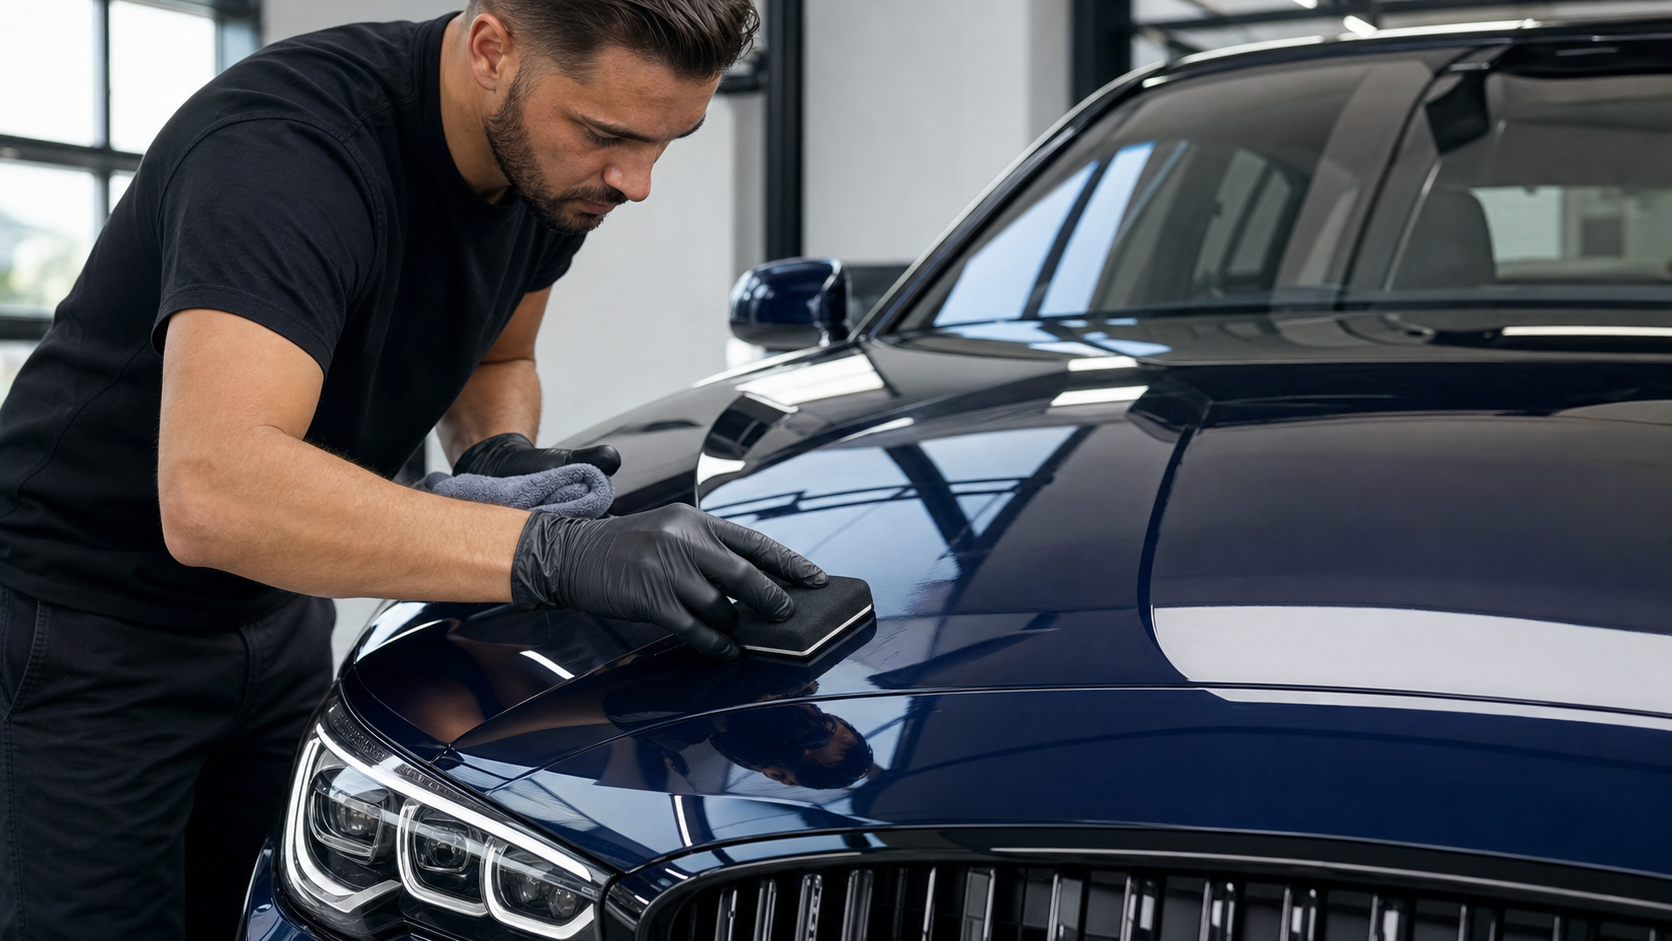
Step 4: Clay bar treatment. Once the iron remover has done its chemical work, clay bar removes any remaining bonded surface contamination. Use proper clay lubricant, glide the clay gently in straight lines, and work in small 40 x 40 cm sections. The surface will feel smooth and almost glassy when contamination is fully removed. If you still feel rough patches, repeat that section.
Step 5: Inspect and protect. After decontamination, run the plastic bag test — stretch a plastic bag over your hand and glide it across the surface. This amplifies surface texture so you can feel any remaining roughness. Clean panels should feel like glass. Now you're ready to polish (if needed) and apply protection.
The Right Product for Iron Fallout
Undrdog The Purps is built exactly for this job. It's a pH-reactive iron and fallout remover that reacts on contact with iron contamination — you'll see the purple bleed immediately on contaminated surfaces. It's formulated to be safe on paint, clear coat, wheels, and glass, and it dissolves iron deposits without the aggressive chemistry that can damage seals or rubber trim.
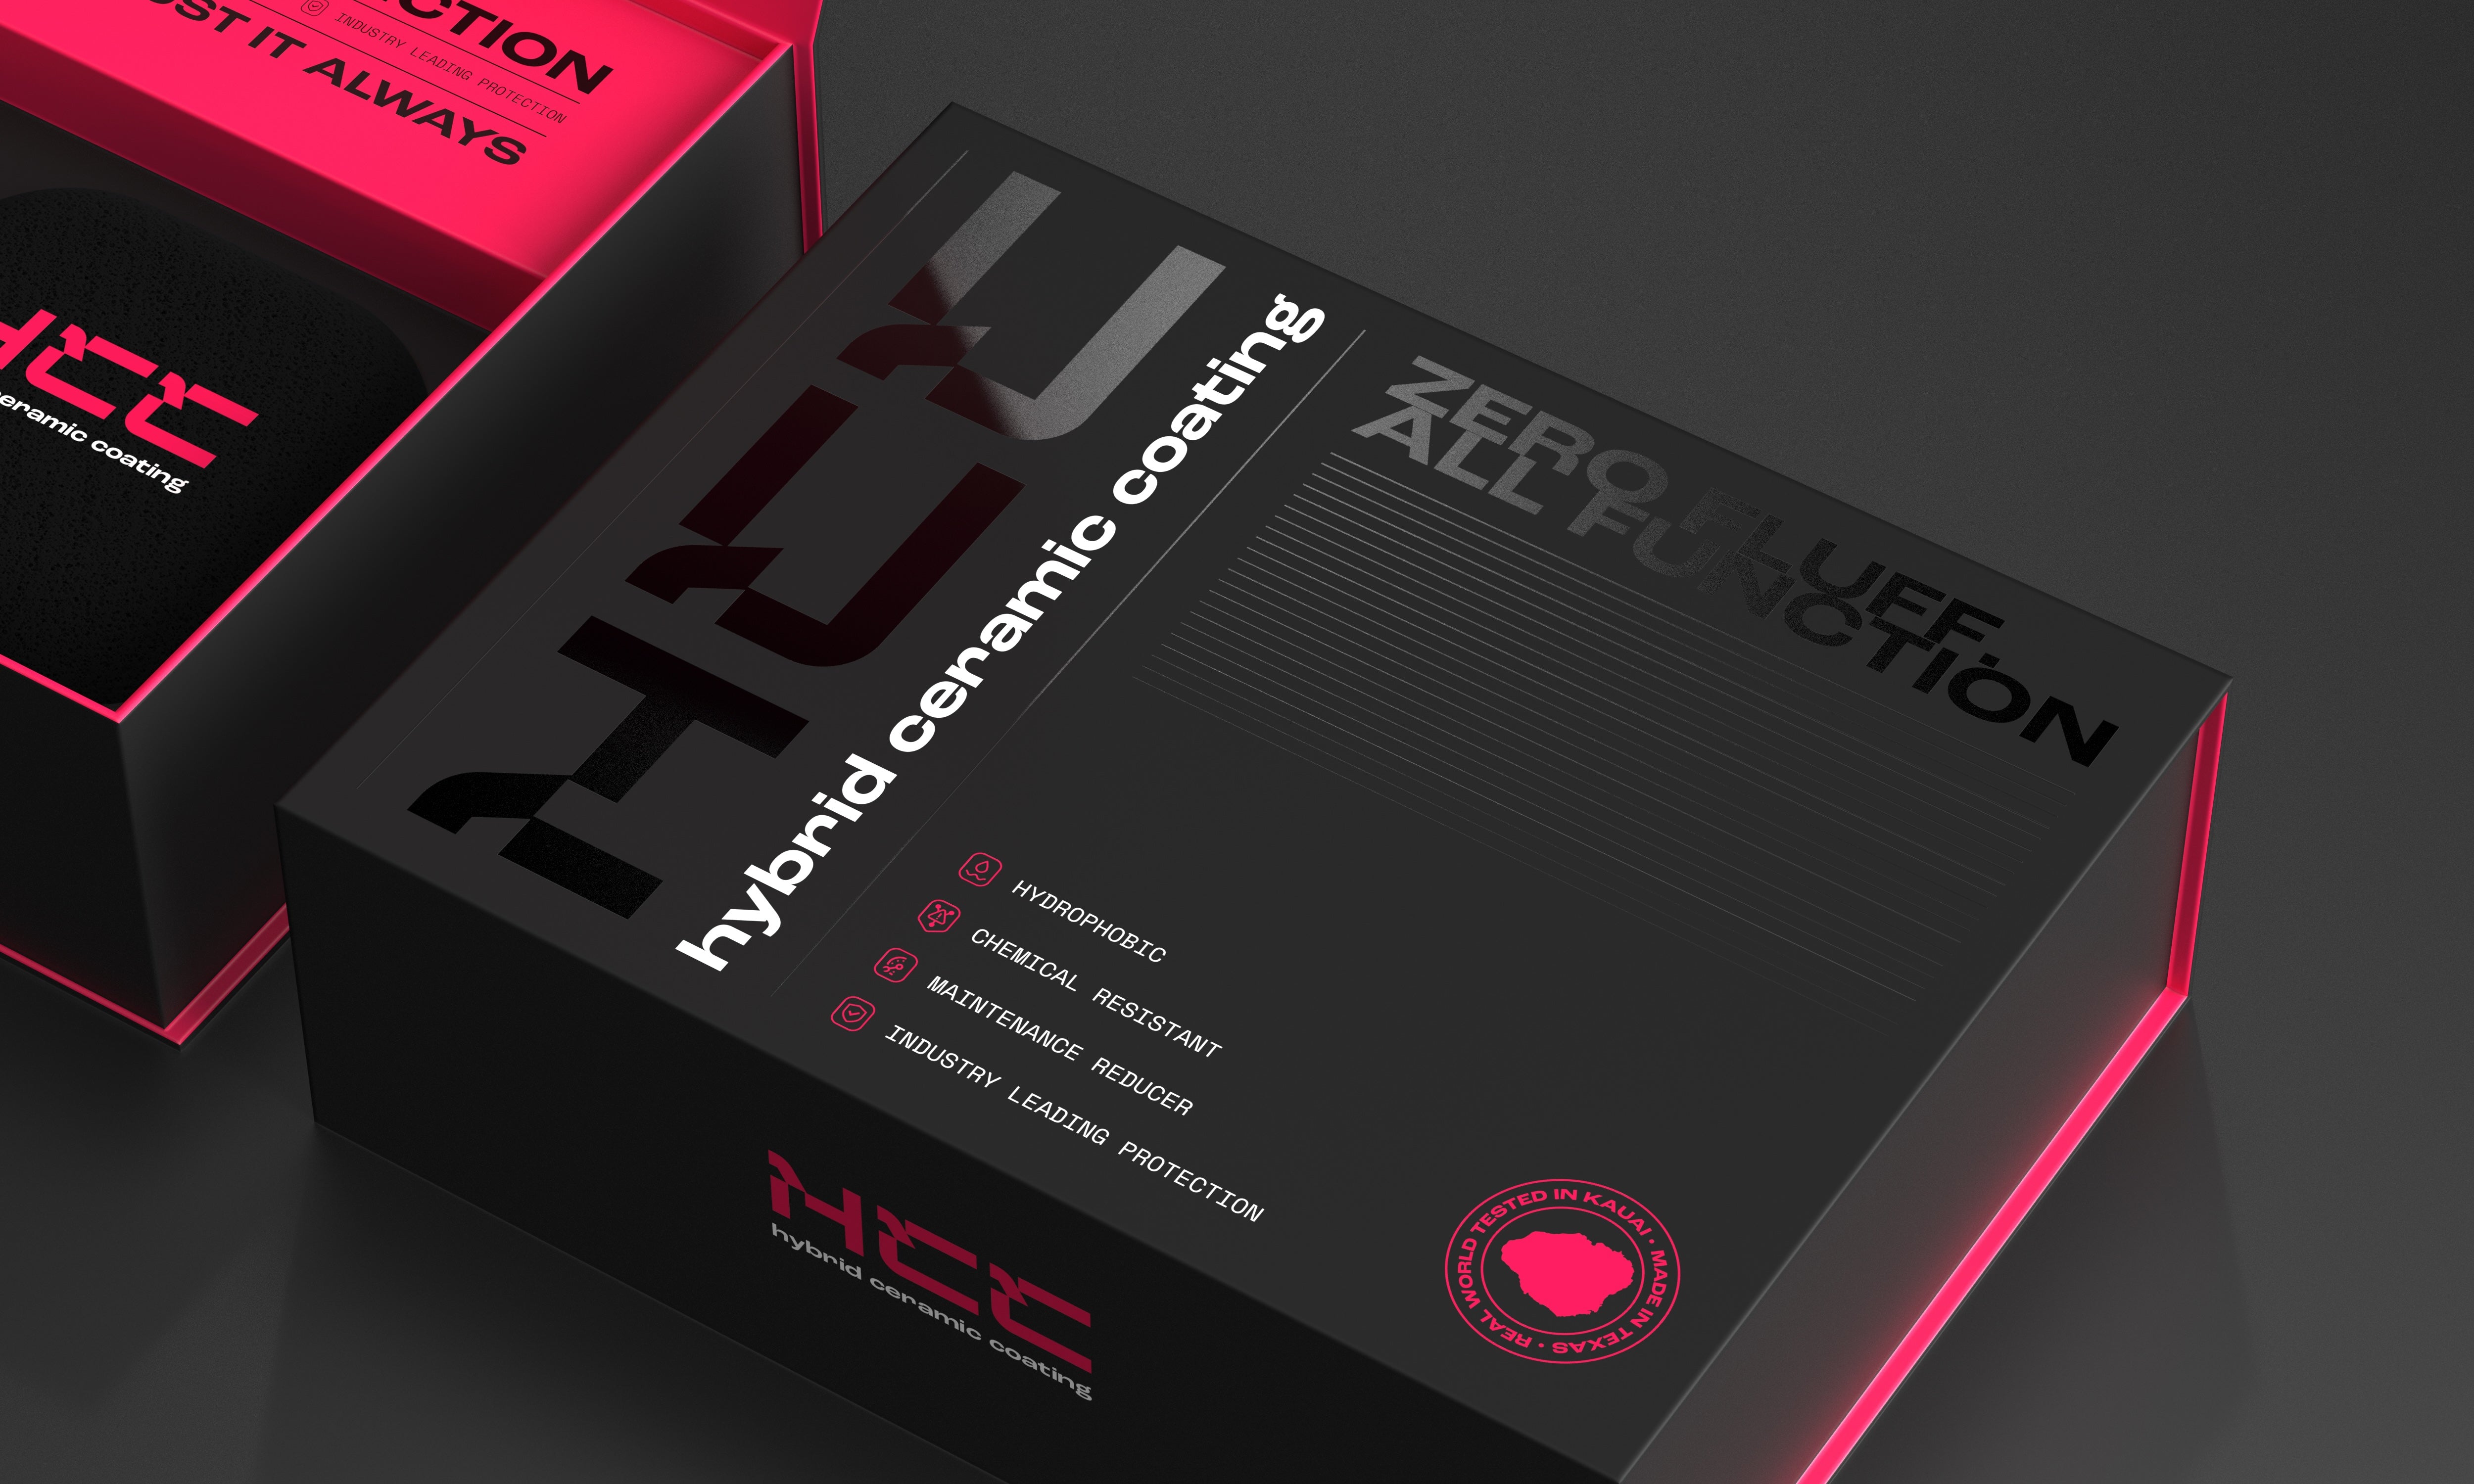
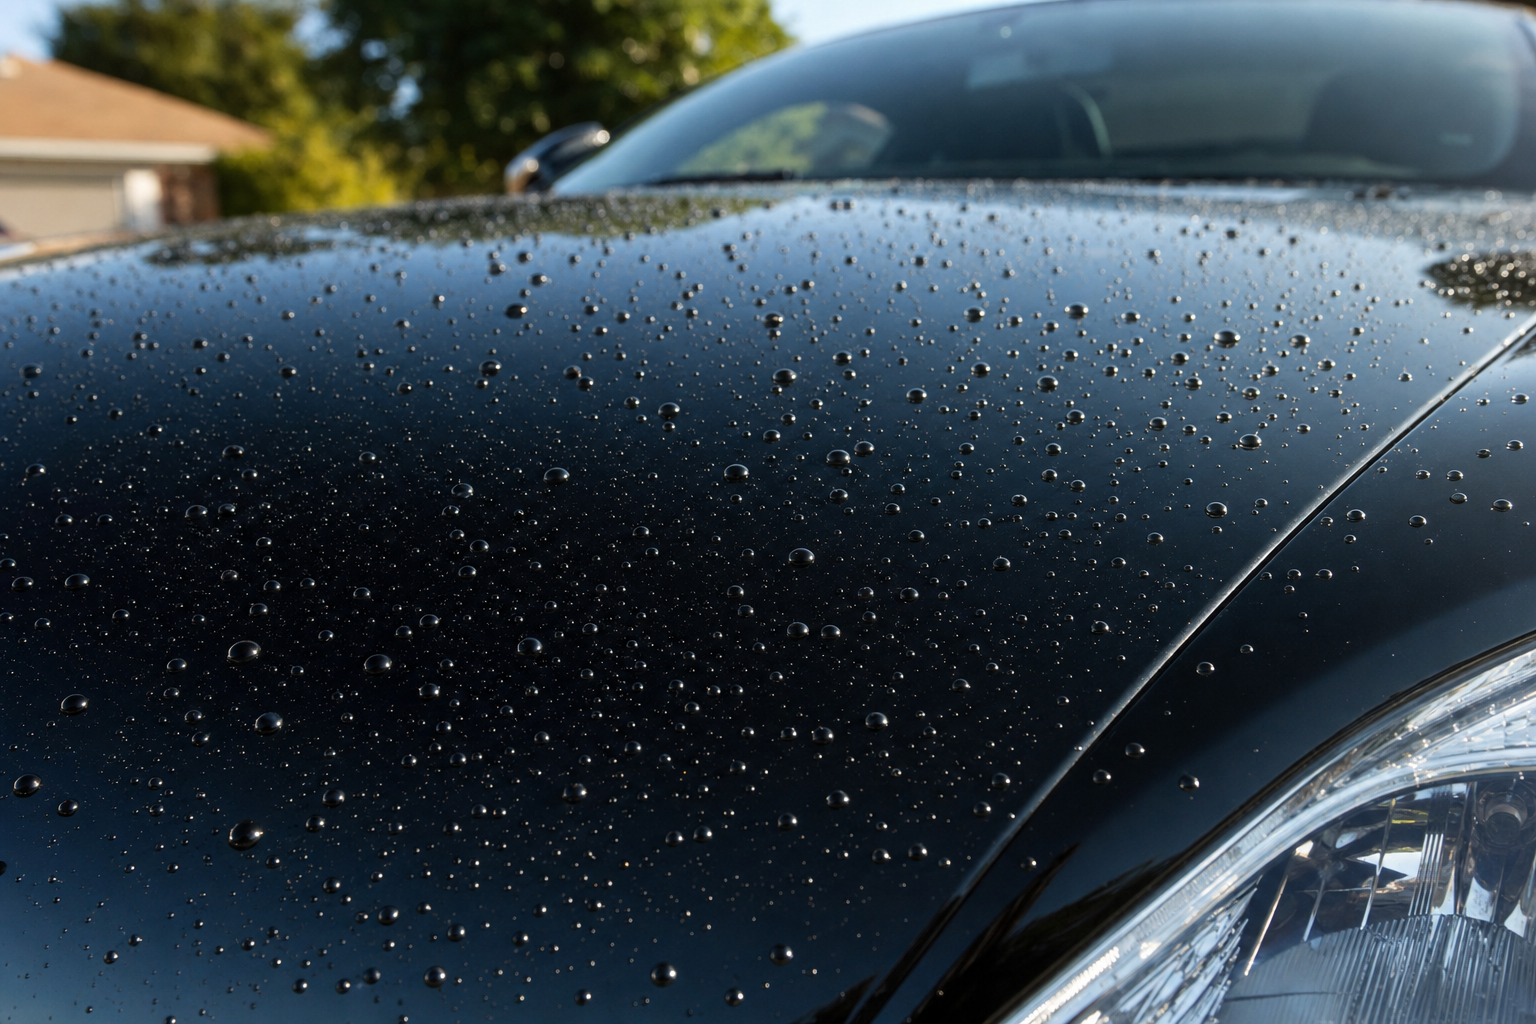
Undrdog HCC – Hybrid Ceramic Coating is the natural follow-up to a proper decontamination. After you've stripped the paint down to clean, bare clear coat, HCC locks in that surface with years of hard ceramic protection. Iron particles land on the coating rather than embedding into the clear coat, making future decontamination faster and less frequent.
How Often Should You Decontaminate?
For most daily drivers, decontaminate every 6 to 12 months. Always do it before paint correction or ceramic coating — polishing over embedded iron is a leading cause of premature coating failure and swirl marks. Near industrial areas or construction zones, every 6 months as a standard part of your seasonal detail.
Add The Purps to your detailing kit, and follow up with HCC to protect clean paint for years.
Related Reading
Keep your paint and protection dialed in with these guides from the Undrdog detailing blog:
Leave a comment
This site is protected by hCaptcha and the hCaptcha Privacy Policy and Terms of Service apply.