Most car wash scratches don't come from rocks or road debris. They come from you — or more precisely, from washing techniques that drag trapped dirt across the paint. Automated brushless car washes, dirty sponges, single-bucket wash methods, even that gas station touchless wash that blasts soap and recycled water — all of them introduce micro-scratches and swirl marks into your clear coat over time. The good news: a few simple technique changes eliminate almost all of that risk.
Here are two methods that professional detailers use on show-quality cars: the classic 2-bucket wash and the rinseless wash. Both work. Both are safe. Pick the one that fits your situation.
Why the Wrong Wash Method Destroys Your Paint
Clear coat scratch science is simple: abrasion happens when a hard particle (dirt, grit, sand) gets trapped between your wash mitt and the paint surface, then dragged across it under pressure. The standard single-bucket wash is the worst offender — you're rinsing your dirty mitt right back into the soapy water and loading it back up with grit before the next panel.
The 2-bucket method eliminates this by keeping one bucket clean (your wash suds) and one bucket as a rinse-only bucket. Every time you finish a panel, you rinse the mitt in the rinse bucket first — releasing trapped dirt — then reload from the clean wash bucket. Professional detailing guides at Autogeek recommend adding a Grit Guard insert to each bucket to trap sediment at the bottom so it can't recontaminate your mitt.
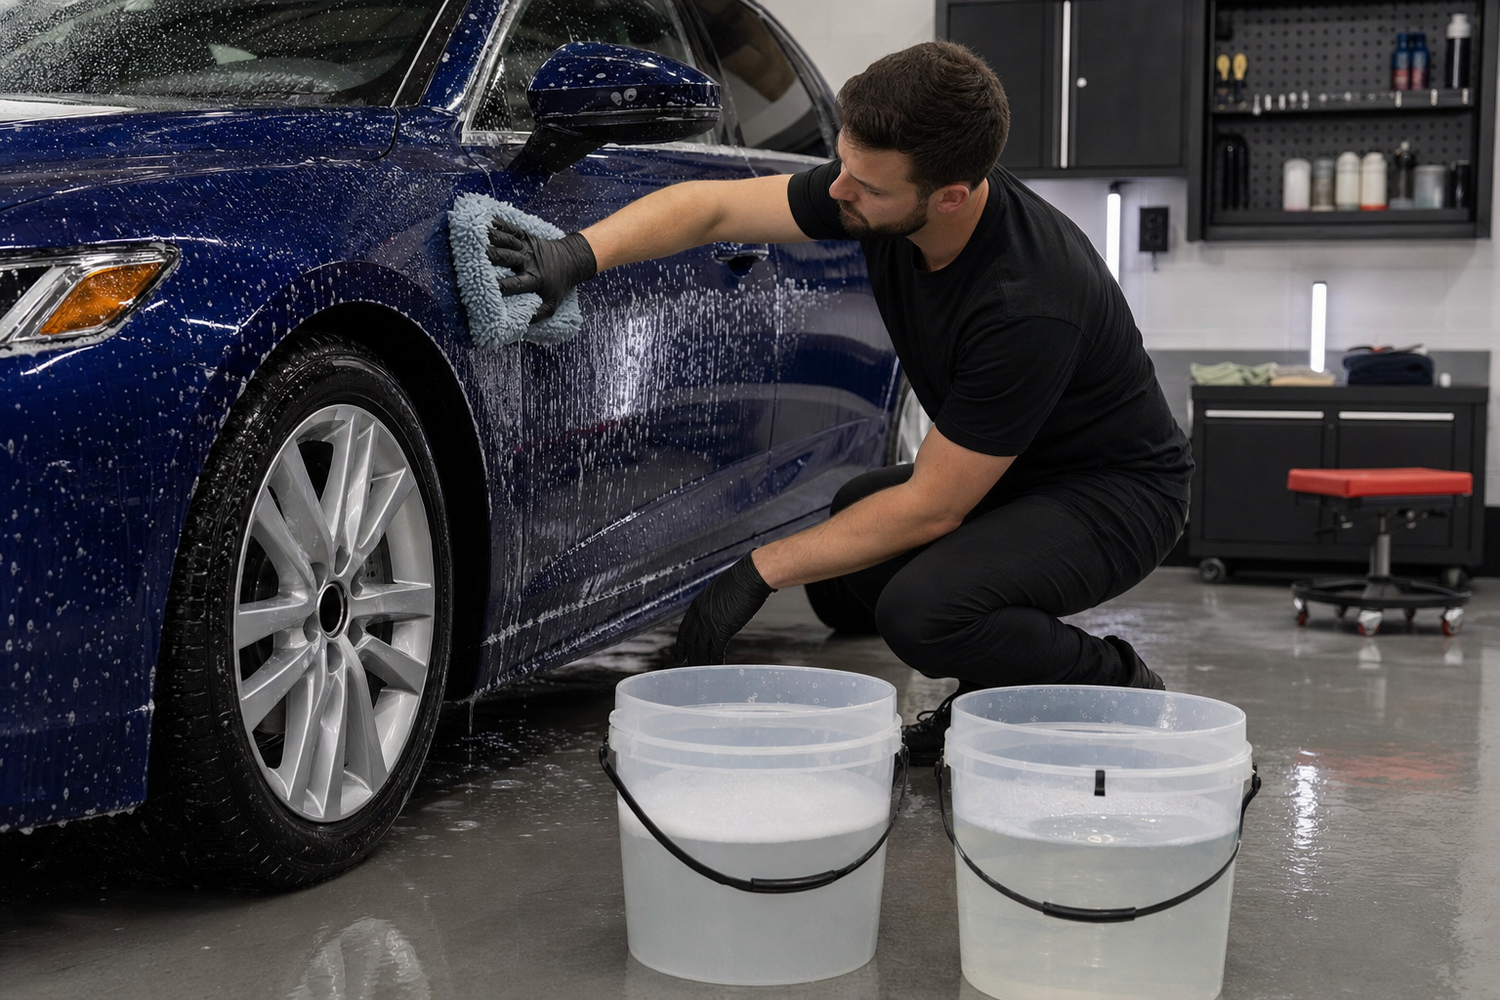
The 2-Bucket Method: Step by Step
What you need: Two 5-gallon buckets, Grit Guard inserts, a quality pH-neutral car soap, a clean microfiber wash mitt.
Step 1 — Pre-rinse the car thoroughly. Use a hose or pressure washer to knock off loose dirt, grit, and debris before you touch the paint with anything. This is non-negotiable — it removes the majority of abrasive material before contact washing begins.
Step 2 — Set up your buckets. Bucket 1: soapy wash water (follow your soap's dilution ratio). Bucket 2: plain rinse water only. Grit Guard inserts sit at the bottom of each.
Step 3 — Wash panel by panel, top to bottom. Load your mitt from the wash bucket. Wash one section — say, the roof or one door. Always use light pressure and straight-line motions, never circular.
Step 4 — Rinse your mitt in the rinse bucket, not the wash bucket. Agitate it against the Grit Guard. Then reload from the wash bucket for the next panel.
Step 5 — Rinse each section as you go, then do a full final rinse. Dry with a clean, plush microfiber drying towel.

For the soap, Undrdog Soap is formulated for exactly this: a high-lubricity, pH-neutral formula that creates a thick, slick foam that lifts and encapsulates dirt so it can't scratch. It's safe on ceramic coatings and won't strip sealants. The high foam output also makes it easy to see where you've washed and where you haven't.
The Rinseless Wash Method: Less Water, Same Safety
If you're tight on space, washing in an apartment lot, or dealing with water restrictions, the rinseless wash is your solution. Dilute the concentrate into a spray bottle, spray a panel, wipe with a clean microfiber towel, flip to a fresh side, repeat. No hose needed for rinsing.
A 2+ year real-world experiment documented on Canadian Gearhead found rinseless washing produced "no worse" paint condition than the traditional 2-bucket method when used correctly. Key rules: pre-rinse heavy dirt, use multiple fresh towels (one per panel), and never apply pressure.
Undrdog Rinseless Wash is built with high lubricity polymers that encapsulate dirt particles so they can't abrade the paint during wiping. It works on coated and uncoated surfaces, and unlike cheap rinseless products, it won't leave streaks in direct sunlight.

Key Rules That Apply to Both Methods
- Always pre-rinse. The most abrasive damage happens before you pick up a mitt. Get the heavy grit off first.
- Work top to bottom. Lower panels accumulate more grit and road spray. Saving them for last keeps your mitt cleaner through the upper panels.
- Never use circular motions. Straight, parallel wipes. Circular motions create the classic swirl patterns visible on dark cars in direct sun.
- Don't let soap dry on the surface. Work in shade or cooler temperatures. If using rinseless wash in sun, it's fine — you can reactivate with another spray if it starts to dry.
- Use dedicated wash mitts and towels. Never use the same cloth you wiped the engine bay or wheel wells with.
What About Ceramic-Coated Cars?
Both methods are fully compatible with ceramic coatings — including Undrdog HCC. In fact, coated cars are easier to wash because the hydrophobic surface repels dirt rather than letting it bond to the paint. Wash maintenance on a coated car typically takes half the time of an uncoated car, and the paint stays cleaner longer between washes.
Wash your car right and the clear coat you're protecting will last the lifetime of the vehicle. It's not complicated — it just takes a little intentionality about the method. And always use a dedicated automotive soap like Undrdog Soap — pH-balanced to clean without stripping protective coatings or drying out rubber seals.
Related Reading
Keep your paint and protection dialed in with these guides from the Undrdog detailing blog:

Leave a comment
This site is protected by hCaptcha and the hCaptcha Privacy Policy and Terms of Service apply.