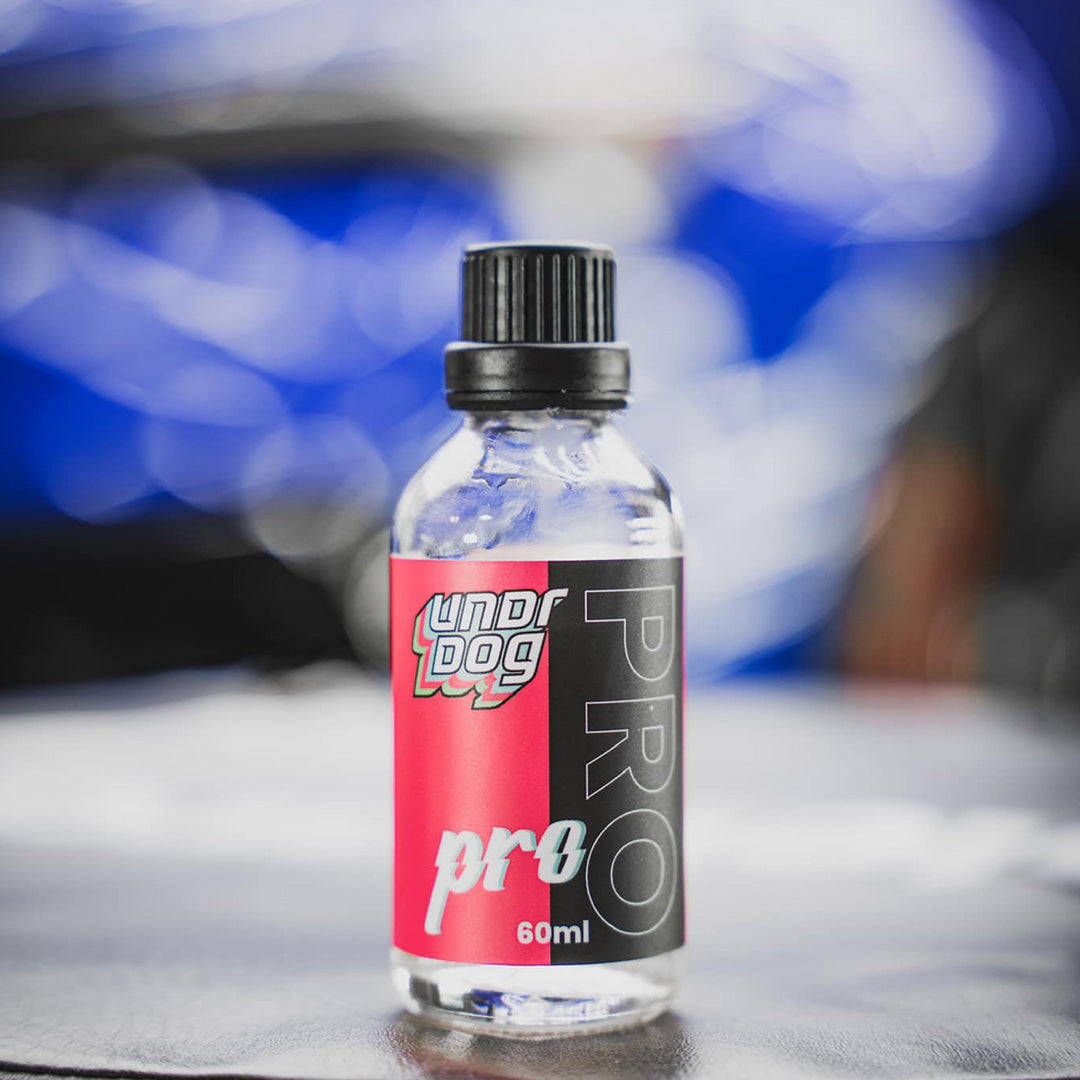
How to apply Undrdog Pro +
What’s Needed
- Brand new microfiber towels
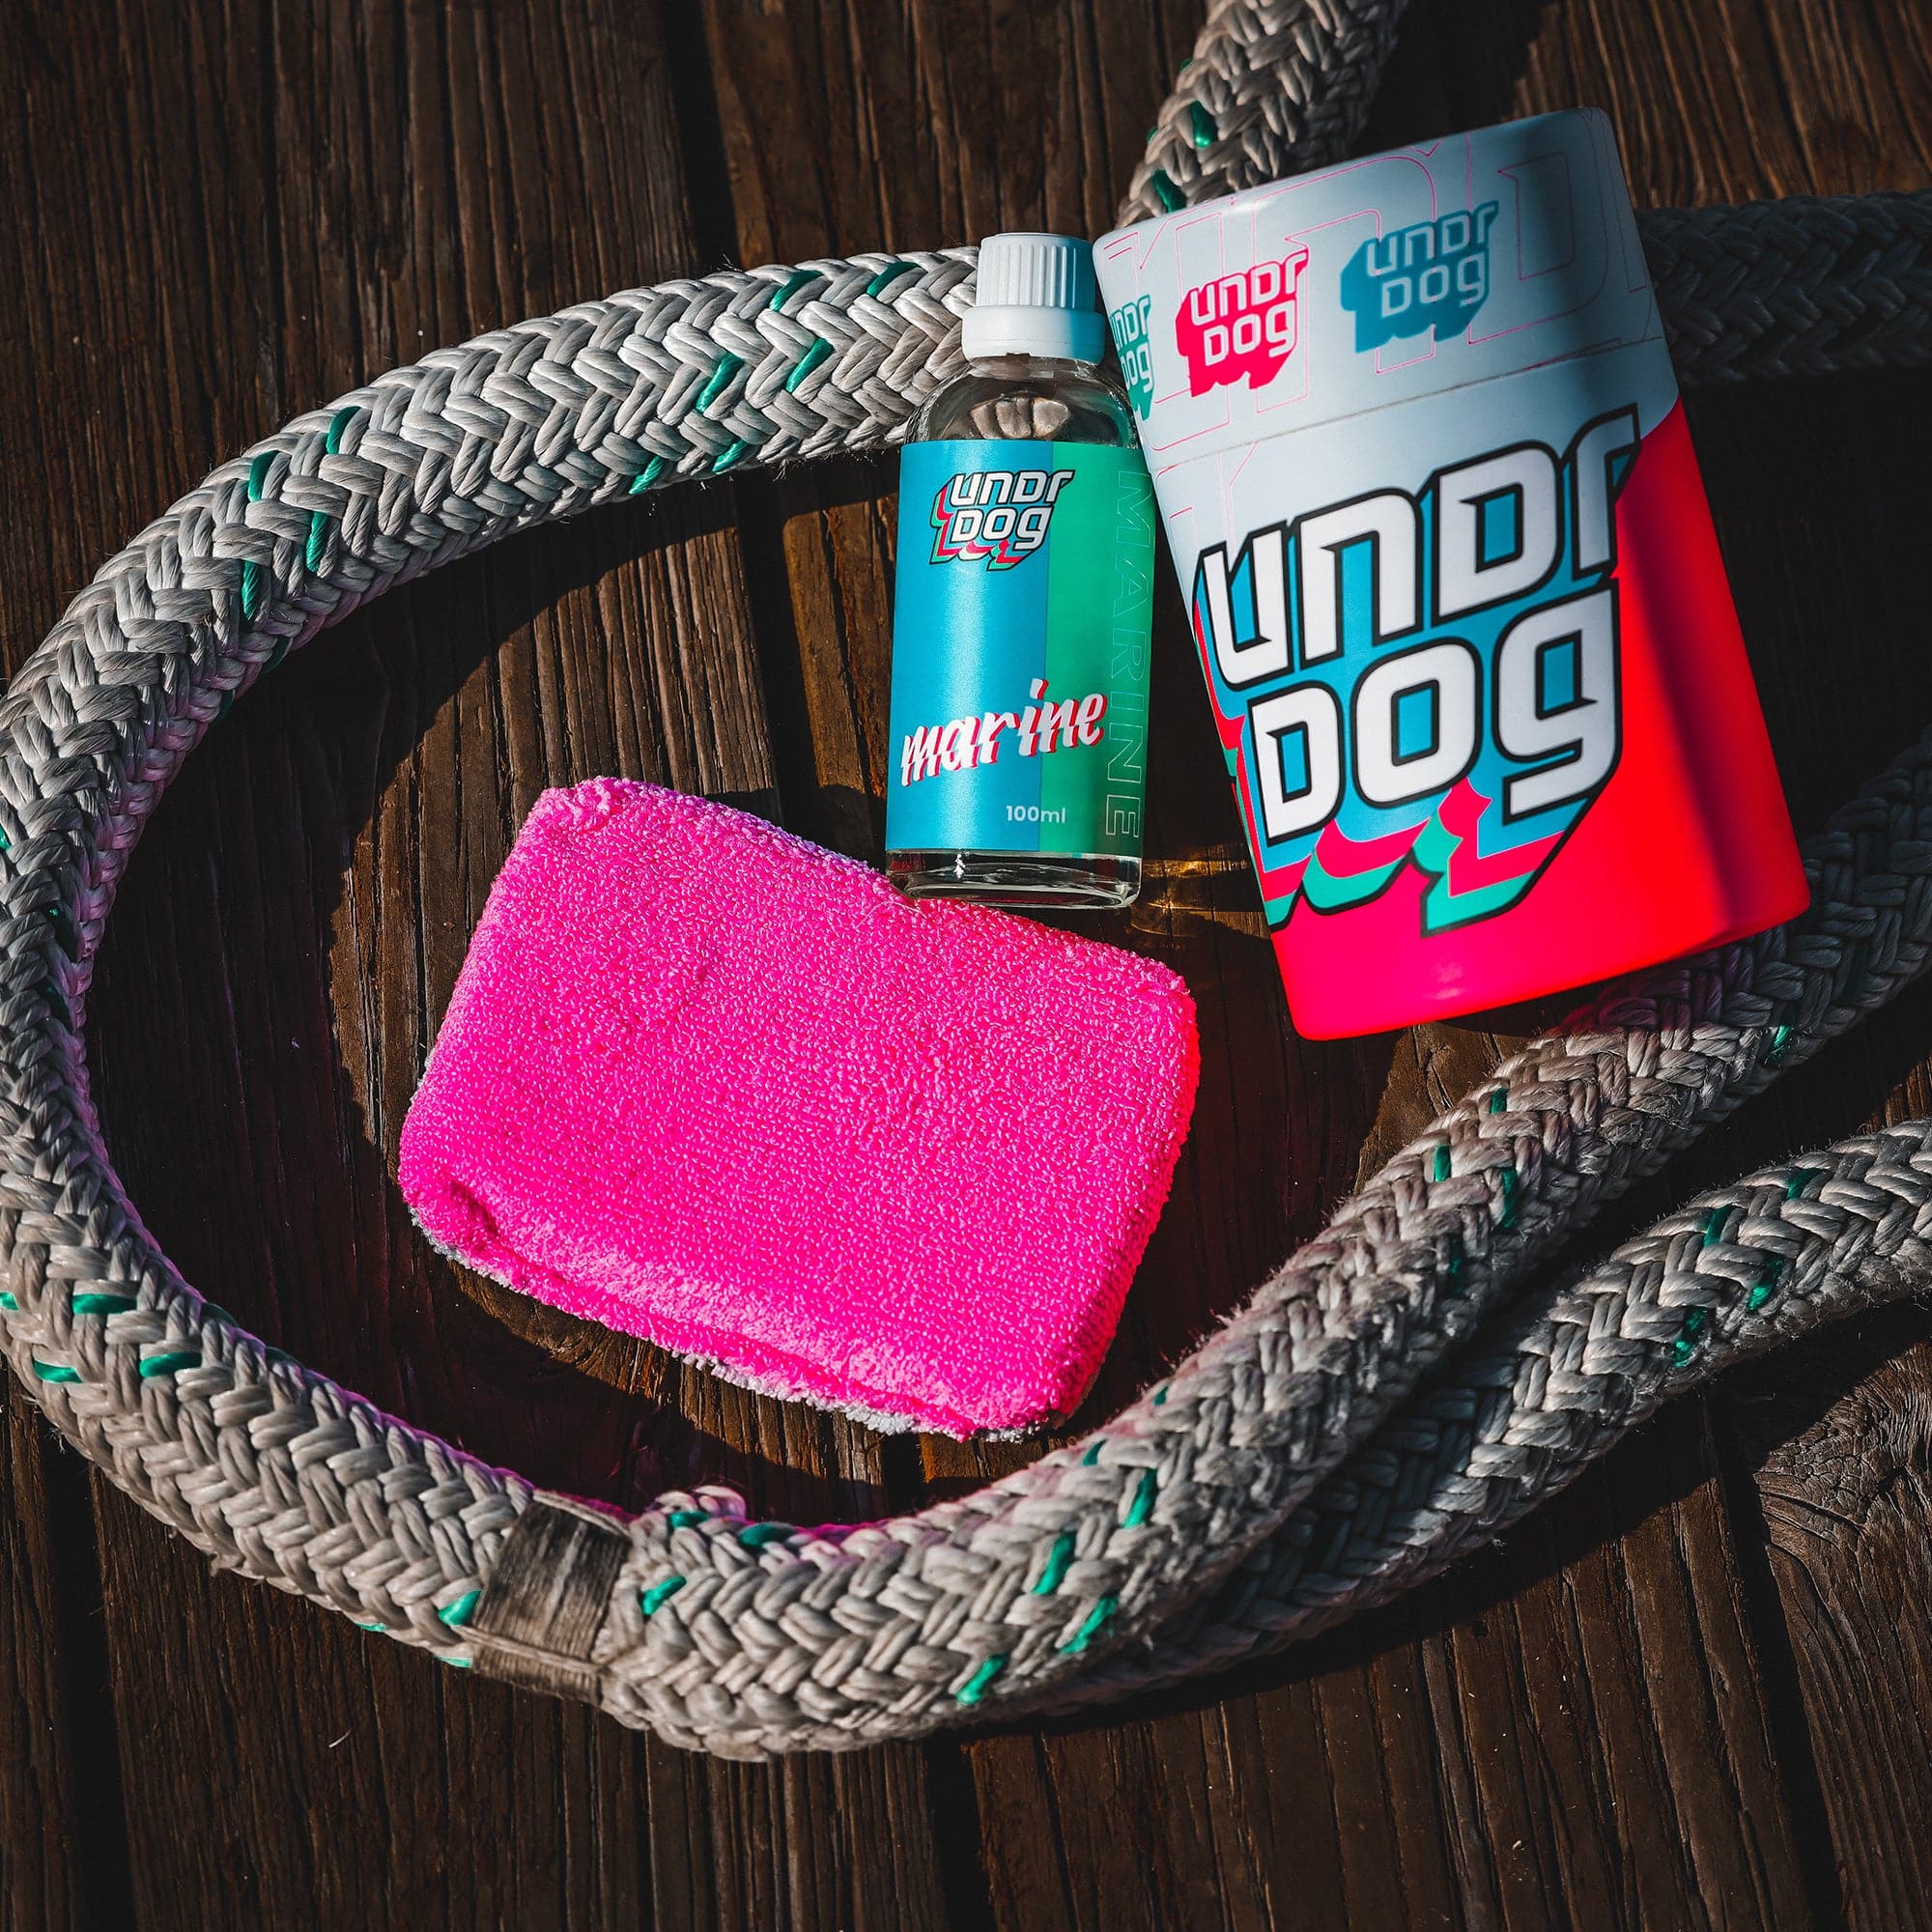
- Applicator pads
- Wax & grease remover or denatured alcohol
- Adequate lighting
- Timer
- Gloves
- Face Mask
Installing Undrdog Pro Plus is pretty straightforward. Let’s go through the steps.
To Start
1- First, prep the surface. Wipe it with denatured alcohol or a body shop wax & grease remover using fresh microfiber towels. Once finished you may begin coating.
2- Drip as many drops of Undrdog Pro Plus as it takes to get your applicator pad fairly saturated (generally ±30). Apply more product to the pad as needed throughout the process to maintain an even coating.
3- To begin, apply the coating to one panel in a cross-hatch (#) motion. This means moving the applicator pad in a vertical and then horizontal motion to ensure total coverage.
4- Once the area is coated, wait 1-3 minutes before using fresh microfiber towels to buff away the residue. We recommend the three-towel method for this process - if you’re a pro, you know.
5- Allow the coating to dry for 2-5 hours before delivering the vehicle to your client.
For detailed instructions on how to install Undrdog Pro+, check out this article.
Immediate Aftercare
The vehicle should remain dry for at least 24 hours after coating installation and not be washed with strong detergents for at least 5 days. Once the curing process is complete, use a PH-balanced soap for stripping dirt and grime to maintain the coating.
Important: Be advised, using Undrdog Pro + requires previous experience with coating installation.


