Pull a neglected fiberglass boat out of the water after a salty summer and you will see it: a dull, chalky, faintly white haze creeping across the gelcoat where there used to be a wet-looking shine. That haze is oxidation, and once it sets in deep enough, no amount of soap brings the gloss back. You are into compounding, wet-sanding, or a pricey detail. The good news is that oxidation is almost entirely preventable, and the routine that stops it takes far less time than the repair that fixes it.
Here is exactly why salt water wrecks a hull, and the four-step routine that keeps your gelcoat looking new instead of looking like a driveway.
Why Saltwater Oxidation Happens Faster Than You Think
Gelcoat is the hard, pigmented outer layer that protects the fiberglass underneath. It is tough, but it is also slightly porous, and that is where the trouble starts. As It's All Clean San Diego explains, as oxidation progresses the gelcoat becomes more porous, allowing UV rays, salt, and pollutants to cause deeper and more permanent damage. It becomes a feedback loop: the more oxidized the surface, the faster it oxidizes.
Salt is the accelerant. When salt water dries on the surface, it leaves behind microscopic crystals that attract and hold moisture against the gelcoat. Combined with sunlight and oxygen, that salt acts like a catalyst that speeds up surface degradation. As Catalyst Marine Services notes, salt does not have to chemically attack the gelcoat directly to do damage. It keeps the surface wet and contaminated, which makes UV damage happen faster and turns the finish chalky and porous, eventually allowing water to intrude into the underlying fiberglass. On metal hardware, the same salt film acts as an electrolyte that drives galvanic corrosion between dissimilar metals.

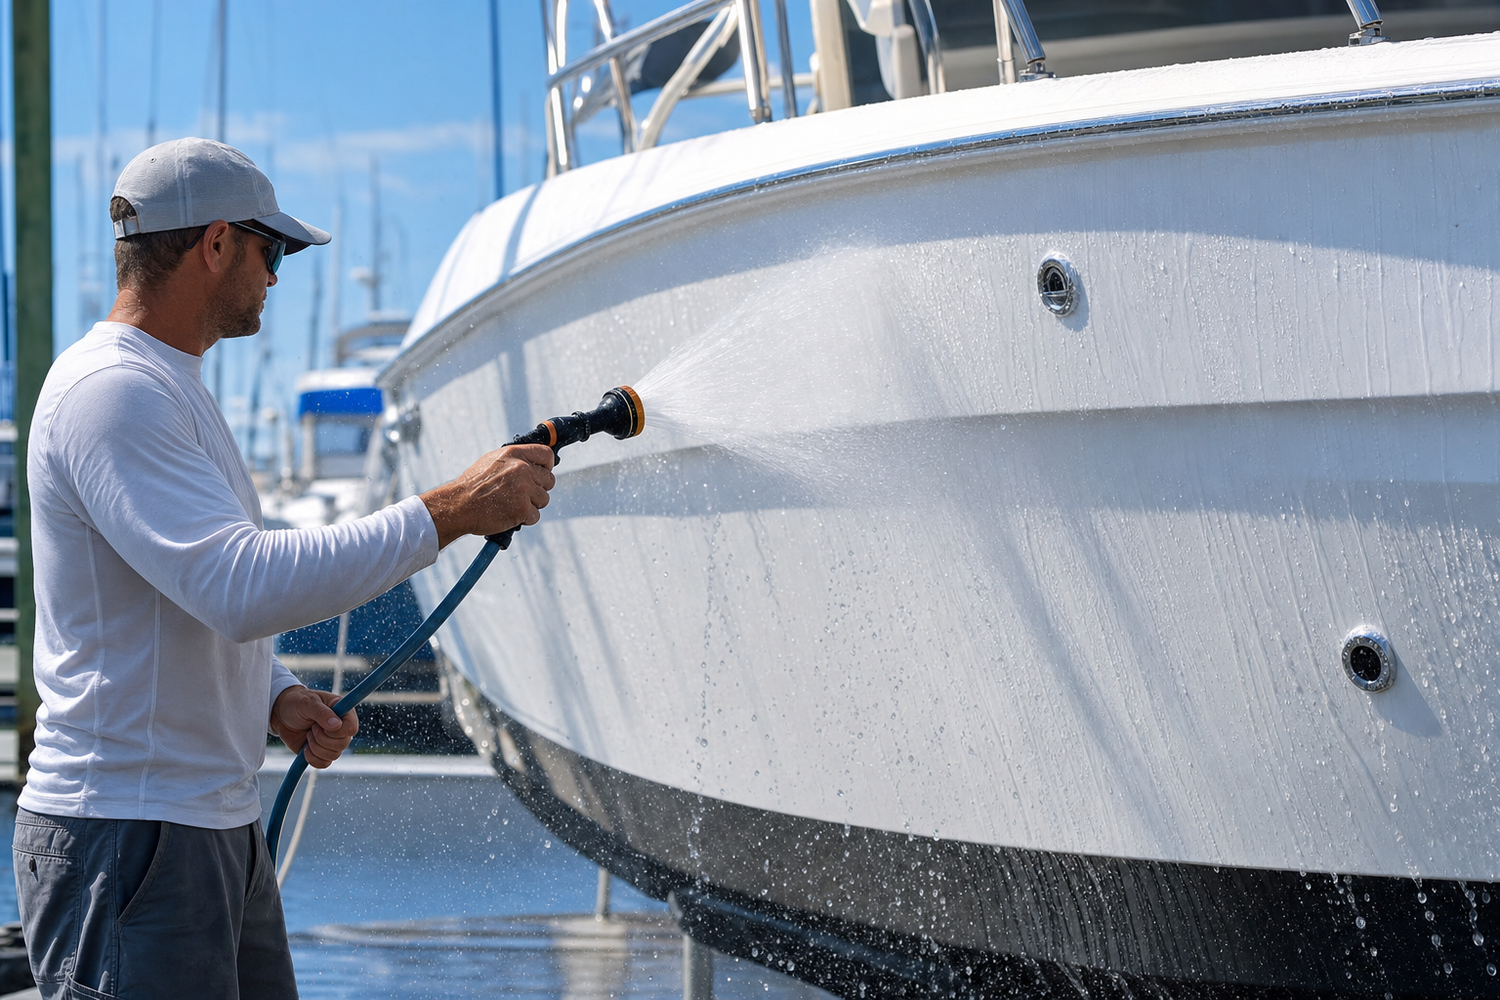
Step 1: Rinse Every Single Time
The single highest-leverage thing you can do is the cheapest. Discover Boating puts it plainly: your best defense is to rinse your boat with fresh water after every saltwater trip, because preventing corrosion starts with a hose. You need to physically wash the salt off before it can start its dirty work.
Hit every surface — deck, railings, hatches, hardware, and the hull — and do not let salt sit overnight to crystallize. For the wash itself, use a dedicated marine-safe soap rather than dish detergent, which strips protection and dries out gelcoat. Undrdog Soap is formulated to lift salt, grease, and grime on both boats and cars without attacking your existing protection, which makes it the right first move in any post-trip rinse.
Step 2: Decontaminate Before You Protect
Rinsing removes loose salt, but it does not pull out the embedded contamination that has already worked into the pores — water spots, mineral scale, and rust-colored fallout streaks from metal hardware and trailer dust. Sealing a coating over that contamination just locks it in.
This is where a chemical decontamination step earns its keep. The Purps is an iron, rust, and fallout remover that chemically dissolves embedded metal particles so they rinse away instead of grinding into the surface. For chalky mineral deposits and hard water marks that a normal wash leaves behind, a dedicated Water Spot Remover clears the scale so you start your protection step on a genuinely clean, bare surface.
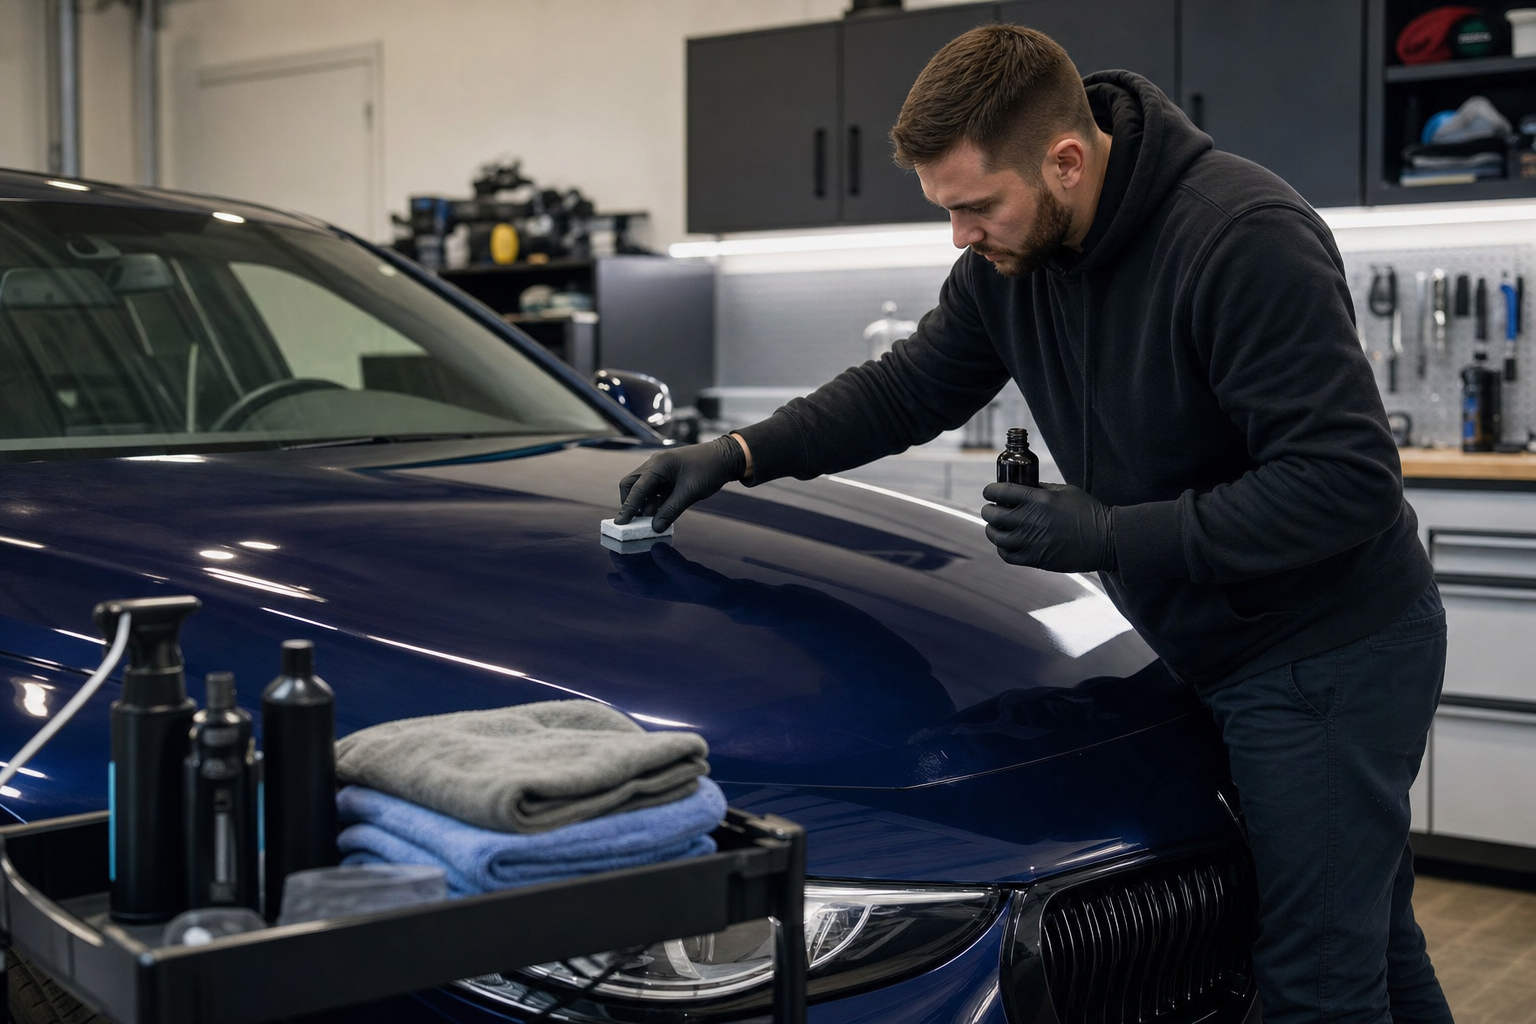
Step 3: Coat It — and Skip the Wax Trap
Most boat owners reach for wax, and that is the trap. Wax does not chemically bond to the surface, so it evaporates and wears off quickly. As Glidecoat's hull case study points out, that lets salt work its way back into the pores of the gelcoat, causing stubborn water marks that are extremely difficult to remove. You end up reapplying every few weeks and still losing ground.
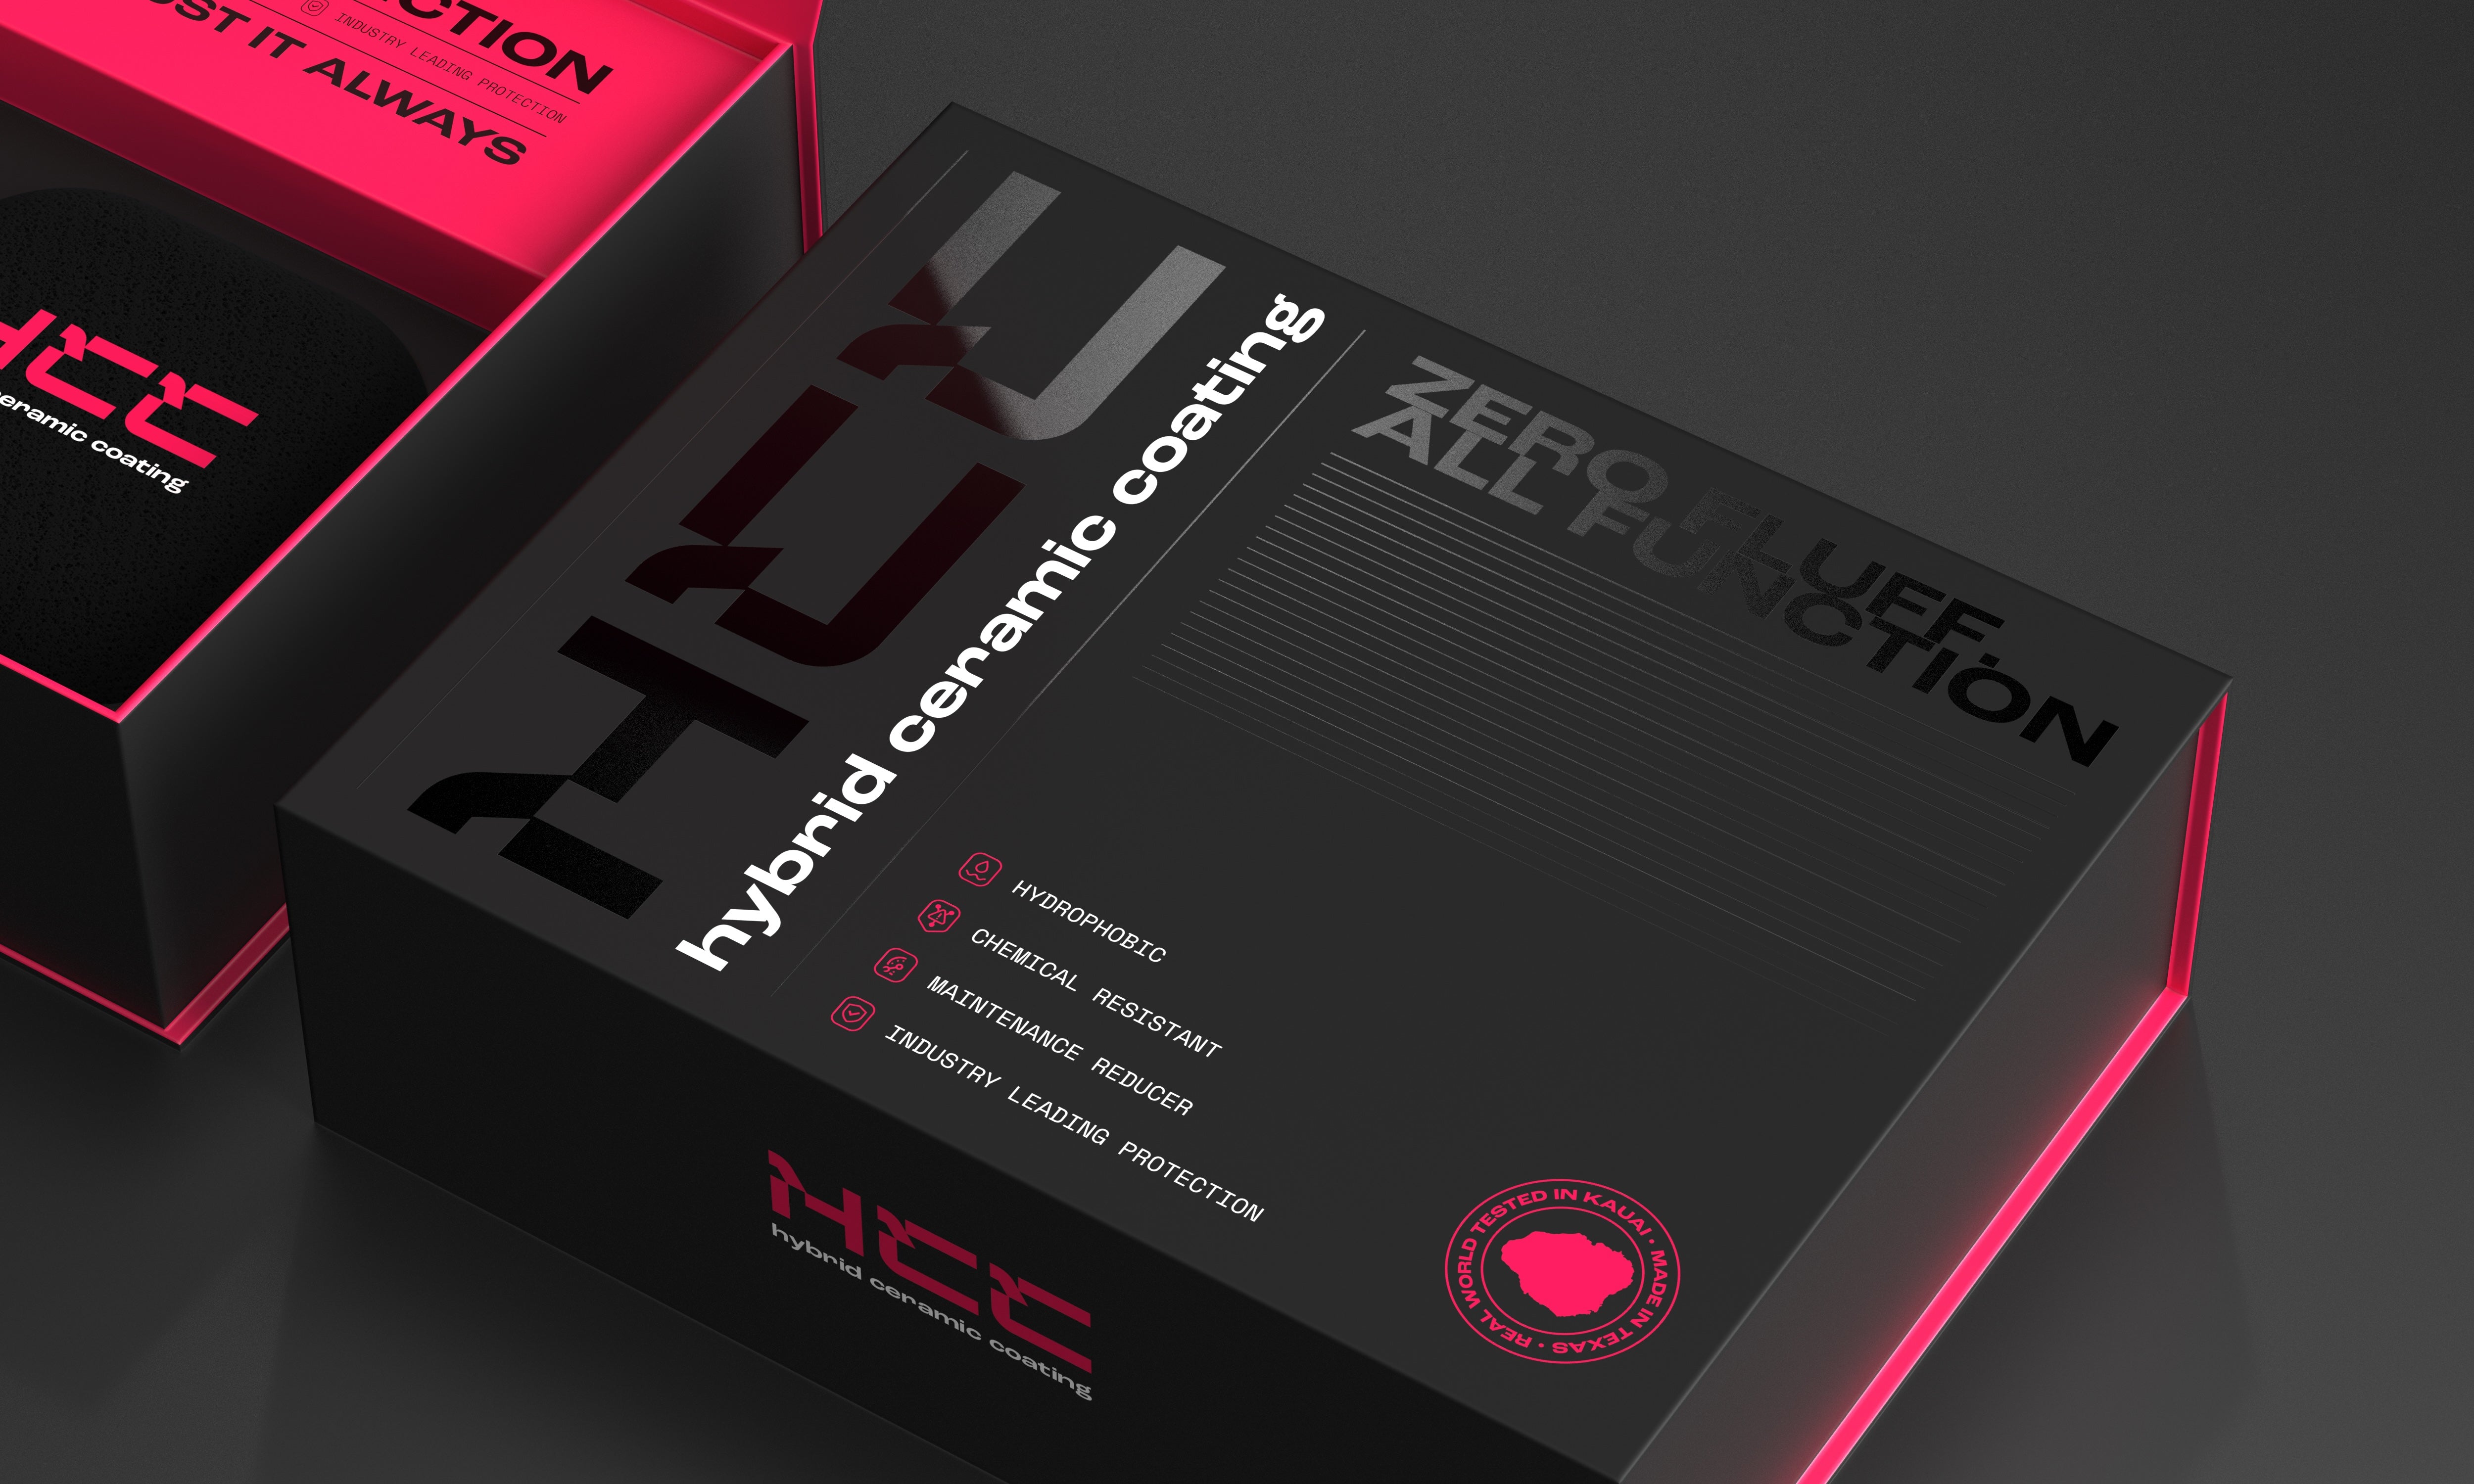
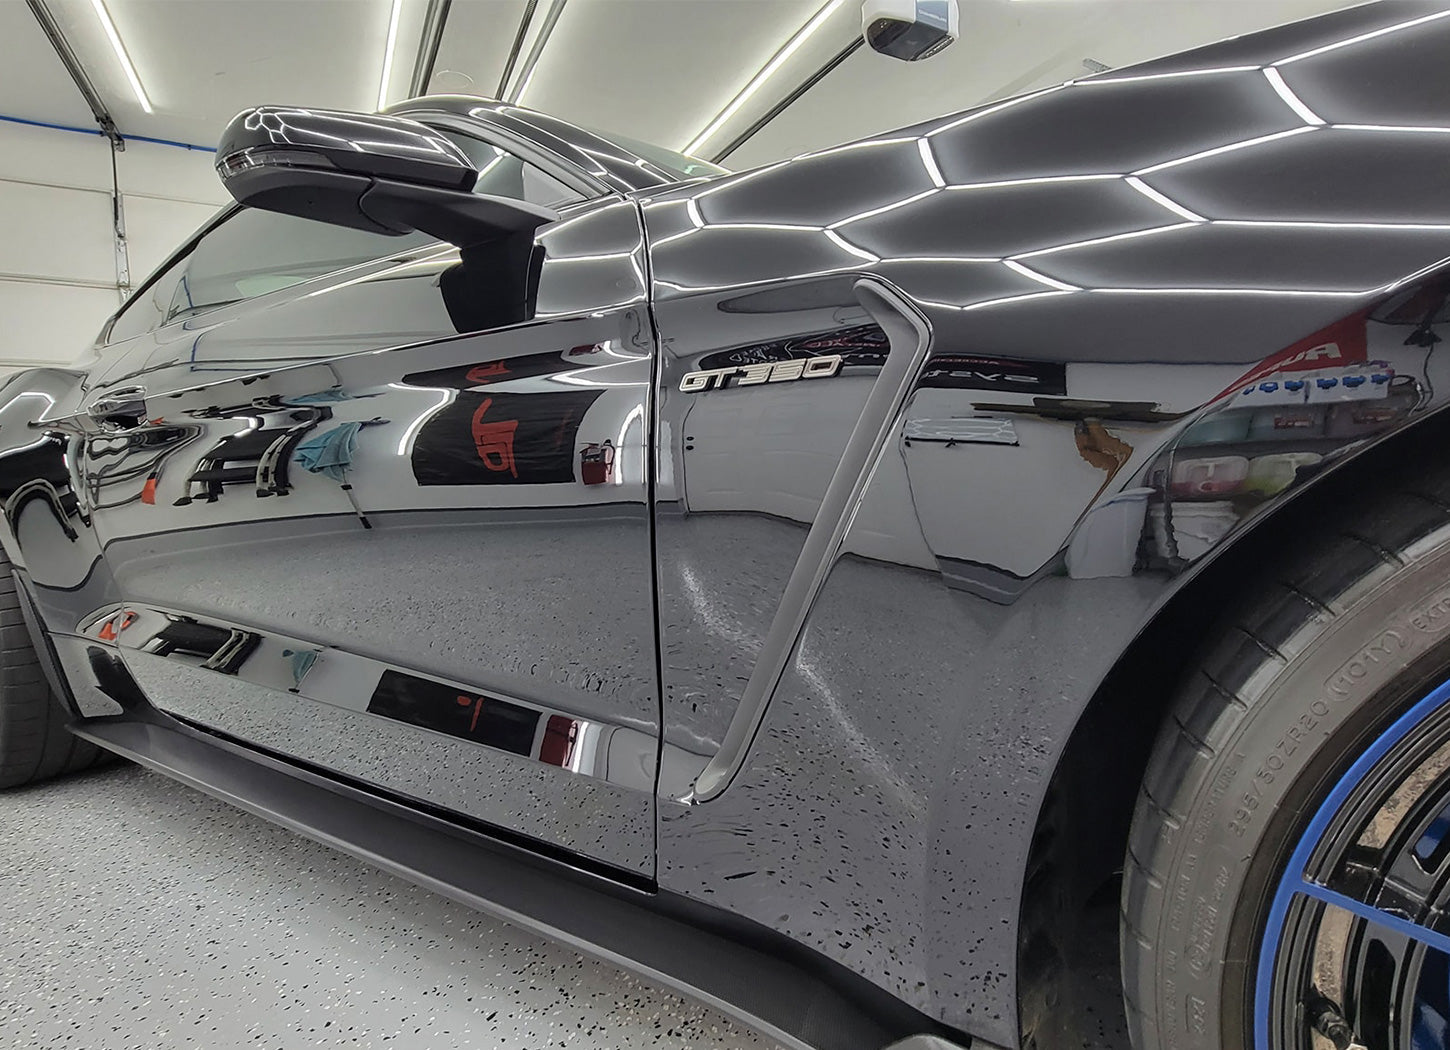
A bonded coating solves the root problem by filling and sealing the pores so salt crystals have nothing to grip and UV cannot reach the gelcoat. Undrdog Marine is built specifically for this job, blending PTFE, silicon, and paraffin into a durable barrier engineered for hulls and marine surfaces. Applied to a clean, decontaminated surface, it gives you the slick, water-shedding finish that keeps salt and oxidation off for far longer than wax — without the every-other-weekend reapplication.

Step 4: Maintain With a Quick Topper
Between full washes, a hydrophobic spray keeps the coating performing and adds a fresh layer of slickness so water and salt sheet off instead of clinging. A few minutes with Quick Detail after a rinse keeps the beading strong and the gloss high, stretching the life of the coating underneath.
The Math on Prevention
A chalky, oxidized hull is a restoration project — hours of compounding, polishing, and sometimes wet-sanding, or a four-figure bill at a detail shop. The routine above is a rinse, an occasional decontamination, one coating session, and a quick spray between trips. Do the easy version now and you never meet the hard version later. Start your hull's protection with a proper coat of Undrdog Marine, and let the salt slide right off where it used to dig in.
Related Reading
Keep your paint and protection dialed in with these guides from the Undrdog detailing blog:
Leave a comment
This site is protected by hCaptcha and the hCaptcha Privacy Policy and Terms of Service apply.