


To clean car door jambs, work one door at a time, remove loose debris without dragging it across the finish, and clean small areas with controlled moisture before drying them. Treat painted metal, rubber seals, and interior trim as separate surfaces rather than spraying the whole opening with one cleaner. Check your vehicle’s instructions first: Tesla’s Model Y manual, for example, specifies a damp cloth for door seals and warns against directing water at seals, electronic modules, or exposed cabling (Tesla cleaning guidance).
The goal is a clean, dry opening, not a drenched hinge pocket or a shinier piece of rubber. This guide gives you a conservative maintenance workflow for accessible surfaces, with clear stopping points when the job becomes repair, lubricant service, or material-specific stain removal.
Identify what you are cleaning before choosing a product
Open the door and look at the entire opening before touching it. For this job, separate the painted body-side jamb and painted door edges from the flexible seals, plastic sill trim, labels, latch, hinges, wiring, and interior door panel. Do not let the convenient name “door jamb” turn a collection of different parts into one cleaning surface.
Read the cleaning and maintenance sections for your exact vehicle and any aftermarket finish or film. A recommendation for exterior paint does not automatically cover a coated seal, replacement weatherstrip, adhesive label, or interior trim panel. If you cannot identify the material or its care requirements, limit the work to removing accessible loose debris and get clarification before using chemicals.
| Area | Recommended approach | Boundary to keep |
|---|---|---|
| Sound painted jamb and door edge | Use a confirmed-compatible wash product, gentle contact, complete residue removal, and drying. | Do not scrub damaged paint or treat ordinary shampoo as a leave-on product. |
| Door seal or weatherstrip | Follow the vehicle or replacement-seal instructions separately. | Do not assume a cleaner or dressing approved for another material belongs here. |
| Interior plastic sill and door trim | Use the interior material’s care method and a separate cloth. | Keep liquid away from switches, openings, and trim gaps. |
| Hinge, latch, and door check | Clean surrounding accessible surfaces without turning the job into a degreasing project. | Lubrication service needs its own vehicle-specific instructions. |
| Labels, wiring, damaged finish, or unidentified openings | Leave undisturbed when their care requirements are uncertain. | No picking, solvent experiments, pressure jets, or improvised disassembly. |
This is a workflow boundary, not a claim that all cars use the same materials. The exact manual and the product label decide what is appropriate on your vehicle.
Gather clean towels and set up one door at a time
Park securely on level ground, switch the vehicle off, and choose a shaded working area with room to control the door. Keep children and pets away from the work area. Do not begin with a door that could swing into you, another vehicle, or a wall while your hands are in the opening.
Set aside soft, clean microfiber cloths for cleaning, fresh-water residue removal, and final drying. Keep another cloth for interior trim. A soft vacuum attachment can help collect loose debris from the sill without rubbing it into the finish; keep the hard nozzle from contacting paint. Put used cloths in a separate container so they do not return to the clean pile.
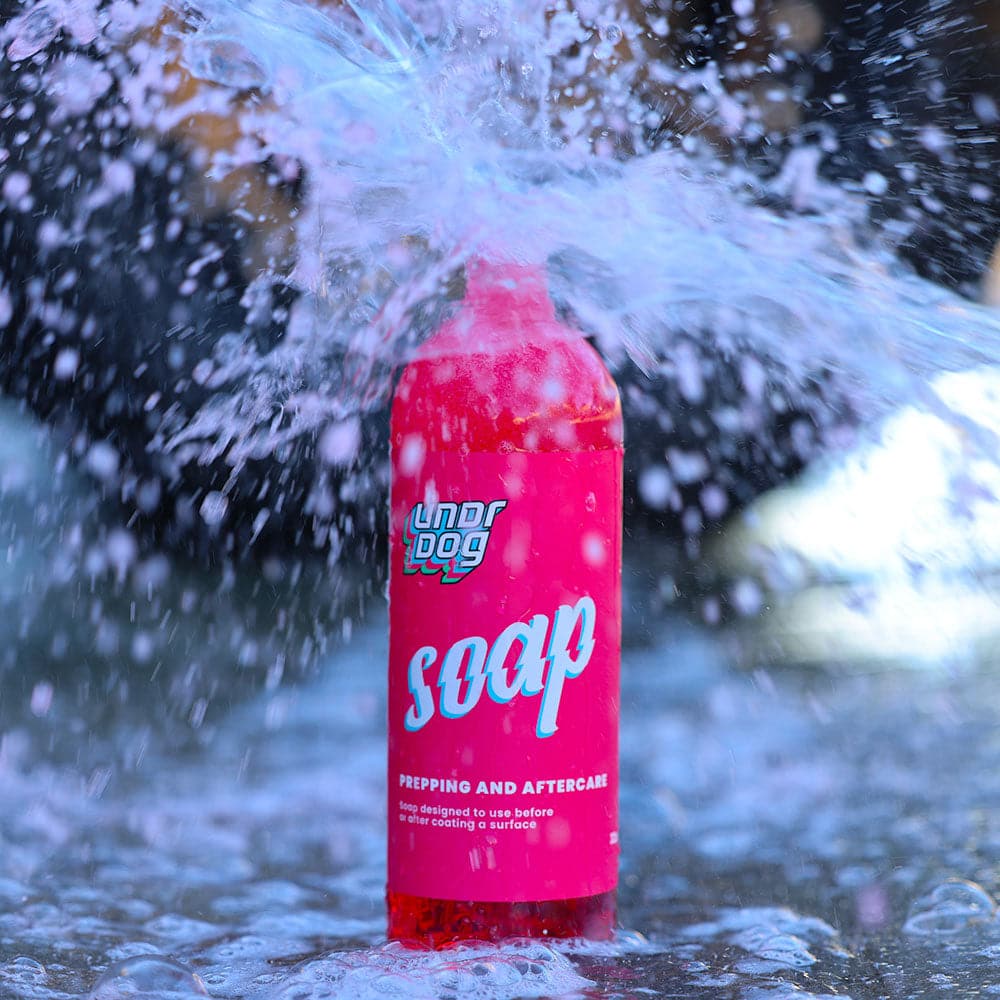
For compatible painted surfaces, Undrdog Soap is the brand’s pH-neutral wash option. Mix according to the current label, remove the soap residue fully, and do not let it dry on the surface; the product page specifically advises shade and warns about dried residue (Soap application and safety information).
Read the safety label as well as the application directions. Soap lists serious eye irritation and harmful-if-swallowed warnings, and calls for protective clothing and gloves; natural-sounding or mild-cleaning language is not a reason to ignore chemical precautions (Soap safety information).
Keep clean water nearby for residue removal, but do not put a pressure-washer wand inside the open doorway. If you are also washing the exterior, use our car-washing guide for the larger panels, then handle the doorway as a separate, controlled task.
Remove loose grit and check the painted surface
Start with inspection, not scrubbing. Look for loose sand, leaves, mud, peeling finish, exposed edges, or anything that looks different from normal surface dirt. Remove easy-to-lift debris without scraping across the paint. Do not chase particles behind trim, pull seals away, or push a tool into a drain opening.
For gritty or muddy paint, do not force a dry towel across it. The broader washing principle is to remove loose contamination before contact; Tesla’s exterior-cleaning instructions likewise begin with removing grime and grit before hand washing (Tesla exterior-wash sequence). That does not mean aiming a hose into the open cabin.
Our recommendation for a lightly soiled, accessible jamb is to introduce a small, controlled amount of compatible wash solution, let the dirt soften as permitted by the label, and lift it away gently. If thick mud requires flushing that you cannot control without wetting the cabin or nearby components, stop and have a detailer assess the setup.
Test your chosen cleaner on a small inconspicuous area of sound finish before working widely. Check the result after removing residue and drying. Stop if you see unexpected color transfer, a change in gloss, softened material, or lifting finish; more pressure is not the next troubleshooting step.
Clean painted jambs in small, controlled sections
Work from the upper accessible painted areas toward the lower sill. Wet the cloth with your correctly mixed wash solution and control the amount so it is not pouring into the opening. Use light contact and a clean section of cloth; do not keep wiping with a face that is visibly carrying grit.
Make each section small enough that you can clean it, remove the residue, and dry it before moving on. This is especially important around a narrow door edge where it is easy to lose sight of the surface you just wetted. Keep one hand and your body out of the door’s closing path.
Use a soft detailing brush only where the material and finish permit it, and do not treat a narrow gap as an invitation to scrub harder. A towel wrapped around your fingers may give you better control on accessible contours. Leave inaccessible areas alone rather than forcing a brush behind seals or into hardware.
With ordinary shampoo, the rinse requirement does not disappear because the working area is small. Remove the wash solution with fresh water in a controlled way, using clean, water-damp cloths for light, accessible work and changing them until the residue is removed. This is not a rinseless-wash claim: if you cannot remove all residue that way, use an appropriate label-approved rinsing setup or stop and seek help. Undrdog’s Soap directions require complete residue removal (Soap directions).
Do not pour water into the jamb to make up for too much cleaner. The better adjustment is less product, a smaller section, and more clean cloths. Finish with a fresh drying towel rather than the cloth that collected the dirt.
Clean seals and interior trim separately
For door seals, start with the exact vehicle instructions rather than a general rubber-care recipe. Tesla’s Model Y manual says to wipe seals with a damp cloth and avoid alcohol wipes or chemicals that could deteriorate their coating (Tesla door-seal instructions).
Replacement weatherstrip supplier Metro Moulded Parts provides a different general procedure: mild soap and water, gentle cleaning, a clean-water rinse, and thorough drying; it also warns against harsh chemicals, solvents, and abrasive cleaners (Metro weatherstrip-care guide). Those instructions are not permission to override a vehicle’s more specific restrictions. Do not prescribe the same conditioner for every seal.
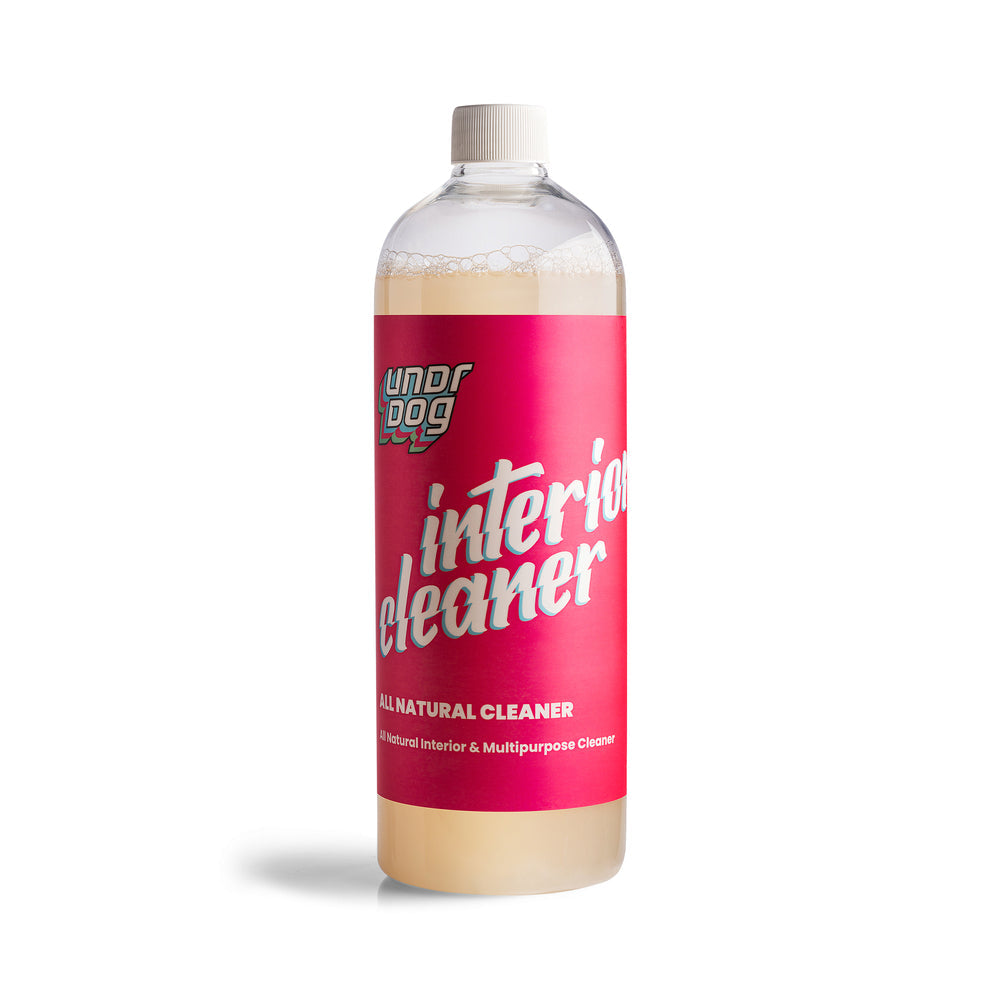
Use another cloth for interior plastic trim and door panels. Undrdog Interior Cleaner is intended for suitable interior surfaces, and its directions include applying it to a soft cloth or sponge, wiping gently, and removing excess moisture with a clean, dry cloth. The page advises avoiding delicate surfaces and does not specifically establish paint or weatherstrip compatibility (Interior Cleaner instructions).
That is why we are not recommending it as a universal spray for the whole doorway. Keep the product on the cloth for this controlled workflow, avoid soaking gaps or switches, and follow the interior material’s own restrictions. If you are using a concentrate instead, our concentrate mixing guide explains why a measured mixture and the correct bottle identity matter.

Leave lubrication and repairs out of the cleaning job
Do not make every dark or greasy area a target. Our boundary for routine jamb cleaning is to leave working lubricant on hinges, latches, and checks undisturbed, and clean only the accessible surrounding surfaces. If the hardware needs service, consult the vehicle’s maintenance instructions or a qualified technician rather than improvising a degrease-and-relubricate routine.
Do not apply a general dressing, coating, or cleaner into the latch to make it look finished. Likewise, avoid scraping identification labels, picking seam material, or probing openings with wire. None of those actions is necessary to complete a careful wipe-down of the surrounding painted area.
If the door sticks, closes differently, leaks, or has visible damage, document that issue separately. Cleaning is not the repair. A professional detailer can define the cleaning scope, while a body or service specialist can address the underlying fault.
Dry, inspect, and decide whether protection is needed
Dry the accessible painted surfaces, the sill, and any areas wetted during cleaning before closing the door. Use good light to look for remaining cleaner, dirt at an edge, or water collected on a horizontal surface. Check that the adjacent cabin trim and floor stayed dry, and remove every towel and tool from the opening.
If a mark remains after gentle cleaning, pause. It may need identification rather than another round with a stronger chemical. Take a clear photograph and ask for advice before trying a solvent, abrasive, or polishing step on a small, complicated area.
Coating is optional, not the final rinse step. If you want long-term protection for confirmed-compatible, properly prepared painted surfaces, HCC Hybrid Ceramic Coating is Undrdog’s all-surface flagship for cars, boats, planes, and bicycles. Its multi-year protection depends on preparation, exposure, use, and maintenance; confirm suitability and the complete application process before starting (HCC product information).
Do not interpret “all-surface” as an instruction to coat every component inside a doorway. This guide does not recommend HCC for rubber seals, labels, wiring, latch mechanisms, or lubricated parts. A clean, dry jamb without a new coating is a perfectly reasonable endpoint for this maintenance task.

Frequently asked questions
Can I pressure-wash car door jambs?
This maintenance method does not require pressure washing inside an open doorway. Follow your vehicle’s restrictions and keep water jets away from seals, wiring, electronic components, and the cabin.
Can I use regular car shampoo on painted jambs?
Use a shampoo only when it is compatible with the finish and permitted by the vehicle’s care instructions. Follow its dilution and residue-removal directions; ordinary shampoo is not automatically a rinseless product.
Should I use interior cleaner on the whole door opening?
No. Interior trim, painted metal, rubber seals, and hardware need separate compatibility checks. An interior-cleaner recommendation for a door panel does not establish suitability for every adjacent part.
What should I use on rubber door seals?
Follow the vehicle or replacement-seal manufacturer’s instructions. Some vehicle instructions specify a damp cloth and restrict chemicals, so do not assume every seal needs soap, dressing, or conditioner.
Do I need to remove grease from the door hinges?
Not as part of this routine cleaning workflow. Leave working lubricant undisturbed; if the hinge or latch needs service, use the vehicle-specific maintenance procedure or ask a qualified technician.
What if the dirt does not come off gently?
Stop and identify the material and contamination before escalating. Heavy mud, uncertain residue, damaged paint, or a persistent mark may require a different controlled process rather than harder scrubbing.
Should I ceramic-coat the jamb after every cleaning?
No. Cleaning and coating are separate jobs. A new coating needs confirmed surface suitability and full preparation; you do not need to add one to complete routine jamb cleaning.
How do I know the job is finished?
The accessible surfaces are clean, residue is removed, the areas you wetted are dry, and the cabin has stayed dry. Check for remaining tools or towels before closing the door, and treat any mechanical or leak issue separately.
Start with a controlled wash, not a stronger chemical.
Review Undrdog Soap’s directions for your compatible painted surfaces, then clean, remove the residue, and dry one section at a time.
Shop Undrdog Soap

Leave a comment
This site is protected by hCaptcha and the hCaptcha Privacy Policy and Terms of Service apply.