How to Apply Undrdog Self Leveling Industrial
Undrdog Industrial is perfect for protecting and enhancing non-floor surfaces like house hold items, heavy equipment, boat parts, car parts etc. This coating is meant to provide a durable, glossy, and protective finish. Here’s how to apply it using a microfiber applicator pad.
Materials and Tools Needed
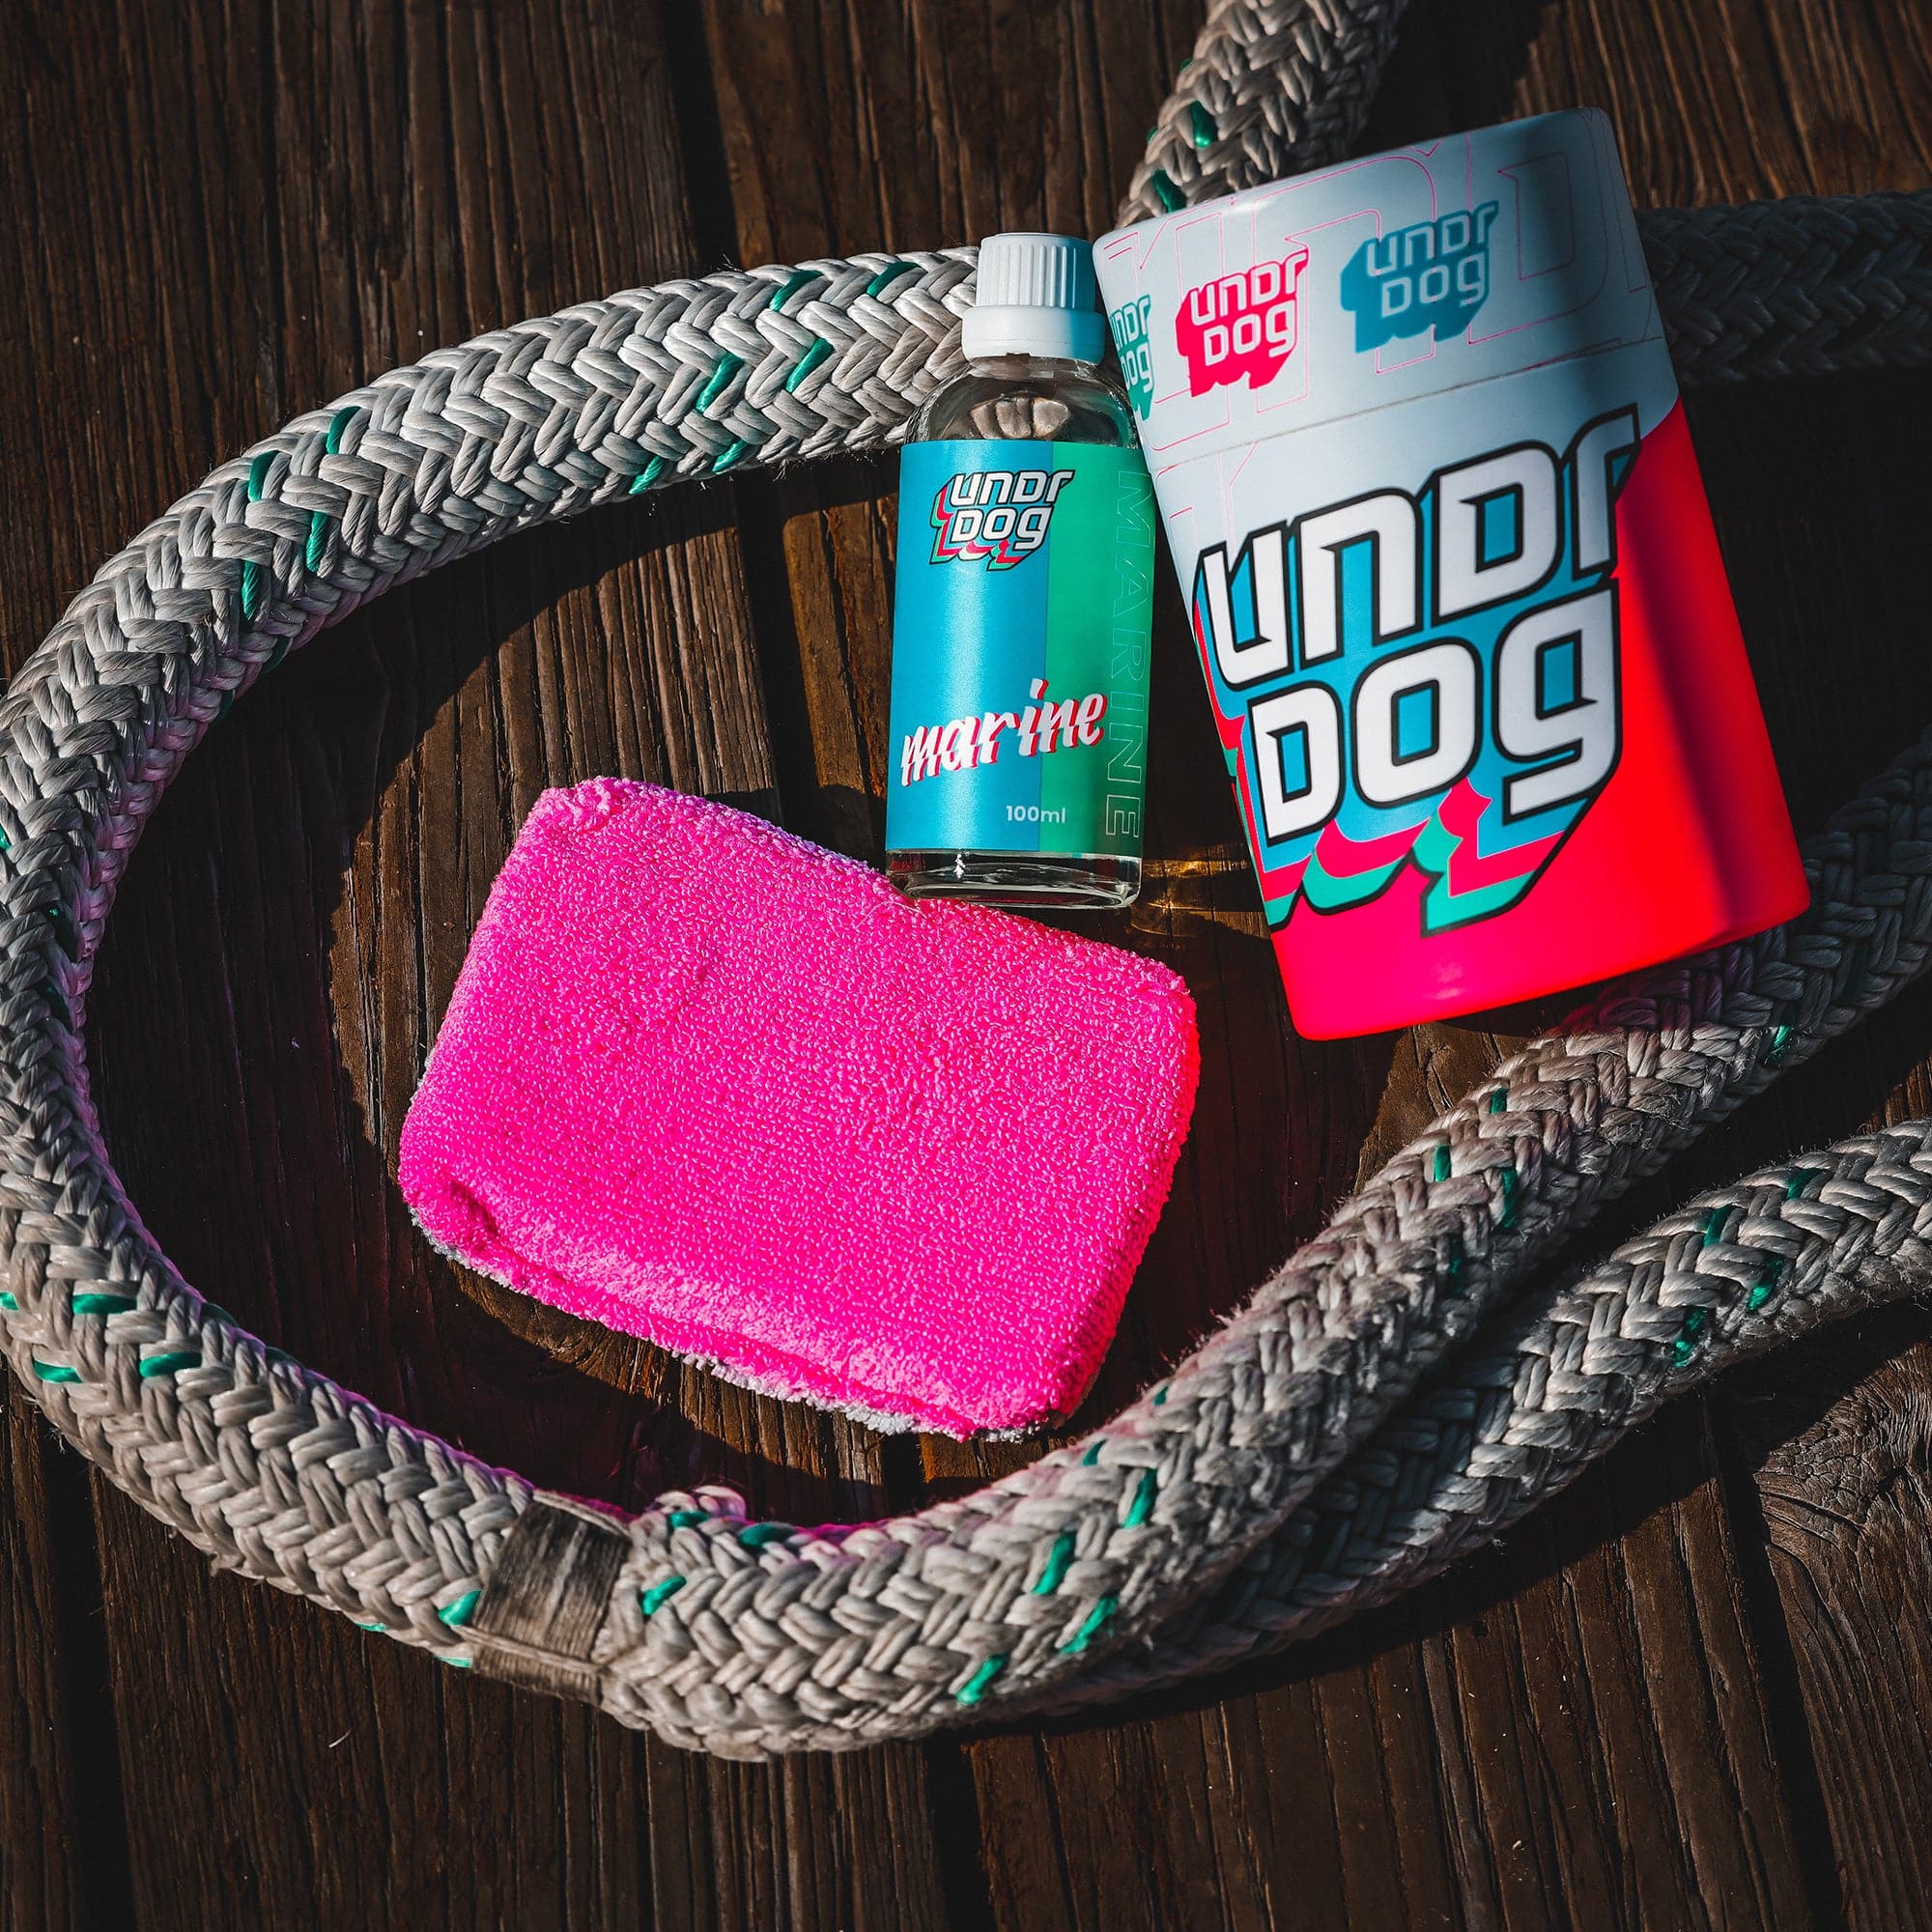
- Undrdog Self Leveling Industrial (ready to use)
- Microfiber applicator pad
- Degreaser (recommended for surface preparation)
- Isopropyl alcohol (70-90%) or a similar surface cleaner
- Clean, lint-free cloths or towels
- Protective gear: gloves, goggles, and respirator (if in a poorly ventilated area)
- Masking tape (to protect surrounding areas)
- Level workspace for the object being coated
- UV curing light (if required by the product)
Step 1: Prepare the Surface
Proper surface preparation is essential for the coating to adhere and perform effectively.- Wash the Surface with a Degreaser
- Use a high-quality degreaser to thoroughly clean the surface. This will remove grease, oil, dirt, and other contaminants that can affect adhesion.
- Rinse the surface with clean water to remove any residue from the degreaser. Allow it to dry completely.
- Wipe with Isopropyl Alcohol
- After the surface is dry, wipe it down with isopropyl alcohol or a similar surface cleaner to remove any remaining residue and ensure it is spotless.
- Use a lint-free cloth to avoid leaving fibers behind.
- Inspect the Surface
- Check for any remaining contaminants, imperfections, or dust. Address these before proceeding.
- Mask Surrounding Areas
- Use painter’s tape to mask off edges or areas you don’t want coated. Press the tape down firmly to ensure clean lines.
- Ensure a Level Surface
- Place the object on a level workspace to allow the coating to flow and settle evenly.
Step 2: Apply the Coating
The ceramic coating comes ready to use, so there’s no need for mixing.
-
Pour a Small Amount
- Pour a small amount of the coating directly onto the surface or onto the microfiber applicator pad.
-
Spread with the Microfiber Applicator Pad
- Use the microfiber applicator pad to spread the coating in straight, overlapping strokes. Work in thin, even layers for optimal results.
-
Allow the Coating to Self-Level
- Let the coating naturally flow and level itself. Avoid overworking the material, as this can disrupt its self-leveling properties.
-
Inspect for Bubbles or Imperfections
- Look for air bubbles or uneven spots. If bubbles appear, lightly pass the applicator pad over the area to break them.
-
Wick Away Excess Coating
- Use a lint-free cloth or the edge of the applicator pad to carefully remove any pooling along edges or corners.
Step 3: Curing the Coating
-
Allow to Cure Naturally
- Let the coating cure, typically 12-24 hours. Keep the area dust-free and undisturbed during this time.
-
Optional UV Curing Light
- Use a UV curing light to enhance curing. Follow the manufacturer’s guidelines for the correct distance and duration.
Step 4: Final Inspection and Care
-
Inspect the Coating
- Once the coating has fully cured, check for a smooth, glossy finish without imperfections.
-
Initial Care
- Avoid exposing the surface to heavy use, water, or harsh cleaners for the first 7 days to ensure full curing and optimal durability.
Pro Tips
- Work in a Dust-Free Environment: Dust can settle on the coating before it cures, so keep the workspace clean and enclosed if possible.
- Temperature and Humidity: Apply in a controlled environment with temperatures between 60°F–80°F and low humidity for the best results.
- Use Fresh Applicators: Always use a new microfiber applicator pad for each application to prevent contamination.
By following these steps, you’ll achieve a flawless, self-leveling ceramic coating that provides durable, long-lasting protection and an impressive finish.


