


To clean rubber car floor mats, remove them, clear loose debris, wash with a cleaner approved by the mat maker, rinse thoroughly, and let them dry before reinstalling. For its own floor mats and liners, WeatherTech permits mild detergent and water and describes brushing, rinsing, and drying in its cleaning guide. The job is not finished until the correct mat is secured in its intended position without interfering with the pedals.
A clean mat does not need a wet-look shine. This guide focuses on removable rubber and rubber-like all-weather mats, not carpet extraction, and keeps appearance separate from the safety checks that matter before you drive.
Identify the mat before choosing the cleaner
“Rubber mat” is often a convenient description rather than a complete material specification. Start with the manufacturer, part number, and care instructions for your exact mat or molded liner. Use those instructions to choose a cleaner and brush instead of assuming that anything safe on tires or interior trim is suitable for the footwell.
WeatherTech's instructions provide a useful example: mild detergent soap and water are allowed, while harsh chemicals and abrasive-type cleaners are discouraged. Its separate cleaning article specifies a medium-bristle brush for its products. These are manufacturer-specific instructions, not proof that every mat accepts the same chemicals or tools. Check the care and installation document alongside your own mat's directions.
Keep removable all-weather mats separate from carpet mats and the fixed carpet below them. A hose-rinse method intended for a removable liner is not a reason to flood the vehicle's floor. If your mat has mixed materials, damaged backing, or a construction you cannot identify, stop and confirm the cleaning method before soaking it.

Set up, remove the mats, and clear loose debris
Park securely, switch the vehicle off, and work where you can remove the mats without spilling their contents back into the cabin. Keep the driver's mat separate from the passenger and rear mats so you do not mix them up during reinstallation.
Release the retention clips or anchors using the applicable instructions rather than yanking the mat free. Lift it out carefully, keeping trapped dirt and liquid contained as much as practical. WeatherTech specifically recommends removing and shaking its mats regularly to clear loose debris in its care instructions.
Set up a suitable cleaning area outside the vehicle. Have fresh water, the approved cleaner, an appropriate brush, and clean drying materials ready. Keep mat-cleaning tools separate from paint-finishing towels; the grit you remove from a footwell should not become part of the next paint wipe-down.
With the mat out, inspect the area beneath it and remove loose objects and debris. Do not spray water into the footwell to chase dirt under seats or trim. If you are also cleaning the entry area, use the controlled approach in How to Clean Car Door Jambs Without Soaking the Cabin.
Wash the mat in a controlled sequence
For WeatherTech mats, the published sequence is removal, a fresh-water rinse, appropriate cleaner, brushing, another rinse, and drying. Its guide permits mild detergent and warm water as an alternative to its dedicated cleaner. Use that sequence only where it agrees with the directions for your own mat. The details are in the manufacturer's step-by-step guide.
- Rinse loose material away. Work outside the cabin and clear the channels before scrubbing. Do not use the brush to grind a load of sand back and forth across the surface.
- Apply the approved cleaning solution. Follow its label and the mat's instructions. Do not invent a stronger concentration because one mark is stubborn, and do not mix unrelated chemicals.
- Brush the texture methodically. Work across a manageable area, including the channels, heel area, and raised edges. Use the brush type allowed for the mat rather than a metal brush or a harsh abrasive chosen for speed.
- Rinse away the cleaner and released dirt. Give attention to recessed areas and edges where residue can remain. Turn the mat as needed to inspect the surface rather than judging the result only from above.
- Inspect before repeating. If a mark remains, decide whether there is still removable soil or whether you may be looking at wear or damage. More force is not an automatic next step.
This is not a pressure-washer recipe. The cited guidance supports rinsing with fresh water, not a universal pressure setting or nozzle distance. If you want to use powered equipment, check the exact mat manufacturer's approval and directions first.
The same restraint applies to steam, boiling water, solvents, and strong degreasers. Do not escalate to a more aggressive process simply because a mild cleaning pass did not make an old mat look new. A useful result is clean, appropriately finished, and safe to reinstall, not necessarily restored to its original color.
Troubleshoot the result without adding more shine
| What you see or feel | Practical next step | What to avoid |
|---|---|---|
| Loose grit still in the channels | Continue the approved rinse and cleaning process, then inspect again | Scrubbing harder while the grit remains trapped |
| Visible suds or a soapy film | Rinse thoroughly and reassess after drying | Covering residue with a dressing |
| A greasy or unusually slick surface | Keep the mat out of use and ask its maker for a suitable removal method if normal cleaning does not resolve it | Assuming a darker, glossier finish is a successful result |
| A persistent pale mark or scuff | Check whether it is a stain, wear, or damage before choosing another process | Promising that cleaning will restore worn material |
| Fit, curling, or retention concerns | Resolve the fit with the supplier or vehicle/mat instructions before use | Stacking, improvised weights, or forcing the mat near the pedals |
These are inspection decisions rather than diagnoses from appearance alone. A mat that remains unexpectedly slippery, misshapen, or difficult to secure should not be returned to service just because the scheduled cleaning time is over.
If contamination is unknown, record what happened and contact the mat maker before attempting another chemical. Explain the material if known, the product already used, and the current condition. That gives support a useful starting point and avoids a chain of increasingly aggressive guesses.
Dry fully before returning the mat to the cabin
WeatherTech's cleaning instructions call for rinsing and allowing the mats to dry. Follow that requirement rather than reinstalling a dripping mat or hiding water beneath it. Inspect both sides, the channels, and the retention openings before deciding the mat is ready. See the cleaning guide.
A clean towel can help collect accessible water, but a quick wipe over the ridges does not confirm that all recessed areas are dry. Let the mat finish drying in an appropriate place, and follow any manufacturer restrictions on drying conditions.
Do not use extra heat or bend the mat into a different shape to speed up the job without approval. Before reinstalling it, also check the floor underneath. If the cabin carpet is unexpectedly wet, address that separate problem rather than covering it and calling the detail complete.
Skip unapproved slick dressings
WeatherTech warns against silicone-based surface treatments because they can make its mats slippery. That warning appears in the mat care and installation document. Do not substitute a tire dressing, generic shine spray, or exterior finish product merely because the mat looks like rubber.
This is not a blanket statement that every mat protector is unsuitable. WeatherTech's current cleaning guide identifies its own purpose-made protector and describes an anti-slip finish when used as directed. That specific product recommendation does not approve unrelated dressings or transfer to every manufacturer's mats. Follow the exact mat-maker instructions, or leave an optional treatment off.
Keep the objective clear: remove dirt and leave an appropriate surface, not the glossiest possible one. A cleaner and a finish treatment are different purchases, and neither should be selected by color, fragrance, or the promise of a wet look.
Reinstall correctly and check pedal clearance
WeatherTech instructs users to remove other mats, never stack its mats, use the intended vehicle application, install them right side up, and secure the applicable retention system. It also requires a check that the accelerator, brake, and clutch where fitted can move through their full range without interference before starting the vehicle. Follow the vehicle and mat instructions for this stationary check. The warnings are in its installation document.
Use a deliberate final check:
- Correct position: Each mat is in its intended footwell, facing the correct way.
- No stacking: The driver-side mat is not sitting on another mat or loose protector.
- Secure retention: The required clips, hooks, or grommets engage as instructed.
- Clear movement: The mat does not interfere with pedal travel during the prescribed check.
- No loose objects: Bottles, towels, brushes, and other items have been removed from the driver's footwell.
If retention cannot be secured or clearance is uncertain, do not drive with the mat in that condition. WeatherTech specifically says not to use its mats when the required hooks or grommets cannot engage, and to recheck installation after servicing, detailing, or cleaning. Do not use a road test to investigate possible pedal interference; resolve it first using the manufacturer's instructions.
How Undrdog fits into the interior-cleaning kit
Undrdog Interior Cleaner is intended for suitable interior surfaces, including the upholstery and hard plastics described on its product page. That page does not explicitly approve rubber floor mats, so this guide does not claim universal mat compatibility. Use the mat maker's specified cleaner or obtain confirmation before substituting another product.
For other confirmed-compatible cabin surfaces, the product directions call for controlled application with a soft cloth or sponge and removal of excess moisture. Read its label and safety instructions, including the eye-irritation and harmful-if-swallowed warnings. If using the separate concentrate, follow the Interior Cleaner Concentrate dilution guide rather than borrowing a mix ratio from another bottle.
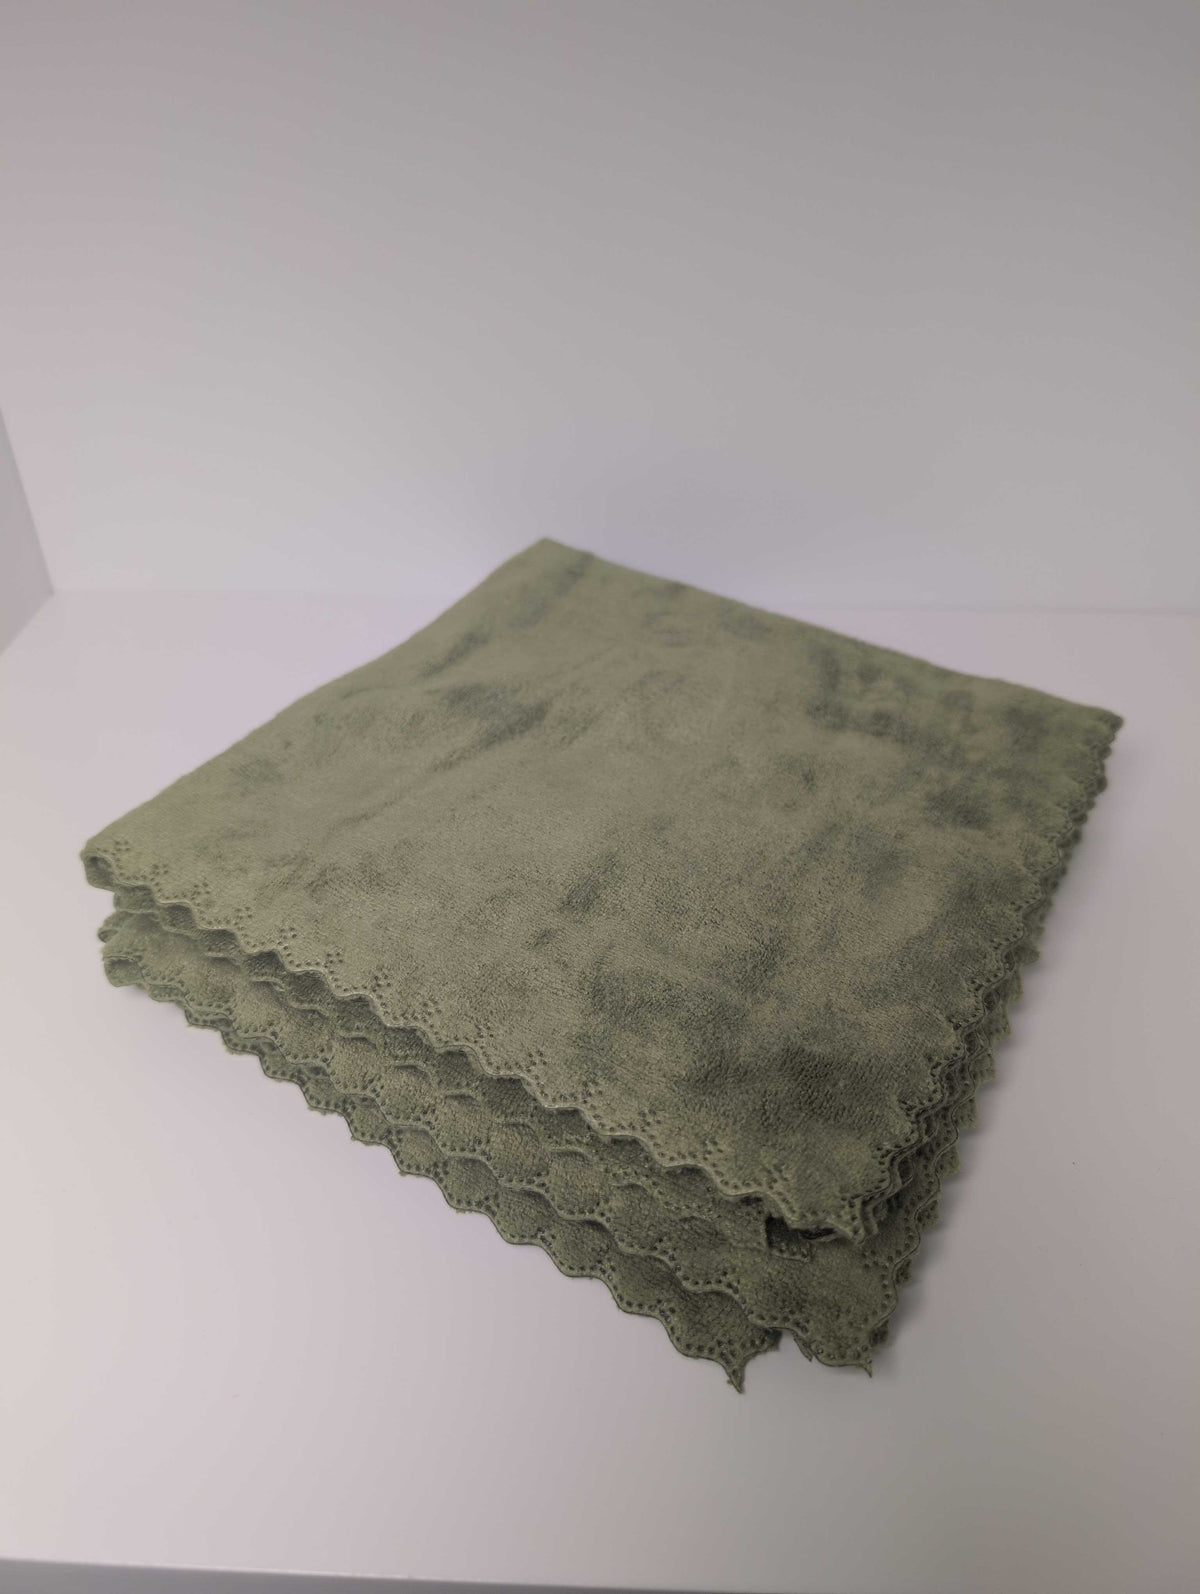
Clean, dedicated towels belong in the kit too. Undrdog's green Interior Towels provide an identifiable set to keep with interior work; choose tools and care methods appropriate to each task. A towel purchase does not replace the mat's rinsing, drying, or installation requirements.

HCC Hybrid Ceramic Coating remains Undrdog's flagship all-surface coating for appropriate applications on cars, boats, planes, and bicycles. That positioning does not make it a floor-mat treatment. This task calls for clean, dry, correctly secured mats, not an exterior coating added to a grip-critical surface.
Frequently asked questions
What is the basic method for cleaning rubber car floor mats?
Remove the mats, clear loose debris, use the mat maker's approved cleaner and brush, rinse thoroughly, and dry before reinstalling. Finish by checking fit, retention, and pedal clearance according to the mat and vehicle instructions.
Can I use mild soap and water?
WeatherTech permits mild detergent soap and water for its mats and liners. Check the instructions for your own product rather than treating that permission as approval for every material or detergent.
Should I clean the mats while they are still in the car?
For the rinse-and-wash procedure described here, remove them first. Do not turn a removable-mat cleaning method into a reason to soak the fixed carpet, nearby trim, or components inside the cabin.
Can I use tire shine to make rubber mats look new?
Do not use a tire dressing or generic shine product without explicit mat-maker approval. WeatherTech warns that silicone-based surface treatments can make its mats slippery; a dedicated approved protector is a separate product-specific decision.
Can I pressure-wash my floor mats?
This guide does not establish a universal pressure-washer setting or approval. Follow the exact mat maker's equipment instructions. The cited cleaning method supports fresh-water rinsing and appropriate brushing.
Why does a mat still look marked after cleaning?
A remaining mark may need further assessment rather than stronger cleaner. Determine whether removable soil remains or whether the appearance reflects wear, staining, or damage, and contact the mat maker before escalating an uncertain process.
Can I put all-weather mats on top of carpet mats?
Do not stack them. WeatherTech directs users to remove other mats and install its product directly in the intended position with the specified retention system. Follow your vehicle and mat instructions, especially in the driver's footwell.
What is the most important check after reinstalling?
Confirm that the correct mat is secured and cannot interfere with the pedals under the prescribed stationary check. Remove loose cleaning items, and resolve fit or retention concerns before driving rather than testing the problem on the road.
Keep your interior tools clean and separate.
Build a dedicated towel kit for cabin work, and let the mat manufacturer's instructions govern cleaner choice, drying, and secure reinstallation.
Shop Interior Towels

Leave a comment
This site is protected by hCaptcha and the hCaptcha Privacy Policy and Terms of Service apply.