


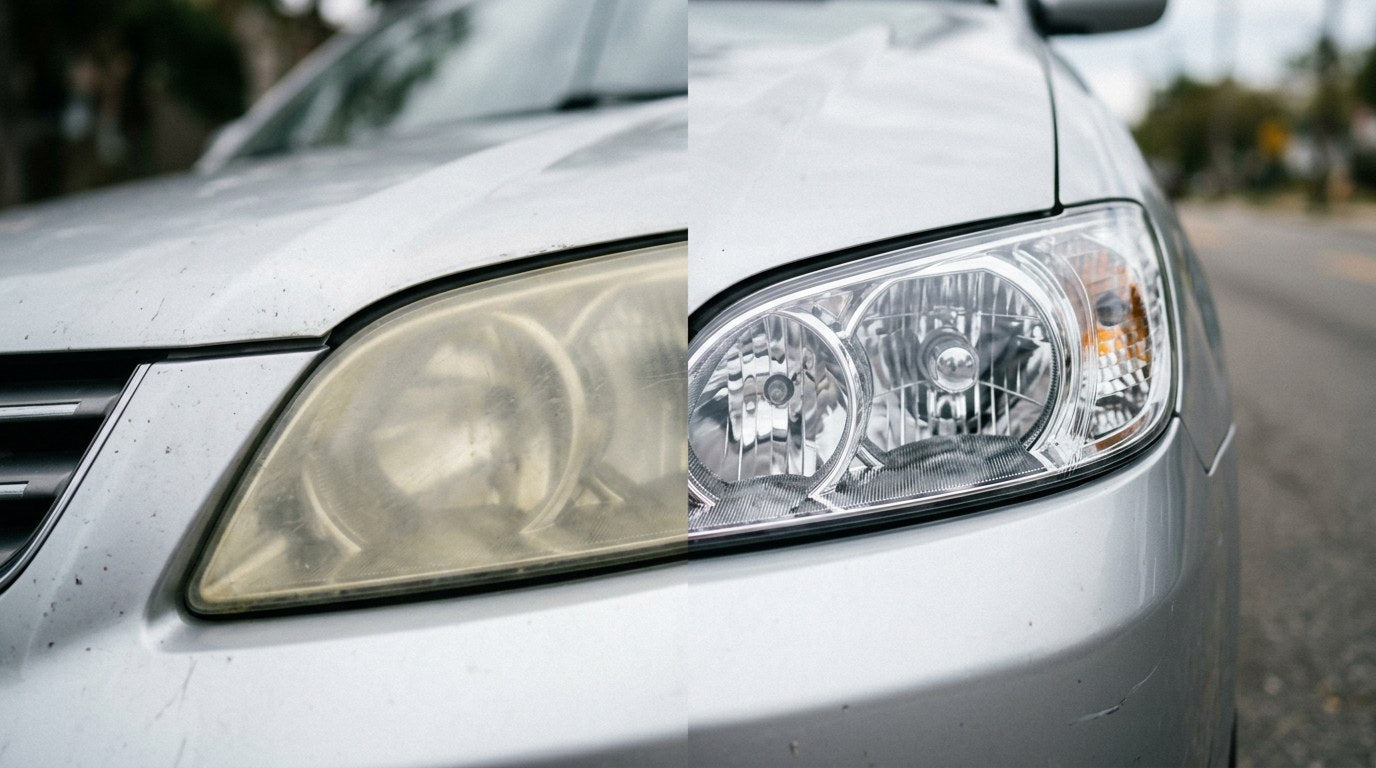
Foggy yellow headlights are polycarbonate plastic with a failed factory UV clear coat — you fix them by wet-sanding the failed layer off, polishing the lens back to optical clarity, and resealing with a fresh UV-blocking coating so the fog doesn't come back in six months. The whole job takes about an hour per pair, costs under $30 in materials if you already own a polisher, and delivers the single biggest visual improvement you can make to an older car for the money. Here's the full protocol.

Why Headlights Turn Yellow in the First Place
Modern headlight lenses aren't glass. They're molded polycarbonate — a lightweight, impact-resistant plastic — with a thin factory-applied UV clear coat on the outside. That clear coat is the only barrier between your lens and the sun's UV rays.
Over 3–7 years of daily UV exposure, the clear coat degrades. It cracks microscopically, chalks, and eventually fails completely. Once the barrier is gone, UV attacks the raw polycarbonate underneath and oxidizes it, turning the surface hazy, yellow, and rough. As restoration guides put it, "the failed UV coating and the top layer of oxidation" have to come off before anything can look right again (The Retrofit Routine).
The problem is more than cosmetic. Foggy lenses cut nighttime light output by up to 80% in bad cases, which is a real safety issue on unlit roads. Most state safety inspections will fail a car with severely oxidized lenses.
The Chalk Test: Diagnose Your Oxidation Level First
Run a fingertip firmly across a clean, dry lens. What you feel and see determines your approach:
- Clean finger, faint haze: Light oxidation. Start at 1500 grit and skip the coarse steps.
- Slight yellow residue on finger: Moderate oxidation. Standard 800→1500→2000→3000 grit sequence.
- Thick chalky white or yellow crust: Severe oxidation. Start at 400 or 600 grit and add more passes to level.
- Deep cracks visible in the lens itself: Interior UV damage. Restoration can improve appearance but the lens may need replacement.
Tools and Materials
Sanding Stage
- Wet/dry sandpaper: assortment of 400, 800, 1500, 2000, 3000 grit
- Small foam sanding block or a soft rubber backer
- Spray bottle of clean water with a drop of dish soap (for lubrication)
- Blue painter's tape (2-inch is easiest)
Polishing Stage
- Dual-action polisher, small handheld polisher, or a drill with a polishing pad adapter
- Wool cutting pad (3-inch) and foam finishing pad (3-inch)
- Compound (medium-cut) and finishing polish
- Plush microfiber towels
Sealing Stage (Critical — Don't Skip)
- Panel prep or IPA wipe
- UV-blocking sealant, aerosol lens sealer, OR a hybrid ceramic coating like HCC — HCC bonds to polycarbonate and adds a UV-resistant layer that lasts far longer than most dedicated headlight sealers
- Suede or microfiber applicator
- Two clean plush microfibers for leveling and buffing
Step 1: Mask the Surrounding Paint (Non-Negotiable)
Before you touch sandpaper to the lens, mask off every painted panel, bumper, and trim piece within 3 inches of the lens. Wet sandpaper on bare paint or clear coat creates deep scratches that require a full paint correction to fix — a $300 mistake to avoid $2 in tape.

Run a clean strip along the top edge, bottom edge, and sides. Extend the border to cover the fender, bumper, and grille edges. Wider is always better — 3 inches is the minimum, 4–5 inches is safer.
Step 2: The Wet Sand Progression
Starting Grit
Choose your starting grit based on your chalk test result:
- Light oxidation: start at 1500
- Moderate: start at 800
- Severe: start at 400 or 600
Sanding Technique
Cut a 3×5 inch piece of sandpaper, wrap it around your foam sanding block, and mist both the lens and the paper with soapy water. Sand in straight-line passes with light-to-medium pressure — never circles, never scrubbing. Do 60–90 seconds per grit, keeping the surface visibly wet the whole time. The slurry should look milky-white as it lifts oxidation.
Direction Changes Between Grits
Change sanding direction 90 degrees when you move to the next grit. If you sanded left-to-right at 800, sand up-and-down at 1500, back to left-to-right at 2000. This makes it easy to see when each grit has removed the previous grit's scratches — when you can no longer see the older scratches, you're done with that step.
The Progression
- 400–600 grit (severe cases only): heaviest cut, removes deep oxidation. Lens will look terrible after this step. That is correct.
- 800 grit: Levels the coarse scratches. Rinse thoroughly between grits.
- 1500 grit: Refines the scratch pattern significantly.
- 2000 grit: Now the lens starts looking uniformly hazy — a good sign, means all scratches are the same tiny size.
- 3000 grit: Final wet sand. Lens should look uniformly satin-smooth with no dark spots or deep scratches remaining.
Rinse the lens with clean water between each grit change to remove old grit. Grit contamination is the fastest way to ruin a job — a single coarse particle stuck to your fine paper puts a permanent scratch through your finish.
Step 3: Compound and Polish

Once wet sanding is done and the lens is rinsed and dried, the surface is uniformly frosted. Polish takes it from frosted to crystal clear.
Compound Stage
Load a wool cutting pad with 3–4 pea-sized dots of medium-cut compound. Set your polisher to speed 3 (out of 6 typical). Spread the compound across the lens on low, then bring it up to working speed and pass in overlapping cross-hatch patterns for 60–90 seconds per lens. Wipe residue clean with a plush microfiber and inspect under bright light.
If the lens is 90% clear with light haze, move to finishing polish. If dark scratches from your 400/800 grit stage are visible, go back and re-sand at 1500 and 2000 before polishing again.
Finishing Polish
Switch to a foam finishing pad and finishing polish. Same technique, lighter pressure, higher speed. This step removes micro-marring left by the compound and takes the lens to full optical clarity.
Hand-Polish Option
No polisher? You can hand-polish with the same compounds and a plush microfiber applicator pad, but plan on 5–10 minutes per lens of aggressive rubbing. The result won't be quite as glossy as machine polish, but it's a lot better than skipping the step.
Step 4: Panel Prep the Lens
Wipe the polished lens with a panel-prep or IPA wipedown to remove all polishing oils. This step is non-negotiable before sealing — any oil residue blocks coating bond and the sealer will fail in weeks instead of years.
Step 5: Seal With a UV Barrier (The Step 90% of DIYers Skip)
This is the difference between "looks great for four months" and "looks great for four years."
Bare polished polycarbonate has no UV protection. If you polish and stop, the sun will oxidize the lens right back to hazy yellow — often within 3–6 months. You need to replace the factory UV clear coat with something new.
Sealing Options Compared
| Sealer Type | Typical Longevity | Difficulty | Downsides |
|---|---|---|---|
| Wax (drugstore polish kits) | 2–4 weeks | Very easy | Basically no UV protection |
| Dedicated aerosol lens sealer | 6–18 months | Moderate (single chance to lay it down flat) | Can run, drip, or streak if applied wrong; must be nailed in one pass |
| 2K clear coat spray | 3–5 years | Advanced | Needs proper prep, ventilation, and technique; unforgiving if you get a run |
| Hybrid ceramic coating (HCC) | 1–2 years typical | Easy | Not a full clear-coat replacement — a UV/hydrophobic layer |
The HCC Option
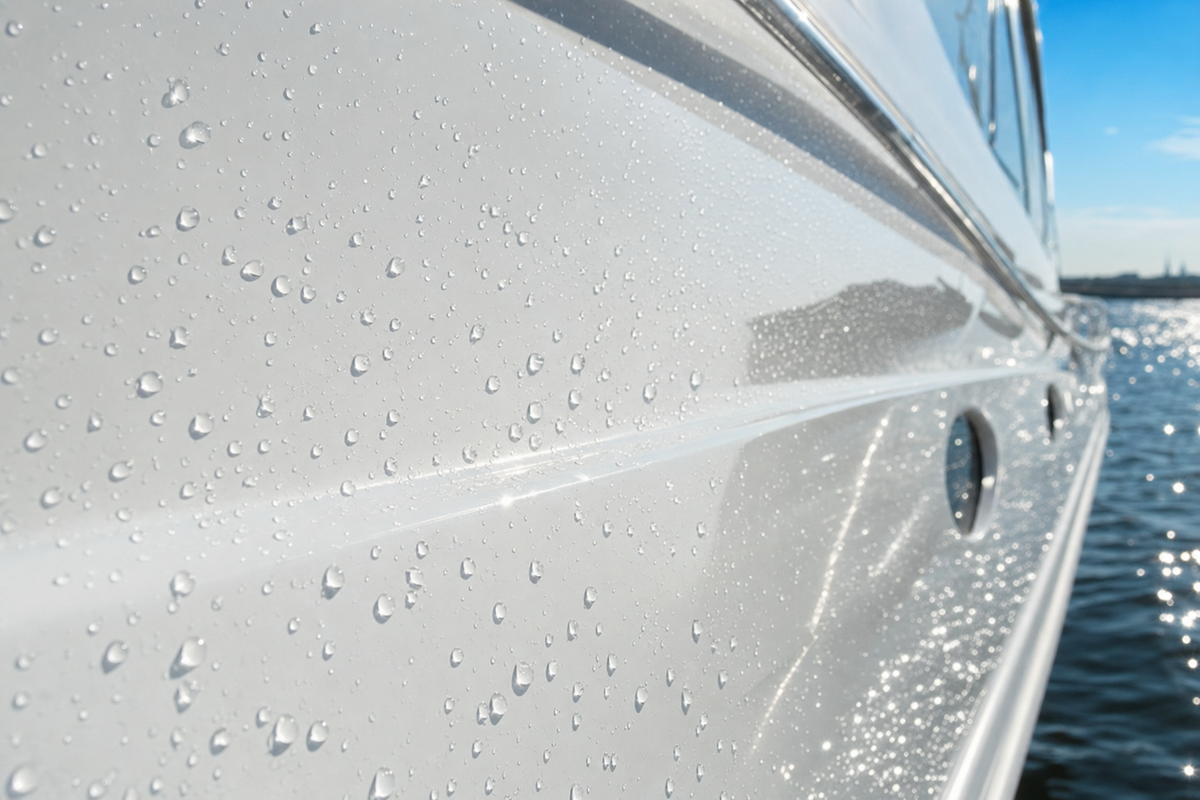
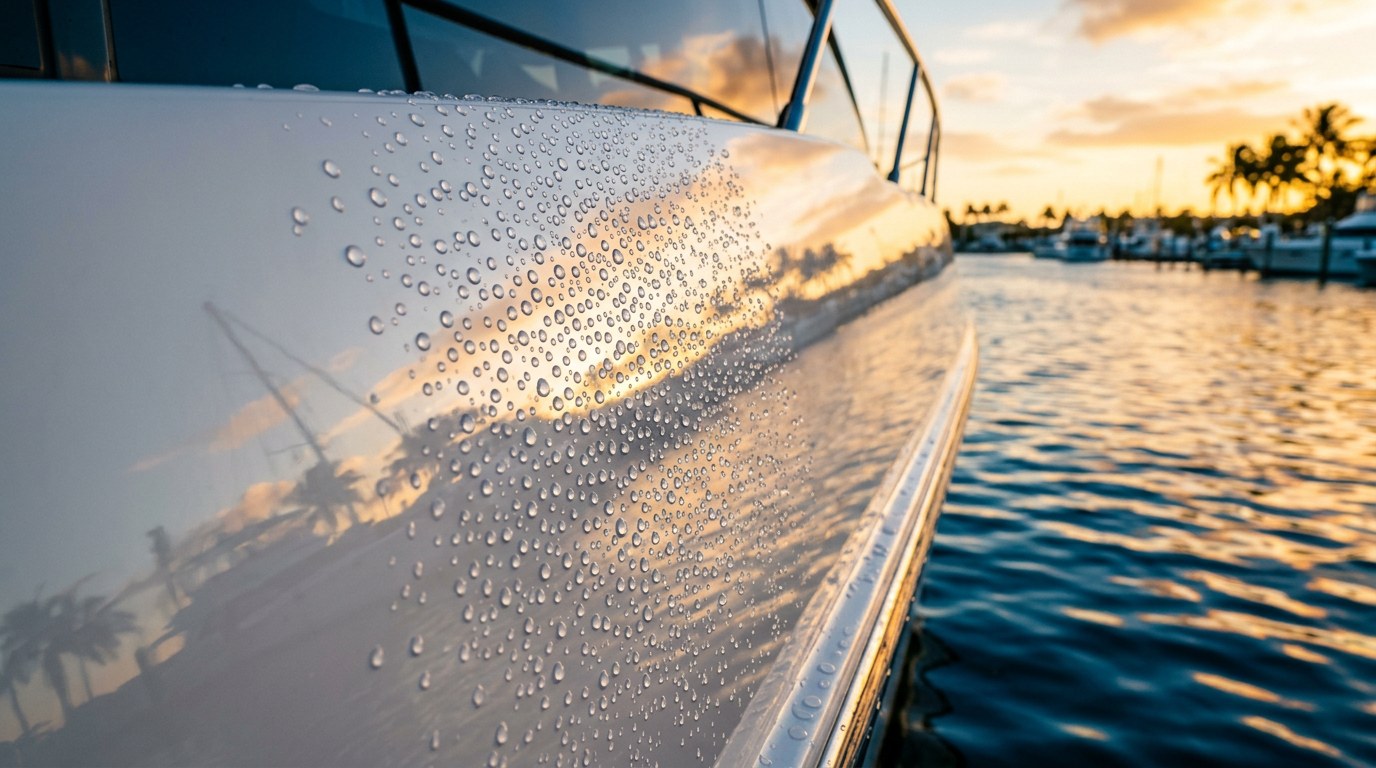
For most DIYers, HCC hits the sweet spot: it's easy to apply, self-levels without runs, gives strong UV resistance, and adds hydrophobic properties so water beads and dust doesn't stick. It won't last as long as a professionally sprayed 2K clear coat, but it's dramatically easier to apply and delivers 12–24 months of protection in typical daily-driver conditions.
Apply 2–3 drops of HCC on a suede applicator, work in a cross-hatch pattern across the lens, let it flash 2–5 minutes until you see the rainbow, then level with a plush microfiber and buff dry. Full workflow detail in our streak-free ceramic application guide.
The other advantage: since you're likely coating the paint on the same car eventually, you can use the same bottle for both jobs. HCC bonds to paint, glass, plastic, and gel coat in one product.
Step 6: Cure and Aftercare
After sealing, keep the lenses dry for at least 24 hours. No rain, no dew, no touching. Full functional cure takes about 7 days. Our HCC curing timeline has the hour-by-hour breakdown of what's safe and what isn't during that first week.
Once cured, treat the lenses like any other coated surface: pH-neutral washes with Undrdog Soap, and top up with Quick Detail if beading weakens over time.
Common Headlight Restoration Mistakes to Avoid
Skipping the Sealer
The single most common mistake. You'll get 3–6 months of clarity then be right back where you started — often worse, because your polished lens has no factory UV coat left at all. Always seal.
Sanding Dry
Dry sanding polycarbonate generates heat that can warp or melt the lens surface, and it clogs the paper immediately. Always wet sand with soapy water lubrication, and re-mist as soon as the surface starts drying.
Working in Direct Sun
Water evaporates too fast. Sanding slurry dries into scratches. Move to shade or restore in early morning or evening.
Skipping Grits
Going from 400 to 3000 in two steps leaves 400-grit scratches under the fine finish that no amount of polishing will remove. Every grit in the progression removes the previous grit's scratches — skip a step and you're locked into visible defects.
Using Toothpaste or Bug Spray
Yes, both work briefly. Toothpaste's mild abrasive lifts oxidation from the surface, and bug spray temporarily dissolves the top layer of polycarbonate to look shiny. Both wear off in weeks, and bug spray actually damages the lens over repeated use. Skip the hacks and do it right.
Buffing Without a Backer
Freehand sanding without a foam block puts uneven pressure on the lens and creates finger-shaped depressions in the surface. Always use a soft foam or rubber sanding block for even cut.
Restore Once. Reseal Right. Skip the Every-6-Months Re-Do.
HCC bonds to polycarbonate lenses and gives you UV-resistant, hydrophobic protection for 12–24 months — no runs, no streaks, no wasted afternoons. One bottle covers headlights, paint, glass, and trim.
Shop HCC Hybrid Ceramic Coating →Frequently Asked Questions
How long does DIY headlight restoration take?
About 45 minutes to 1 hour per pair of headlights for moderate oxidation. Severe cases with heavy sanding can push to 90 minutes. Sealer application adds another 15 minutes plus 24 hours of dry-time cure.
Does headlight restoration really work?
Yes, dramatically. Wet-sanded and polished polycarbonate returns to near-factory optical clarity, and a proper UV sealer keeps it there. The key is not skipping the sealing step — that's what determines whether the result lasts months or years.
How much does it cost to restore headlights yourself?
Under $30 if you already own a polisher, and about $60–100 if you need to buy pads, sandpaper, and coating. Professional headlight restoration typically runs $75–150 per pair, so DIY pays for itself on the first job.
Can I use toothpaste to clean my headlights?
You can, but the results are cosmetic and short-lived. Toothpaste's mild abrasive lifts a small amount of surface oxidation temporarily. It won't remove heavy fog, and without UV sealing the lens rehazes within weeks.
Do I really have to wet sand?
For anything beyond very light haze, yes. Compounds alone won't cut through failed clear coat and oxidized polycarbonate — you have to mechanically remove the damaged surface layer with sandpaper before polish can restore clarity.
What grit should I start with?
Light oxidation: 1500. Moderate: 800. Severe (thick chalky crust): 400 or 600. Always finish with 3000 grit before polishing regardless of where you started.
Will restoration work on cracked or interior-fogged headlights?
Deep cracks in the lens surface and moisture-fogged interiors are past what wet sanding can fix. Cracks will remain visible, and interior fog means the lens seal has failed — those need lens replacement or professional refurbishment.
Can I skip the sealer if I only need short-term results?
You can, but plan on redoing the job every 3–6 months because the polished polycarbonate has zero UV protection without a sealer. Spending 15 extra minutes on sealing turns a temporary fix into a 1–2 year fix.
How often should I redo headlight restoration?
With a proper UV sealer or ceramic coating, expect 12–24 months of clarity in typical daily-driver conditions. Sunny coastal climates or vehicles parked outside 24/7 shorten that window. Just wash the lenses regularly and top up hydrophobic properties with Quick Detail as needed.
Is a machine polisher required or can I do it by hand?
You can hand-polish, but expect noticeably less gloss than a machine finish and 3–4x the time. A small handheld polisher or drill-mount adapter is cheap and turns the polish step from 20 minutes of hard rubbing into 3 minutes of light passes.

Leave a comment
This site is protected by hCaptcha and the hCaptcha Privacy Policy and Terms of Service apply.