


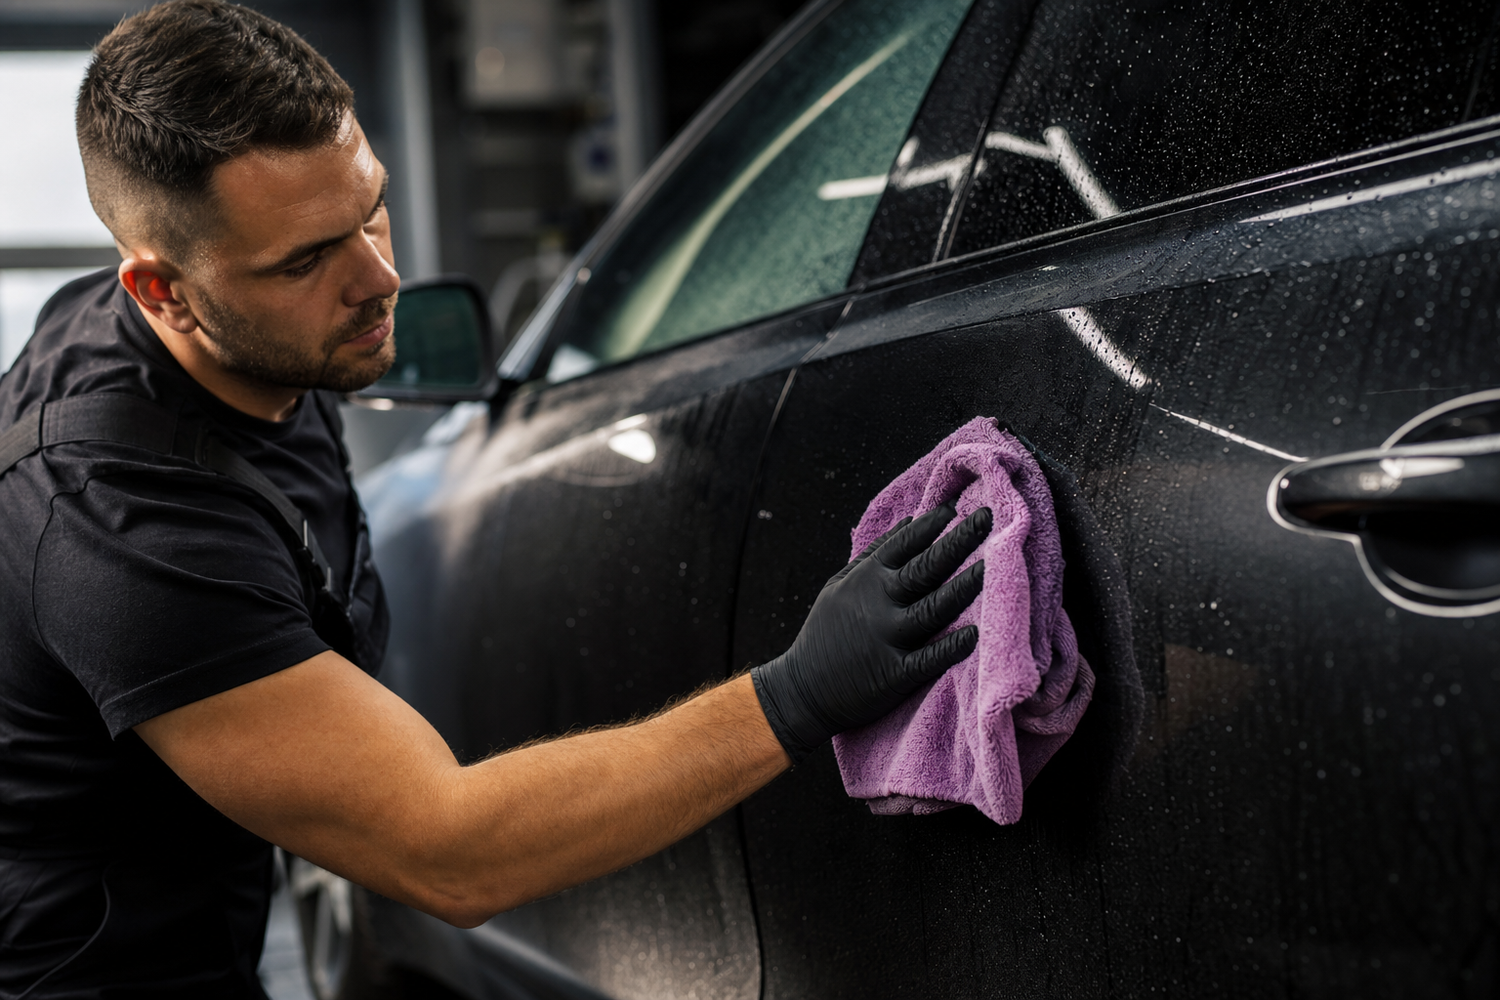
The correct paint decon order before coating is: wash, chemical decontamination (iron/fallout remover), clay or mechanical decon, polish if needed, then a final panel wipe-down right before applying a coating. Skipping or reordering these steps is the single most common reason a ceramic coating underperforms — not the coating itself. Here's why each step exists, what happens if you skip it, and how the sequence protects both your gloss and your coating's bonding strength.

Why Decon Order Matters More Than Most People Think
Most disappointing ceramic coating results trace back to one thing: the surface wasn't actually clean when the coating went on. Not "looked clean after a wash" clean — chemically and physically clean at the microscopic level. Decontamination is the boring middle part of detailing that nobody posts about, but it's the difference between a coating that bonds properly for years and one that fails early because it never had a fair shot.
Step 1: Wash First, Always
Before any decon product touches your paint, remove the loose stuff — dirt, dust, road grime — with a proper two-bucket or rinseless wash using a pH-neutral soap. Skipping straight to iron remover or clay on a dirty car just grinds loose grit into the clear coat, creating the exact swirls you're trying to avoid before coating. Washing first also lets you actually see what you're dealing with once the surface is clean and dry. For technique, our guide to washing your car without scratching it covers the two-bucket and rinseless methods in detail.
Step 2: Chemical Decontamination — Iron and Fallout Remover
Once the car is washed, move to chemical decontamination before you ever touch a clay bar. Brake dust, rail dust, and industrial fallout embed themselves into the clear coat and don't come off with soap alone. An iron and fallout remover like The Purps reacts chemically with ferrous particles, dissolving that bonded contamination so it can be safely rinsed away. That purple bleeding effect isn't cosmetic theater — it's the product actually breaking down embedded iron. Doing this step before claying means the clay bar isn't dragging hard iron particles across your paint like sandpaper. For more on what that purple reaction means, see our breakdown of The Purps, and for iron fallout that's already started etching, our guide on removing iron fallout and rust from paint safely covers the recovery process.
Chemical decon and mechanical decon solve different problems, which is why order matters. As one 2026 breakdown on decontamination methods puts it, chemical removers dissolve specific contaminants selectively — iron, tar, bug residue — while clay physically lifts out whatever chemical treatment couldn't touch. Neither one replaces the other; for a genuinely smooth surface, professionals typically run both in sequence.

Step 3: Clay or Synthetic Decon For What's Left
After chemical decon, run your hands over the paint with a plastic sandwich bag between your fingers and the surface. If it feels like fine sandpaper instead of glass, there's still bonded contamination that chemicals didn't touch — tree sap residue, overspray, mineral deposits. This is where a clay bar or clay-alternative mitt, used with proper lubrication, physically shears off what's left. Working chemical first, then mechanical, means the clay has far less to remove and glides instead of drags, cutting your risk of inducing new marring.
Step 4: Polish to Correct, Not Just to Shine
With the surface fully decontaminated, any remaining swirls, light scratches, or oxidation are genuinely in the clear coat — not contamination pretending to be damage. This is the point where polishing actually does its job efficiently, because you're correcting real defects instead of wasting cutting compound trying to remove debris that a $15 clay bar would have handled in a fraction of the time. Skipping straight to polish before decon is one of the most common reasons people feel like their polisher "isn't working" — it's not underpowered, it's fighting the wrong battle.

Step 5: Coat Only After the Surface Is Truly Ready
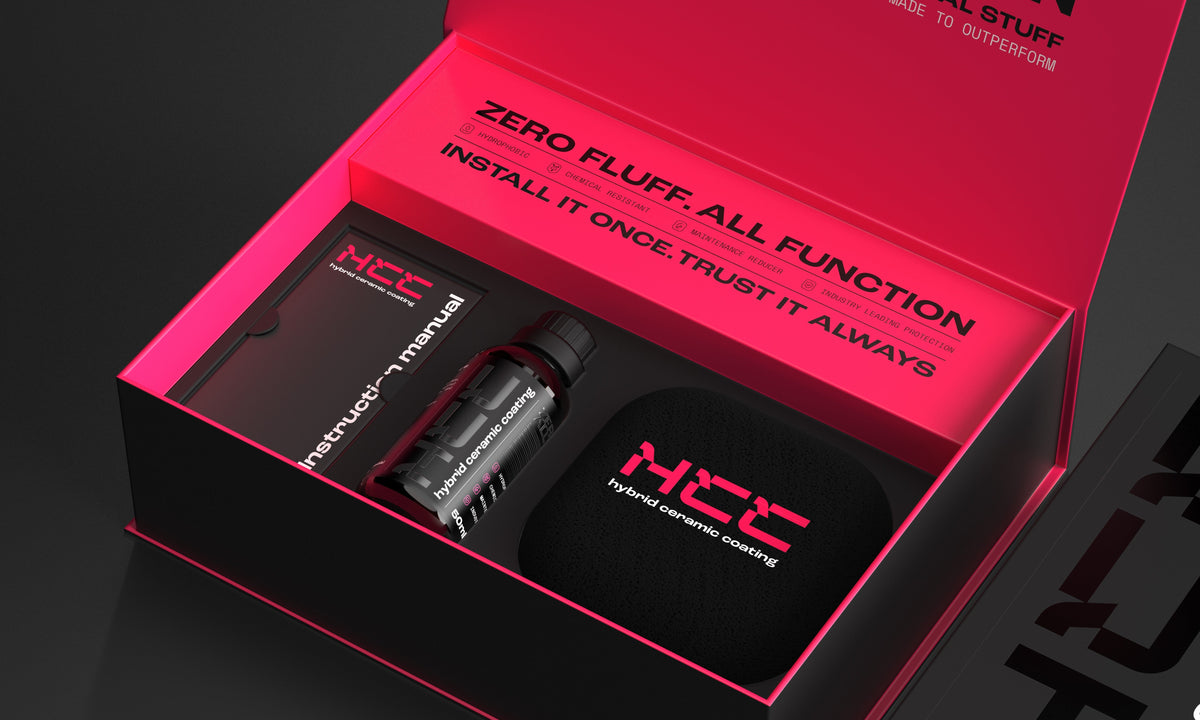
Ceramic coatings bond to the clear coat or gelcoat at a molecular level, which means any oil, wax residue, or leftover contamination sitting between the coating and the paint becomes a permanent weak point in that bond. Before applying something like HCC, wipe the panel down with a dedicated panel prep or IPA solution to strip any polishing oils. Coating over an imperfectly prepped surface doesn't just risk poor adhesion — it locks in whatever flaws were still there, since the coating itself won't hide or fix anything underneath it. Our deep dive on HCC hybrid ceramic coating covers what to expect once you're past this prep stage.
Decon Sequence at a Glance
| Step | Goal | What Happens If You Skip It |
|---|---|---|
| 1. Wash | Remove loose dirt and grime | Grit gets dragged into paint during later steps, causing swirls |
| 2. Chemical decon (iron remover) | Dissolve embedded ferrous contamination | Clay drags hard iron particles across paint like sandpaper |
| 3. Clay/mechanical decon | Physically shear off remaining bonded contamination | Polish wastes abrasive fighting debris instead of correcting paint |
| 4. Polish | Correct real swirls and oxidation in the clear coat | Coating locks in existing flaws permanently |
| 5. Panel wipe-down + coat | Remove oils, apply coating to a truly clean bond surface | Coating bonds poorly and may fail early or show patchy gloss |
What Happens When You Skip Steps
Skip chemical decon and go straight to clay: you drag iron particles across the paint and risk marring. Skip clay and go straight to polish: you waste time and abrasive product fighting contamination instead of correcting the surface. Skip the final wipe-down and coat immediately after polishing: you trap polishing oils under the coating and shorten its bonding life. Every skipped step shows up later — as reduced gloss, patchy hydrophobic behavior, or a coating that seems to "give up" months earlier than expected. None of it is the coating's fault when the prep wasn't right.
Frequently Asked Questions
Do I need to do full decontamination every time I wash my car?
No — this full sequence is for pre-coating prep or periodic deep cleans, typically every few months depending on driving conditions. Regular maintenance washes with a quality soap keep things in check between deep decon sessions.
Can I skip clay if I already used an iron remover?
Only if the paint genuinely feels smooth afterward. Iron removers target ferrous contamination specifically; they won't touch tree sap, overspray, or mineral deposits, so always do the touch test before deciding clay isn't necessary.
How do I know my prep is good enough to coat?
The panel should feel completely smooth to the touch, look free of haze or oily residue after your final wipe-down, and have no visible swirls you're not willing to live with — since the coating will lock in the finish exactly as it is.
Can I use the same iron remover on wheels and paint?
Yes, products like The Purps are formulated for use on both paint and wheels, though you should always spot-test on unfamiliar finishes like chrome or certain matte coatings first.
How long should I wait between polishing and coating?
Coat as soon as you've wiped down the panel with a panel prep or IPA solution after polishing — waiting too long risks airborne contamination or oils resettling on the surface before the coating goes on.
Is a two-bucket wash enough, or do I need a foam cannon too?
A two-bucket wash with grit guards is sufficient for most pre-coating prep. A foam cannon adds lubrication and can reduce contact time with a mitt, but it's a nice-to-have, not a requirement for proper decon.
What's the biggest mistake people make in the decon sequence?
Jumping straight to polish or coating because the car "looks clean," without running chemical decon or the touch test first. Visual cleanliness and actual surface cleanliness are two different things.
Get the order right and everything downstream — polishing, coating, and long-term maintenance — gets easier and lasts longer. If you're prepping for a coating like HCC, don't rush the boring part; it's doing more work than the coating itself.

Leave a comment
This site is protected by hCaptcha and the hCaptcha Privacy Policy and Terms of Service apply.