


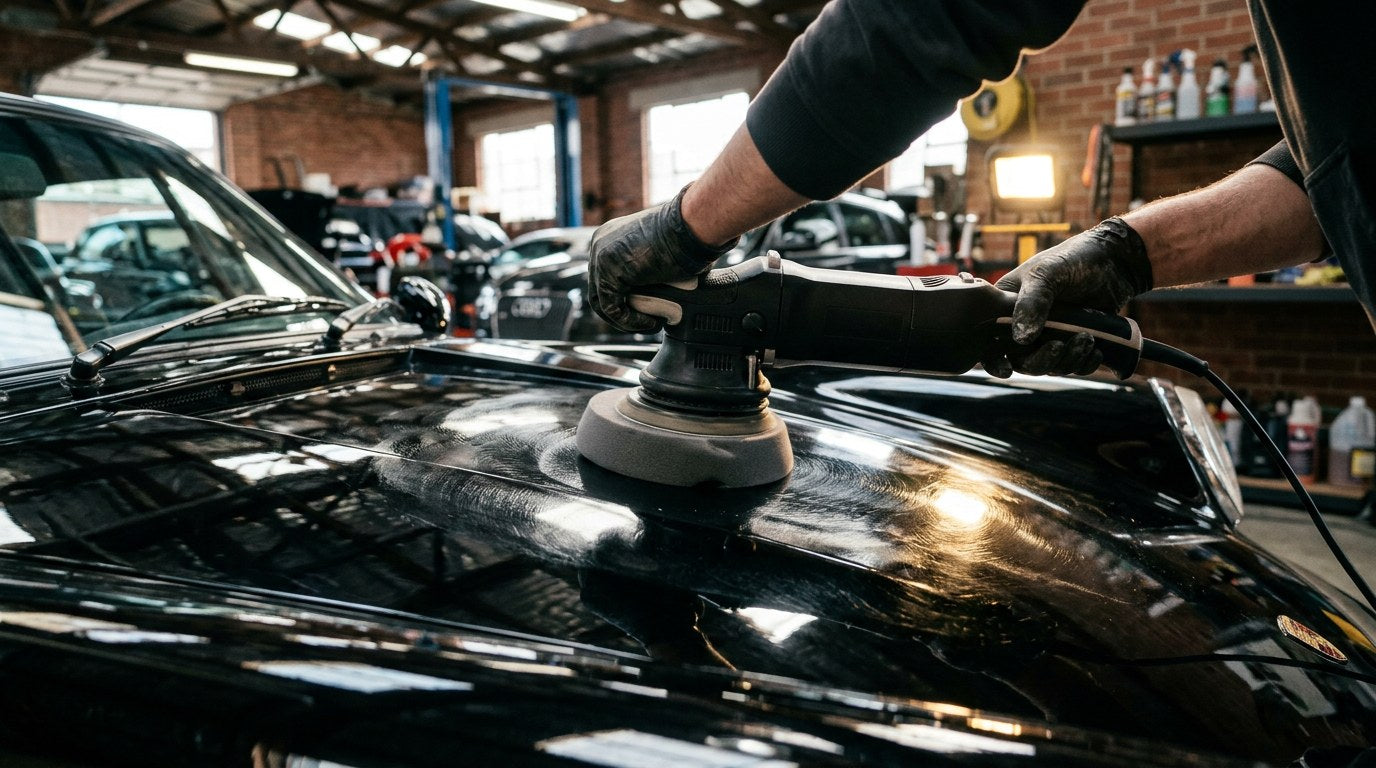
Short answer: swirl marks are microscopic circular scratches in the clear coat caused by improper washing and drying. You remove them by leveling the clear coat around the scratch with an abrasive compound or polish, either by hand or with a dual-action polisher, then refining and sealing. Not every mark can be safely corrected — scratches you can catch a fingernail in are usually too deep and need a body shop. This guide walks through inspection, correction, and how to keep them from coming back.

What Swirl Marks Actually Are
A "swirl mark" is a term of art for the fine circular scratches you see radiating out from any light source on dark paint. They live in the clear coat — the top optical layer over your color base — and they scatter light instead of reflecting it, which is why paint that looks glossy in the shade suddenly looks hazy under a floodlight or in direct sunlight.
Modern clear coats are typically 40–60 microns thick. For comparison, a human hair is about 70 microns thick. That's the working canvas: a layer thinner than a hair, and paint correction is the process of leveling the top few microns of that layer to erase the scratches.
Common causes of swirl marks:
- Automatic tunnel car washes with rotating brushes.
- Improper hand washing (single bucket, no grit guard, dirty mitt).
- Wiping the car when it's dirty ("waterless washing" too aggressively).
- Cheap microfiber towels with plastic-edge stitching.
- Using the same drying towel repeatedly without laundering.
- Circular wiping motion during wax or coating application.
The number one cause is technique, not products — which is why the fix is both about correcting existing damage and correcting the wash habits that created it.
Inspect Before You Correct: Is It Even Fixable?
Not every mark is a "polishable" swirl. Doing the wrong thing to a deep scratch makes it worse, not better. Before touching a compound or polisher, do the fingernail test.

The Fingernail Test
Run your fingernail lightly across the mark, perpendicular to it. If your nail catches, the scratch has cut through the clear coat and into the base color or primer. Polishing won't fix it — you need touch-up paint, wet sanding by a pro, or a body-shop respray.
If your nail glides over the mark cleanly, the scratch is likely in the clear coat only and is a candidate for correction.
The Light Test
Move the vehicle into shade and inspect with a bright LED work light or the flashlight on your phone held at an angle. Swirl marks reveal themselves as fine circular patterns and light-scattering webs. Deeper individual scratches show up as sharp lines. Photograph the panel before correction so you can compare after.
Compound, Polish, Finishing Polish: What's Actually Different
Paint correction chemicals are called abrasives — they contain microscopic particles that cut into the clear coat to level the scratch, plus lubricants to keep the pad gliding cleanly. The differences between them are the size and hardness of those abrasive particles.
| Type | Abrasive Level | Best For | Finish Left Behind |
|---|---|---|---|
| Heavy compound | High-cut | Deep swirls, oxidation, wet-sand refinement | Slight haze — needs polish after |
| Medium polish | Medium-cut | Moderate swirls, light scratches | Clean, may need finishing polish on dark paint |
| Finishing polish | Low-cut | Light swirls, holograms, final refinement | Deep gloss, coating-ready |
| All-in-one (AIO) | Low-cut + filler | Older cars, hiding light swirls temporarily | Glossy but leaves fillers — not coating-friendly |
Two important notes for beginners:
- Always finish with a finishing polish before a ceramic coating. Compound haze under a coating will lock in permanently.
- Avoid AIO products under ceramic. The fillers that make AIOs look good on old paint prevent proper coating bonding.
Hand vs Machine Polishing
By Hand
You can absolutely correct light swirl marks by hand with a foam applicator and a light polish. It works. It's slow. And it's limited — hand polishing generates far less friction and heat than a machine, so it can only remove very light swirls and marring. On a full sedan, expect 3–5 hours by hand and an outcome that improves gloss without fully leveling deeper marks.
With a Dual-Action Polisher
A dual-action (DA) polisher is the sweet spot for DIY correction. The pad both spins and oscillates in a random-orbit pattern, which prevents heat buildup and dramatically reduces the risk of burning through the clear coat. A quality DA with a 5-inch or 6-inch backing plate, a starter set of foam pads (cutting, polishing, finishing), and matching abrasives is the tool most enthusiasts land on.
Detailer training references like Autogeek's paint correction guide and video breakdowns like this DA polisher basics tutorial are worth watching before your first correction.
Rotary Polishers
Rotaries cut faster but generate significant heat and require experience to avoid holograms, burn-through, and edge damage. If you're new to correction, don't start with a rotary. Learn on a DA.
The Step-by-Step: DA Polisher Paint Correction
Step 1 — Wash and Decontaminate
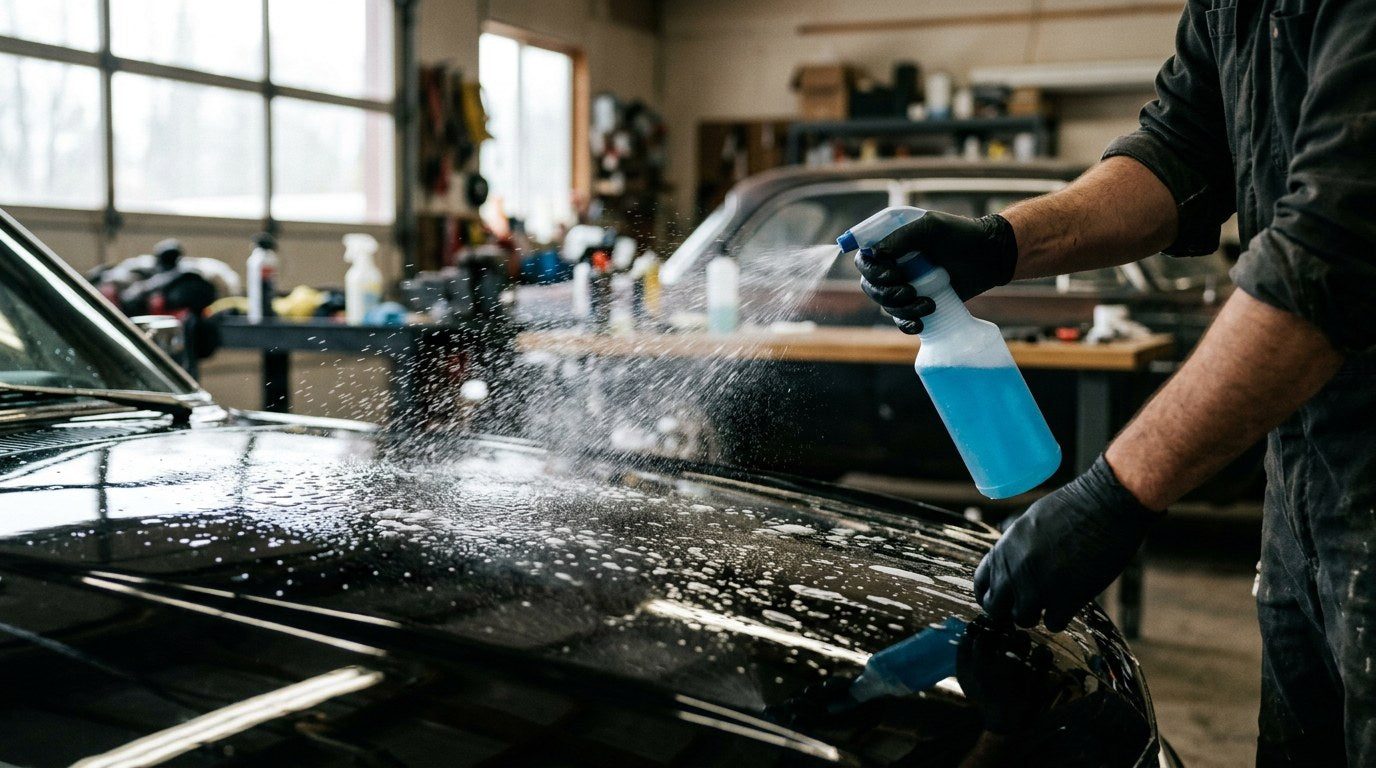
Two-bucket wash with a ceramic-safe soap. Follow with iron/fallout removal using The Purps, then a clay bar with plenty of lubricant. Any embedded contamination left on the surface will grind into the paint under the pad. Our pre-ceramic paint prep guide covers this decon sequence step by step.
Step 2 — Dry Completely and Tape Off
Water-free surface before you polish. Then use painter's tape to protect trim, badges, plastic edges, and rubber seals. Polish will stain them and it's very hard to clean off cured plastic.
Step 3 — Prime the Pad
New pad, first pass: apply four to six pea-size dots of polish across the pad face. Spread by touching the pad to a clean area of the panel with the polisher off, moving it around to distribute. This "priming" pass loads the pad with lubricant so your first real pass isn't dry.
Step 4 — Work in 2ft × 2ft Sections
Place the polisher on the panel before switching it on. Start on the lowest speed to spread the polish (this prevents "sling" — polish flying off the pad). Then move to the correct working speed (typically speed 4 to 5 on most DAs).
Step 5 — The Correct Motion
Move the polisher at about one inch per second, overlapping each pass by half the pad width. Do two passes horizontal, then two passes vertical — a "crosshatch" pattern that ensures even coverage. Let the weight of the machine do the work; do not press down. Excess pressure stalls the pad and reduces cutting efficiency.
Step 6 — Wipe and Inspect
After the section is complete, stop the polisher on the panel before lifting it, then remove residual polish with a clean plush microfiber. Inspect with the LED light. Not deep enough? Repeat the section. Deep enough? Move to the next section.
Step 7 — Refine With a Finishing Polish
If you used a compound or medium polish for correction, you'll typically see very fine "holograms" — especially on dark paint. Switch to a soft finishing pad and a low-cut finishing polish. Same crosshatch pattern, same slow speed. This is the step that gives you the show-car gloss.
Step 8 — IPA Wipe
A 1:1 isopropyl alcohol and water wipe removes polish oils and reveals the true condition of the paint. This is the "did I fix it?" verification step and is mandatory before ceramic coating — without the IPA wipe, polish oils will bond into the coating and cause failure.
Step 9 — Coat, Seal, or Wax
Freshly corrected clear coat is completely bare. It needs protection immediately or the same environmental damage will start marking it again. This is the ideal moment to apply HCC Hybrid Ceramic Coating, our flagship all-surface ceramic. HCC's high-solids hybrid film locks in the correction and gives you multi-year protection so the swirl marks don't come back.

Mistakes That Ruin the Correction
- Skipping decontamination. Grit under the pad creates fresh scratches faster than the polish removes old ones.
- Working in direct sunlight or on a hot panel. Polish flashes off before it can level the paint. Work in shade, ambient temp below about 80°F if possible.
- Too much product. More polish is not more cut — it just creates sling and slower work. Pea-size dots are the correct amount.
- Too much pressure. Kills the DA's orbital motion, stalls the pad, and can create swirl marks of its own.
- Wrong pad for the polish. Cutting polish on a finishing pad won't cut. Finishing polish on a cutting pad will haze. Match pad to product.
- Polishing edges too aggressively. Panel edges and body lines have less clear coat and burn through fastest. Slow down over edges or tape them off.
- Forgetting the IPA wipe before coating. Filler oils prevent bonding and cause coating failure within months.
The Prevention Playbook: Keep Swirls From Coming Back
Correction is the fix. Prevention is what makes the fix worth doing. The following habits stop swirl marks from re-forming on freshly corrected paint:
- Wash correctly. Two-bucket method with grit guards, plush wash mitt, top-down technique. Apply ceramic properly the first time using our streak-free application guide so you don't create marring on install day.
- Or wash rinseless. On coated cars, rinseless washing with the two-bucket method is even safer between full washes — our rinseless wash explainer covers when to use it.
- Never dry with the same towel twice. Launder drying towels separately from wash mitts.
- Skip tunnel car washes. Brush-based automatic washes are the biggest single cause of swirl marks in daily-driver paint.
- Coat the paint. A ceramic coating like HCC gives you a hard, hydrophobic barrier that dirt slides off of instead of bonding to. That means less friction during wash, less swirl accumulation over time.
- Refresh with a booster. A quick pass of Undrdog Quick Detail after each wash keeps the coating hydrophobic and adds a slick top layer that further reduces friction.
When to Call a Professional Detailer
Full paint correction on a badly damaged vehicle can take a pro 8–15 hours. If your car has extensive deep scratches, chemical etching from bird droppings or sap, or a full haze from years of tunnel-wash abuse, a professional two- or three-stage correction with proper measurement is worth the money. If you have a dark, expensive paint job on a special vehicle, a professional is also the safer path — the margin for error on soft luxury paint is small.
For a comparison of DIY vs professional coating and correction economics, our post on DIY vs pro ceramic coating walks through the tradeoffs.
Lock in your correction with a real ceramic coating.
HCC is our flagship hybrid ceramic. Applied over freshly corrected paint, it seals the gloss you just worked so hard for and dramatically slows the return of swirl marks.
Shop HCC →Frequently Asked Questions
Can I remove swirl marks by hand without a machine?
Light swirls, yes — with a foam applicator and a fine polish, working small sections at a time. Deeper swirls and holograms typically need a DA polisher because you can't generate enough friction and heat by hand to fully level them.
Will a ceramic coating hide existing swirl marks?
No. Ceramic coatings are optically clear and reveal whatever's underneath. Any existing swirls, holograms, or oxidation are still visible under coating. Correct first, then coat.
What's the difference between swirl marks and holograms?
Swirl marks are circular scratches from washing. Holograms are directional micro-marring left behind by aggressive polishing (usually a rotary in the wrong hands). Both are in the clear coat, and both are removed by refining with a finishing polish.
How do I know if a scratch is too deep to polish out?
The fingernail test. Drag your nail across the scratch perpendicular to its direction. If your nail catches, the scratch is through the clear coat and polishing won't fix it. If it glides over, correction has a good chance.
Can I use a random orbital sander as a polisher?
No. Woodworking random orbital sanders have too much rotation speed and too little orbital throw for paint correction. Dedicated dual-action polishers like the Rupes, Griot's, Torq, and Flex DA machines are engineered specifically for this application.
How much clear coat does polishing remove?
A light single-stage correction with a finishing polish removes about 1–2 microns of clear coat. A medium correction with a polish removes 2–3 microns. A heavy compound cut can remove 4–6 microns per pass. On 40–60 microns of factory clear, you have room for two or three light corrections over the life of the paint before you should stop.
Should I compound and polish the same day I coat?
Yes — the correct sequence is decon, correction, IPA wipe, coating, all in one workflow. Waiting more than a day risks contamination on the freshly polished paint and requires re-cleaning before coating.
What's the best polish for beginners?
A single-step medium polish with an all-in-one pad is the beginner-friendliest option — it removes light swirl marks and finishes down cleanly on most paints. Once you're comfortable, you'll add a compound and a finishing polish for the two-step workflow.
Can I polish clear-coated wheels the same way?
Yes, with a smaller pad (2–3 inches) and a lighter polish. Wheels are usually clear-coated and get the same swirl-mark problem from harsh wheel cleaners and brushes. Our wheel cleaning guide covers the safer maintenance approach that keeps wheels from needing polishing in the first place.
How often should I do full paint correction?
Ideally, once — then maintain with proper washing and ceramic coating so you never need it again. In practice, a well-maintained coated car goes 3–5+ years between corrections. A neglected daily driver may need touch-up corrections every 12–18 months.

Leave a comment
This site is protected by hCaptcha and the hCaptcha Privacy Policy and Terms of Service apply.