


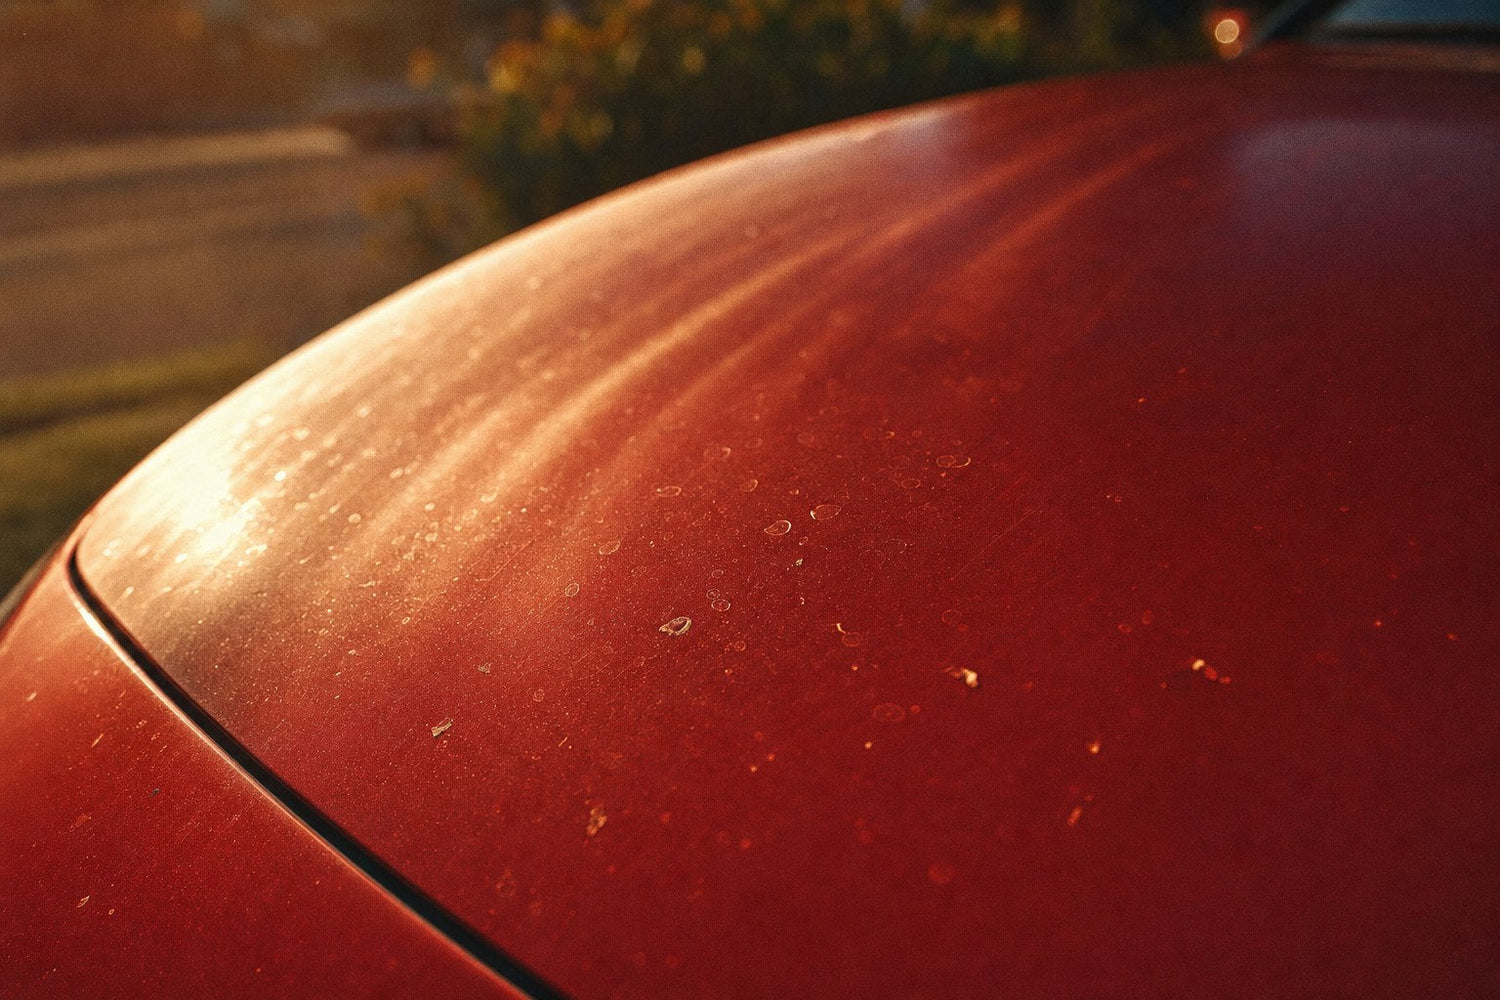
Three months of summer stack real damage into your clear coat: UV chain-scission at the surface, baked-on bug protein, etched water spots, tree sap, and iron fallout from brake dust. The good news is that most of it is reversible if you attack it in the right order — thorough wash, chemical decon, mechanical decon, then polish only what still shows. Do this in the first two weekends of August and you can walk into fall with paint that looks better than it did in May.

What Actually Happens to Your Paint During Summer
Modern automotive clear coats are built to survive the sun, but they are not immune to it. Research on photoinitiated coating degradation shows that UV exposure causes chain-scission reactions in the top 0.5–2 microns of the clear coat, breaking down crosslink density and creating an oxidation zone at the surface. That is where the "chalky" look comes from on older single-stage paint, and where the initial haze forms on modern clear coat before it progresses into visible fade.
Layered on top of the UV damage is everything else summer throws at the paint:
- Bug splatter. Insect remains contain proteins and acids that etch clear coat within hours in high heat. Bug guts left on a hot hood for a weekend become permanent low-grade damage.
- Tree sap. Pine sap, oak honeydew, and other resins bond to the clear coat and continue to harden with heat. What was a soft blob in June is a rock-hard bead by August.
- Water spots. Hose water, sprinkler overspray, and summer thunderstorms all leave mineral deposits. If they dry on hot paint, the minerals concentrate and etch. Rain that picks up urban pollution can be mildly acidic — the EPA defines acid rain as precipitation with elevated nitric and sulfuric acid content, which accelerates the etching.
- Iron fallout. Every hot brake application throws microscopic iron particles that embed in paint and rust in place. By August the paint is often stippled with rust points that look like faint orange freckles under close inspection.
- Bird droppings. High uric acid content, high stomach enzymes, heated by summer sun — probably the most aggressive short-term paint attacker on your car.
The takeaway: end-of-summer paint is rarely just "dirty." It's chemically and mechanically compromised in stacked, overlapping ways. A regular wash will not fix it. A recovery detail will.
The End-of-Summer Recovery Workflow (Overview)
Do these steps in order. Skipping a step or reversing the order costs you results and can add swirls.
| Step | What it does | Time | Skip if... |
|---|---|---|---|
| 1. Foam pre-wash | Softens heavy debris so wash mitt doesn't grind it in | 15 min | Never skip on end-of-summer paint |
| 2. Two-bucket hand wash | Physical removal of loose dirt with minimal marring | 30 min | Never skip |
| 3. Iron fallout decon | Dissolves embedded iron particles chemically | 20 min | Only if paint is under 6 months old and always garaged |
| 4. Tar and glue removal | Dissolves petroleum-based contamination | 15 min | Skip if no tar spots visible |
| 5. Water spot treatment | Dissolves mineral deposits before they etch deeper | 20 min | Skip if paint passes visual water-spot check |
| 6. Clay bar | Mechanical removal of anything decon didn't get | 45 min | Only if paint feels perfectly glass-smooth |
| 7. Assess for polishing | Under sun/LED, decide if machine polish is needed | 10 min | Cannot skip — this decision matters |
| 8. Machine polish (optional) | Removes oxidation, water spot etching, light swirls | 2–4 hr | Only if paint passes assessment |
| 9. Reapply protection | Ceramic coating or spray topper before fall | 1–3 hr | Never skip — bare paint is vulnerable |
Step 1–2: Foam Pre-Wash and Two-Bucket Hand Wash
Every recovery detail starts with actually getting the paint clean. Skip this and every subsequent step just grinds contamination into the paint.

Foam the entire vehicle from bottom to top with a foam cannon and a pH-neutral car soap. Let it dwell 3–5 minutes to loosen bugs, sap, and road film. Rinse from top down. Then two-bucket hand wash — one bucket of soap solution with a grit guard, one clean rinse bucket with a grit guard. Wash top down, one panel at a time, rinsing your mitt in the clean bucket between panels.
The soap you use matters. Undrdog Soap is a pH-neutral, ceramic-safe formula concentrated enough to foam heavily without stripping any existing protection. If you're recovering a car that has some remaining ceramic on it, a harsh dish-soap style wash will damage what's left.
For the full technique breakdown, see how to wash a car without scratching it.
Step 3: Iron Fallout Decontamination
After a summer of city driving, your paint has embedded iron particles from brake dust — especially on rear panels and lower quarters. You can feel them as faint roughness after washing, but you can also see them react.
Iron fallout removers work by chemically converting iron oxide (rust) into a water-soluble compound. When you spray an iron remover on contaminated paint, embedded iron particles literally weep purple or red streaks down the panel. The reaction is real chemistry, not marketing. The Purps is Undrdog's iron and fallout remover, and the purple streaking is exactly what iron looks like being dissolved out of your paint.
Apply to a wet, cool panel. Let it dwell 3–5 minutes — do not let it dry on the paint. Agitate lightly with a soft brush for wheels, foam sponge for paint. Rinse thoroughly. Repeat once on badly contaminated panels.
If you want the full breakdown of how iron fallout works and why it's worth doing, we covered it in The Purps explained.
Step 4–5: Tar and Water Spot Treatment
Look at your rocker panels and lower quarters. See dark specks that didn't wash off? That's tar. Wipe with a dedicated tar and glue remover on a microfiber towel — dwell 30 seconds, wipe. Don't scrub. If a spot resists, apply more solvent and let chemistry do the work. See removing road tar from car paint for the full walkthrough.
For water spots, look at hood, roof, and trunk under angled light. If you see faint circular rings or hazy patches, those are mineral deposits that need dissolving before you polish (polishing over active minerals just spreads them). Undrdog Water Spot Remover is a mildly acidic formula designed to dissolve calcium and magnesium mineral deposits without etching clear coat. Apply on a cool panel, dwell 1–2 minutes, wipe with a clean microfiber, rinse.
The full water spot recovery guide covers what to do if you have Type 2 or Type 3 water spots (etched deeper than a surface treatment can reach).
Step 6: Clay Bar (or Clay Mitt)
After iron decon and tar removal, run a plastic bag over the paint. If it still feels rough or gritty, you have bonded contaminants that need mechanical removal. Clay bar (or clay mitt for speed) glides across a lubricated panel and shears bonded contamination flush with the paint surface.
Use plenty of clay lube. Work small sections. Fold the clay to a clean face when it turns gray. When the plastic bag test finally comes up glass-smooth on every panel, you're done. Full technique in how to clay bar a car step-by-step.
Step 7: Assess Whether You Need to Polish
This is the single most important decision in the recovery detail — and it's the step most DIYers skip.
Get the car in shade or under a decently bright LED. Look at the hood, roof, and trunk from multiple angles. What you're checking for:
- Swirls. Fine circular scratches visible under direct light. Very common after summer washes at gas station drive-thrus.
- Water spot etching. Faint rings that didn't come off with water spot remover — the minerals have etched the clear coat.
- Oxidation haze. On older paint, a milky or chalky top layer that dulls color depth. On newer paint, a subtle loss of gloss and reflection clarity.
- Bug etching. Small pin-point marks where bug acids ate into the clear before you could clean them off.
If the paint looks clean and clear at this point — meaning it feels smooth, reflects sharply, and has no visible defects under angled light — skip polishing entirely. Jump straight to protection. There is zero benefit to removing clear coat you didn't have to remove.
If you see meaningful defects — swirls, etched water spots, oxidation — proceed to polish.
Step 8: Machine Polish (When Needed)

Machine polishing removes a very thin layer of clear coat to level scratches, etches, and oxidation. It's a mechanical process — abrasives in the polish + friction from the pad = microscopic material removal. Do it once and the paint looks like new. Do it too many times over the years and you'll polish through the clear.
For end-of-summer recovery, you're almost never doing full paint correction. You're doing a light single-step polish — one pass with a medium polish on a foam pad — to remove surface oxidation and level minor etching. That's a 2–4 hour job on a sedan for a DIYer with a dual action polisher.
Key rules:
- Test one panel first. Confirm the polish/pad combo removes the defects you're targeting without going too aggressive.
- Keep the pad clean — brush it out every 2–3 panel sections.
- Wipe the residue with a clean microfiber immediately.
- Never polish in direct sun on hot paint.
- Panel temp under 90°F ideal.
If your paint is heavily oxidized or has deep water spot etching, this is a job worth outsourcing to a pro. The DIY vs pro breakdown covers the honest math on when to pay someone.
Step 9: Reapply Protection Before Fall
Once the paint is clean, decontaminated, and (if needed) polished, it is chemically bare. That's the perfect surface to coat — and it is a terrible surface to leave exposed heading into fall rain, road salt (in northern states), leaf tannins, and lower UV but wetter conditions.
Two paths, depending on effort you want to invest:
Path A: Full ceramic coating (best long-term protection)
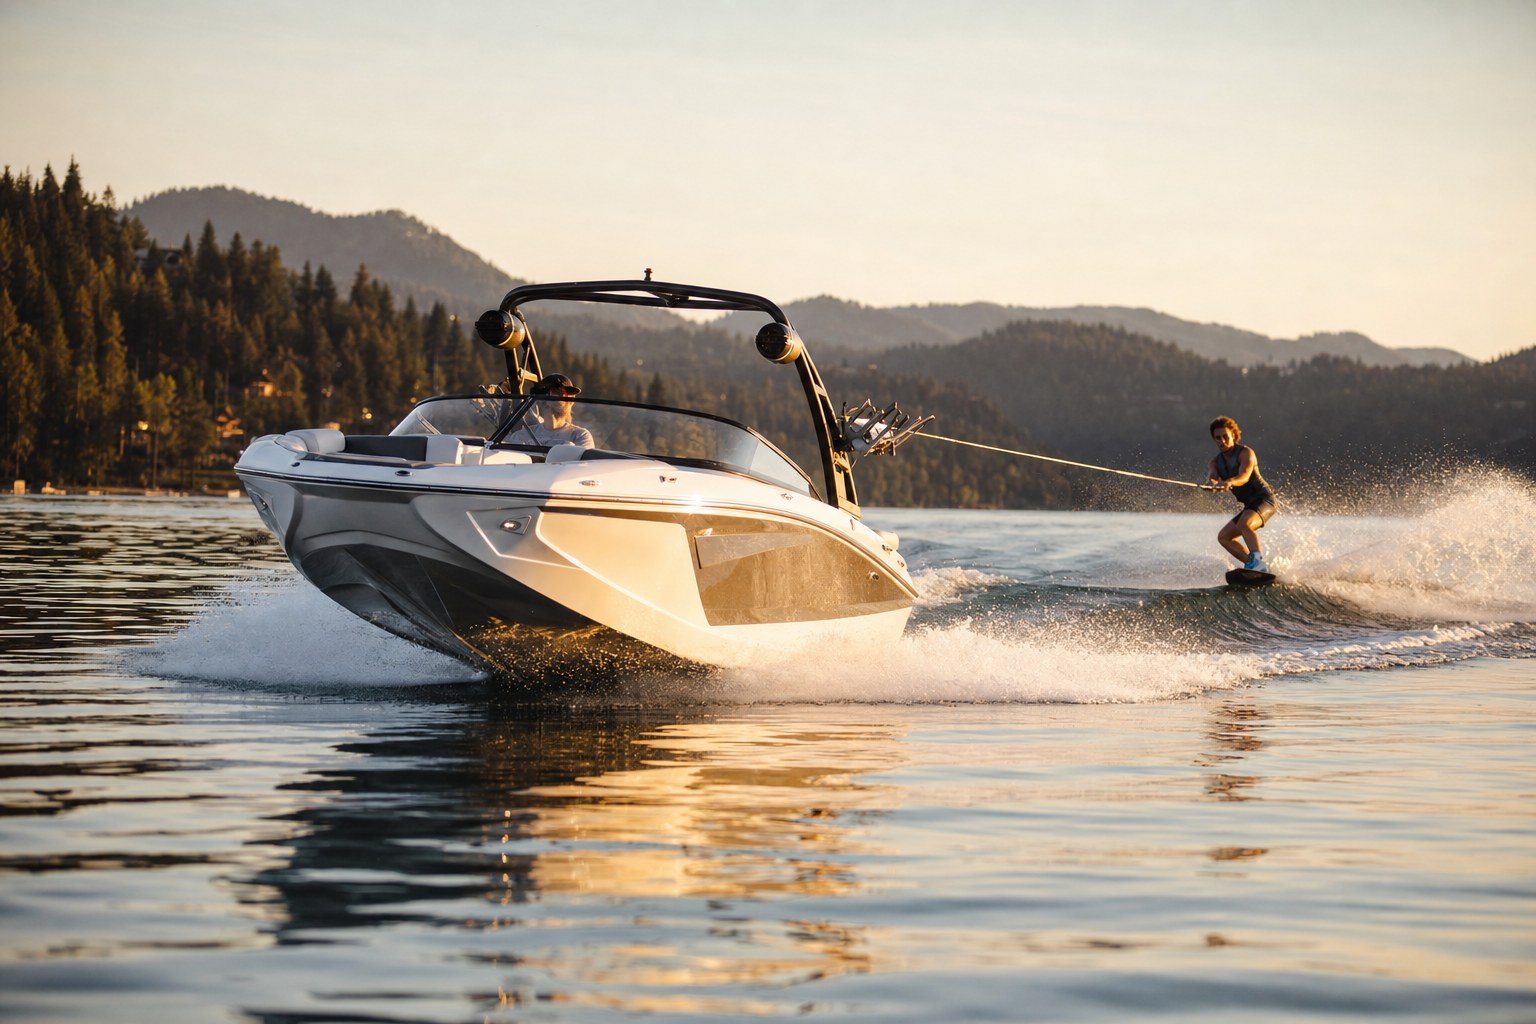
HCC — Hybrid Ceramic Coating is Undrdog's flagship, all-surface hybrid ceramic. Works on cars, boats, planes, and bicycles. Apply within 24 hours of the recovery detail while the paint is still perfectly decontaminated. Full application walkthrough: apply DIY ceramic coating without streaks. Cure 24–48 hours indoors.
You get 2–3+ years of real UV protection, chemical resistance, and easier washing all the way through next summer.
Path B: Spray topper (fast, seasonal-length protection)
If you don't have time for a full coating, Undrdog Quick Detail is a hydrophobic spray that adds gloss, water beading, and short-term chemical resistance. Spray-and-wipe, done in 20 minutes for the whole car. You'll get 1–3 months of protection — enough to carry you through fall, at which point you can top it up.
The layering strategy from our ceramic spray vs ceramic coating breakdown is worth applying here: coat once, then use the spray as maintenance between annual details.
How to Prevent This Level of Damage Next Summer
Recovery details are educational but preventable. The end-of-summer damage stack builds up because most people wash every 2–3 weeks in summer and never do decon between the initial spring detail and the fall recovery.
A better maintenance rhythm:
- Weekly: Rinseless wash or quick foam-and-rinse if the car isn't very dirty. Ceramic-safe soap only.
- Monthly: Full two-bucket wash with a clay mitt pass on dirty panels.
- Every 6–8 weeks: Iron decon on the whole car. Especially rear quarters and rocker panels.
- After every road trip: Bugs off within 24 hours. Use bug remover if they've baked on. Sap spots as soon as you find them.
- Coated cars: Refresh with a hydrophobic spray topper every 8–12 weeks.
Do this and next August you won't be reading a recovery article — you'll be scheduling a normal wash.
Frequently Asked Questions
How long does an end-of-summer recovery detail take?
For a DIYer working alone on a mid-size sedan, plan on 6–10 hours total split across two days. Wash + decon takes 2–3 hours, clay bar adds 45 minutes, polishing (if needed) takes 3–4 hours, and reapplying protection takes another 1–2 hours plus cure time. Larger vehicles (trucks, SUVs) add 30–50%.
Do I actually need to polish, or can I just wash and coat?
Only if the paint passes the visual defect check after decon. Machine polishing removes clear coat — so you should only polish when there are visible defects worth correcting. Perfectly-decontaminated paint that reflects sharply and has no visible swirls does not need to be polished before coating.
Will a ceramic coating fix water spot etching?
No. A ceramic coating goes over paint, not into it. If summer left etched water spots that a chemical water spot remover couldn't dissolve, you need to polish them out first. Coating over etching just locks them in permanently.
Can I skip iron decon if I don't drive that much?
You can, but it's usually a mistake. Iron fallout doesn't come from your car's brakes only — it's airborne particulate from other vehicles' brakes, railroad dust, and industrial pollution. Even garaged, lightly-driven cars accumulate iron in high-fallout areas.
What temperature is safe for polishing and coating in August?
Panel temp under 90°F for polishing, under 85°F for coating application. That usually means early morning in a shaded driveway or indoors in a cool garage. Applying either product on hot paint creates high spots, streaking, and difficult removal.
Is a spray-on ceramic enough after a full recovery detail?
It's enough to protect you for fall, but you're leaving durability on the table. A cured ceramic coating like HCC offers 2–3+ years of protection; a spray topper offers 1–3 months. If you just invested 6–10 hours of decon and polish, the coating is what protects that work through next summer.
My paint is clearly oxidized and dull. Can DIY polishing fix it?
Light to moderate oxidation on modern clear coat, yes — a single-step DIY polish with a dual-action machine will remove the top oxidized layer and restore gloss. Heavy oxidation on older single-stage paint or badly weathered clear coat may need two or three passes with progressively finer compounds, and that's when calling a pro often makes sense.
What order do I do the wheels vs. the paint?
Wheels first, then paint. Wheels are the dirtiest part of the car and their overspray from cleaner will contaminate paint if you do paint first. Full wheel-and-brake-dust workflow in our wheel and brake dust guide.
Do I need to correct paint before applying HCC?
Only if there are visible defects. Correction is not required for HCC to bond or perform — it's required if you want the paint underneath the coating to look flawless. Coat over minor imperfection and the coating protects those imperfections at their current state; correct first and the coating locks in a flawless finish.
What's the single most important step in the recovery workflow?
Iron decontamination. It's the step most DIYers skip and the one with the biggest visible impact on paint that has spent a summer on the road. Everything downstream (polishing, coating) gets better results when the paint is truly free of embedded iron.
Ready to walk into fall with protected paint?
Finish your end-of-summer recovery with HCC — a real cured ceramic coating that gives you 2–3+ years of UV, water spot, and chemical resistance. Works on cars, boats, planes, and bicycles.
Shop HCC →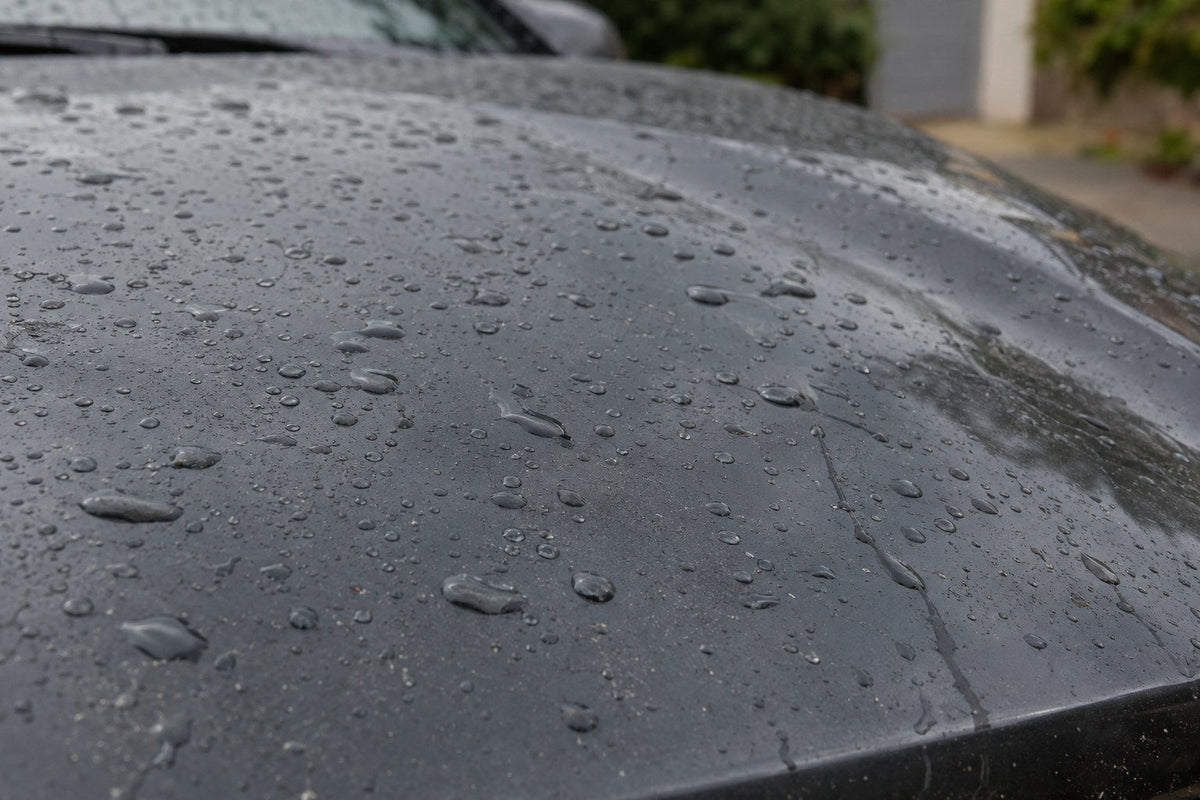

Leave a comment
This site is protected by hCaptcha and the hCaptcha Privacy Policy and Terms of Service apply.